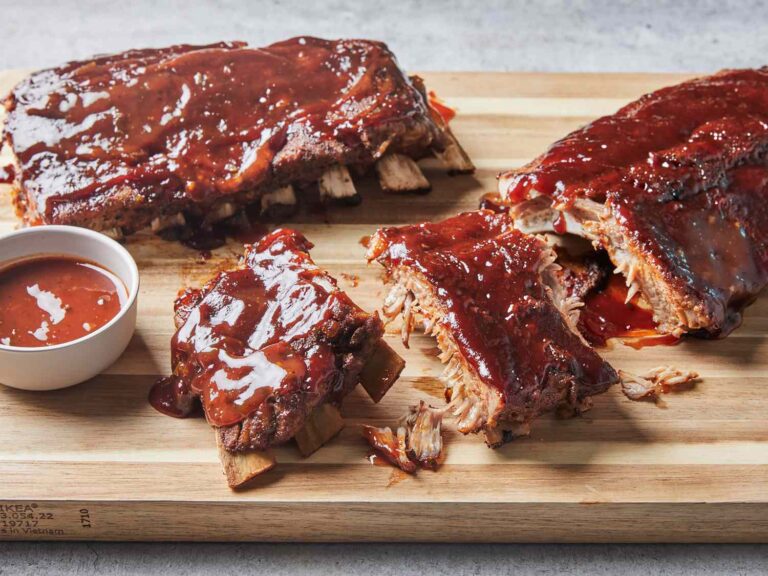
How to Grill Tri-Tip the Best Way
If you’re a BBQ enthusiast or just someone who loves a good steak, you’ve probably heard of tri-tip. This cut of beef, known for its rich flavor and tender texture, has become a favorite among grill masters, especially on the West Coast. Originating from the Santa Maria Valley in California, tri-tip has gained popularity for its versatility and the amazing results it yields when grilled properly.
The beauty of tri-tip lies in its simplicity. Whether you’re a seasoned griller or a novice looking to impress at your next cookout, mastering the art of grilling tri-tip is a surefire way to elevate your BBQ game. In this guide, we’ll walk you through everything you need to know about grilling tri-tip, from selecting the right cut to serving it up with style. Get ready to become a backyard BBQ hero with our comprehensive tri-tip grilling guide!
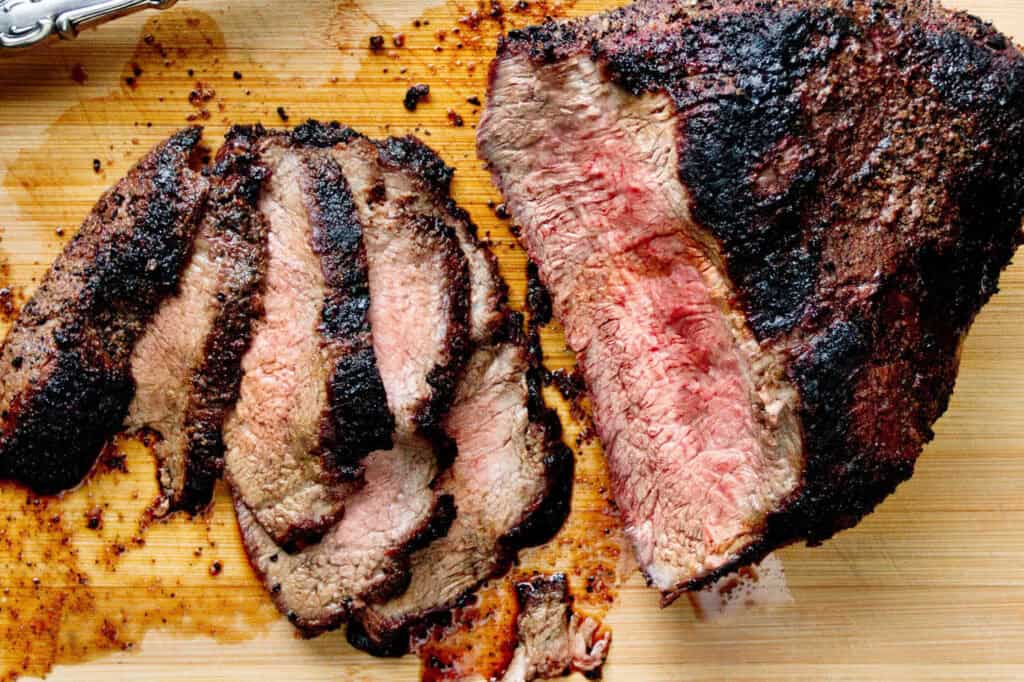
What is Tri-Tip?
Tri-tip is a triangular cut of beef from the bottom sirloin subprimal section of the cow. This unique cut is known for its rich marbling and beefy flavor, making it a prized choice for grilling aficionados. Unlike other cuts that may require extensive marinating or slow cooking, tri-tip is relatively easy to prepare and yields excellent results with minimal effort.
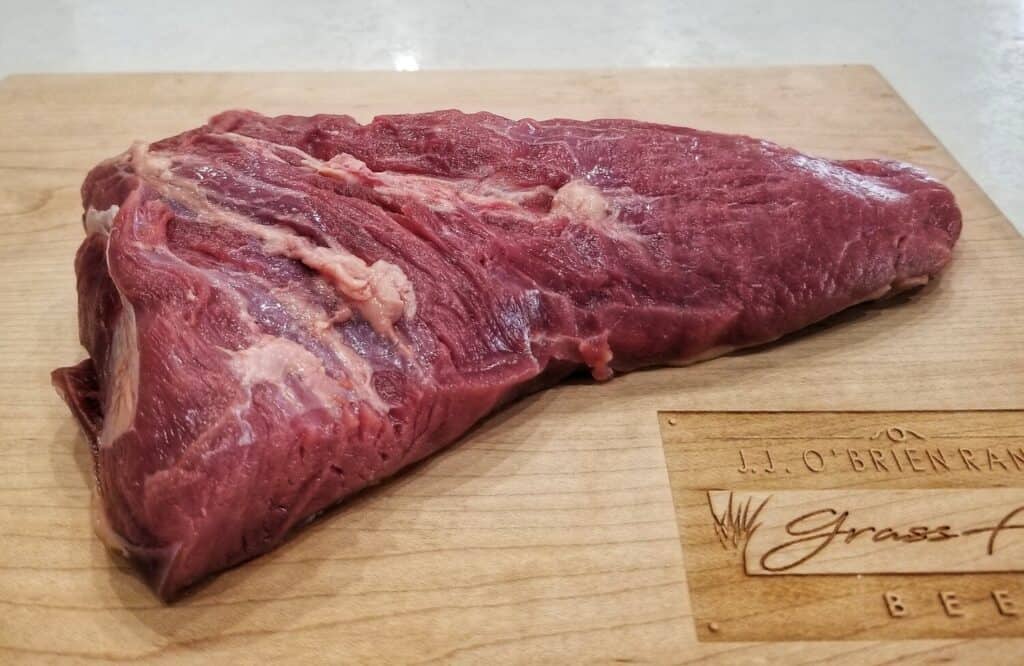
On the West Coast, particularly in California, tri-tip is often referred to as “Santa Maria tri-tip” due to its association with the Santa Maria Valley, where it gained popularity. Traditionally, this cut is seasoned with a simple blend of salt, pepper, and garlic, then grilled to perfection over red oak wood, which imparts a distinct smoky flavor.
The tri-tip roast can come either trimmed, with the fat cap removed, or untrimmed, with a thick layer of fat on one side. While the fat can add flavor and moisture, it can also cause flare-ups on the grill, so some prefer to trim it down to a thin layer before cooking. Whether you choose to trim the fat or not, tri-tip remains a versatile and delicious option for your next BBQ.
How to Grill a Tri-Tip?
Ingredients:
- 2-3 lb tri-tip roast
- Salt, pepper, garlic powder (or your favorite rub)
- Olive oil
Tools Needed:
- Grill (gas or charcoal)
- Meat thermometer
- Tongs
- Aluminum foil
Choosing and Preparing Your Tri-Tip
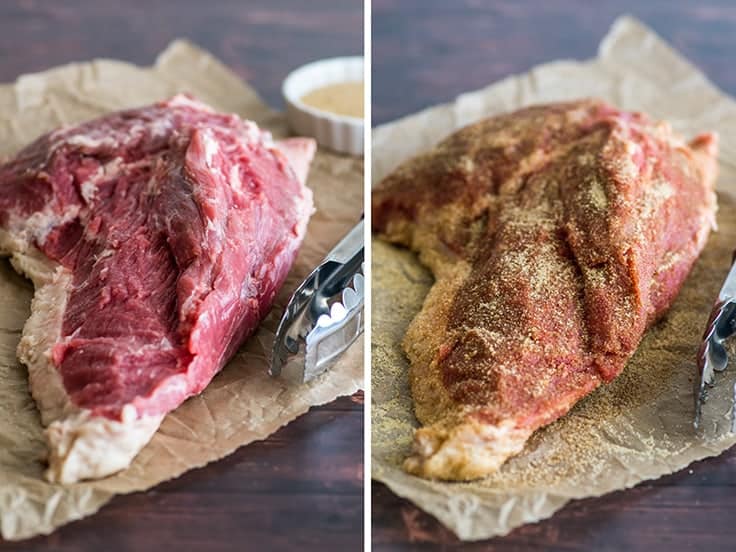
When selecting a tri-tip, look for a 2-3 pound roast with good marbling. More marbling means more flavor and tenderness. Decide whether you want a trimmed roast (less fat, easier to manage) or an untrimmed one (more flavor but requires trimming).
Steps to Prepare:
- Trim the Fat: If you have an untrimmed tri-tip, leave about a 1/4-inch layer of fat to prevent flare-ups.
- Season: Generously coat the tri-tip with a rub made of salt, pepper, and garlic powder, or your favorite spice mix. Ensure all sides are well-seasoned.
- Rest: Allow the seasoned tri-tip to sit at room temperature for 30-45 minutes. This helps the meat cook more evenly.
These steps will set you up for grilling a juicy, flavorful tri-tip.
Seasoning Your Tri-Tip
The key to a delicious tri-tip lies in the seasoning. Start with a simple rub or marinade to enhance the beef’s natural flavors.
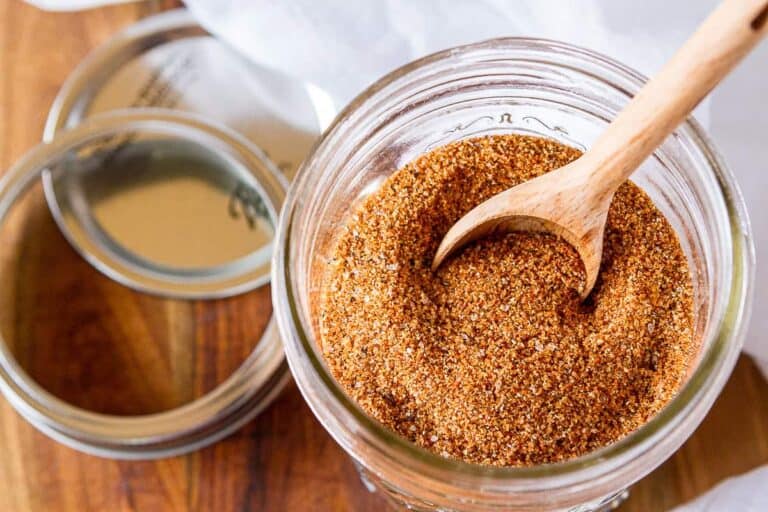
Ingredients for a Basic Rub:
- 1 tablespoon kosher salt
- 1 tablespoon black pepper
- 1 teaspoon garlic powder
- 1 teaspoon onion powder
- Optional: paprika, cayenne pepper for a bit of heat
Steps to Season:
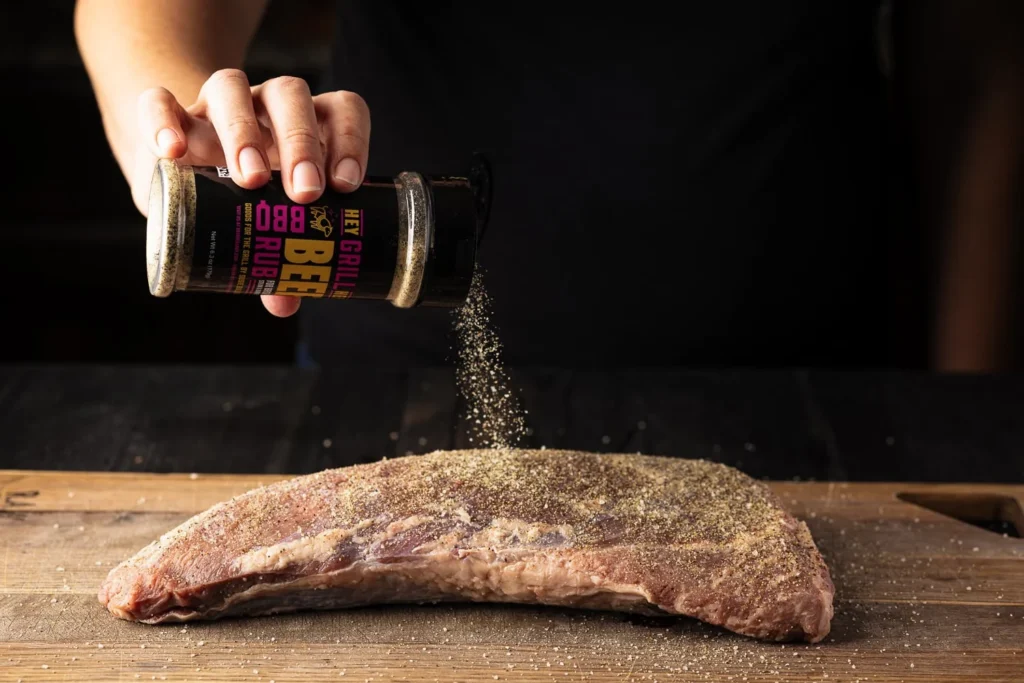
- Apply the Rub: Generously coat the tri-tip with the seasoning mix. Make sure to cover all sides, pressing the rub into the meat to ensure it sticks well.
- Marinating (Optional): If you prefer a marinade, combine olive oil, soy sauce, garlic, and a splash of red wine vinegar. Let the tri-tip marinate in the fridge for up to 12 hours, but no longer to avoid overpowering the meat’s flavor.
- Rest: After seasoning, let the tri-tip sit at room temperature for about 30 minutes. This allows the flavors to penetrate the meat and ensures even cooking.
Proper seasoning makes a huge difference, setting the stage for a flavorful grilling experience.
Setting Up the Grill
For perfect tri-tip grilling, setting up your grill correctly is crucial. Using the two-zone method ensures even cooking and a beautiful sear.

Steps to Set Up:
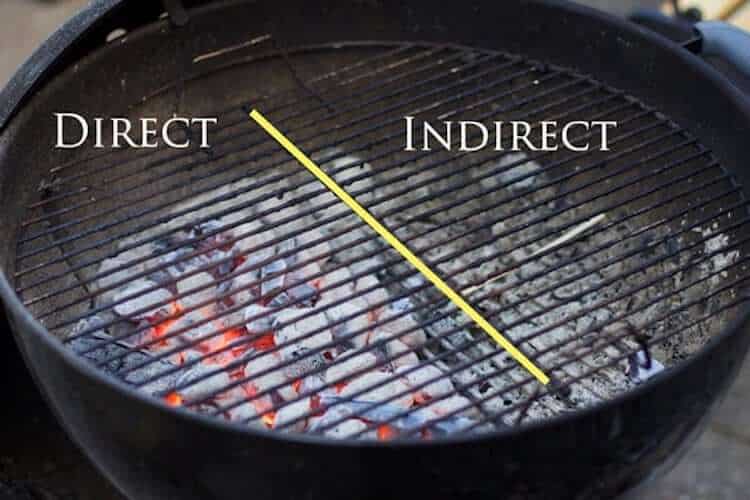
- Two-Zone Setup: Preheat your grill to medium-high heat (around 350°F). Arrange coals on one side for direct heat and leave the other side empty for indirect heat, or turn on only half of the burners for a gas grill.
- Clean and Oil the Grates: Brush the grates clean and lightly oil them to prevent sticking.
- Preheat: Allow the grill to preheat for about 10-15 minutes. This ensures it reaches the right temperature and is ready for searing and cooking.
Why Two-Zone Grilling?
- Direct Heat: Perfect for searing the tri-tip, giving it a nice crust.
- Indirect Heat: Essential for cooking the meat evenly without burning the outside.
Proper grill setup is the foundation of successful tri-tip grilling.
Grilling the Tri-Tip
Grilling tri-tip to perfection involves searing and indirect cooking for a juicy, flavorful result.
Steps to Grill:
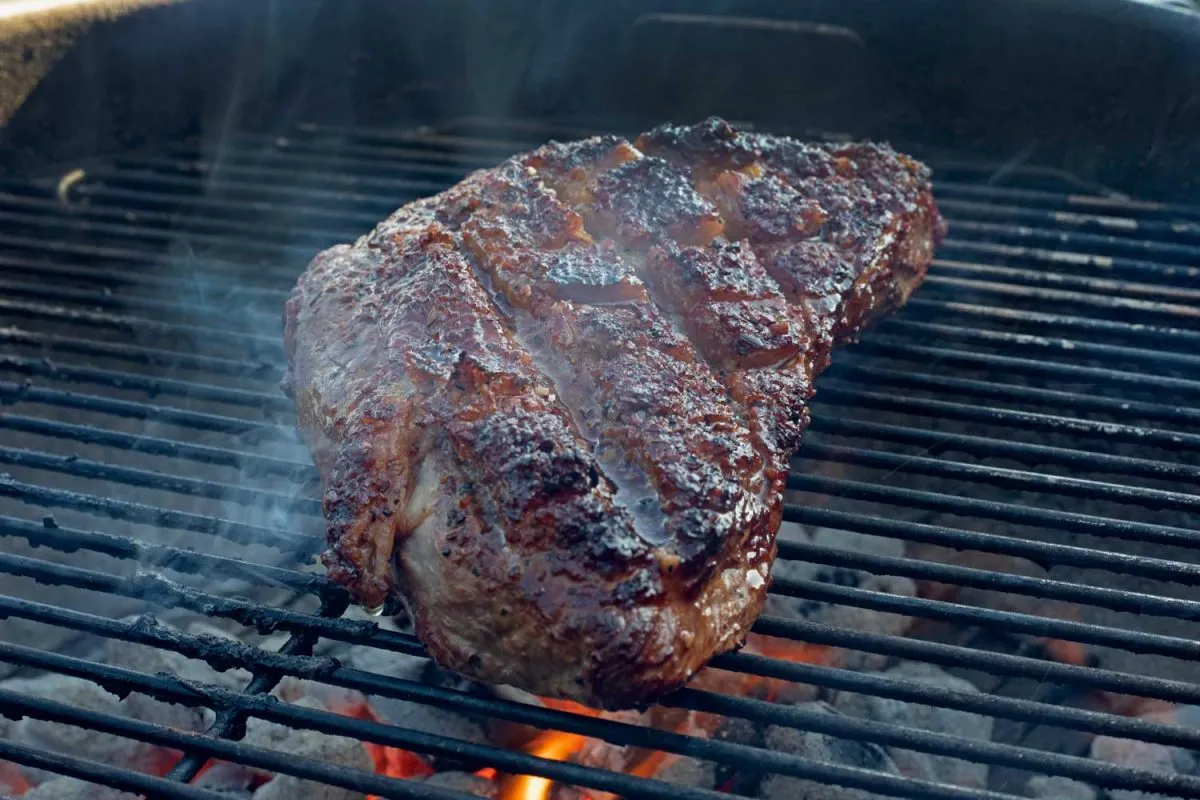
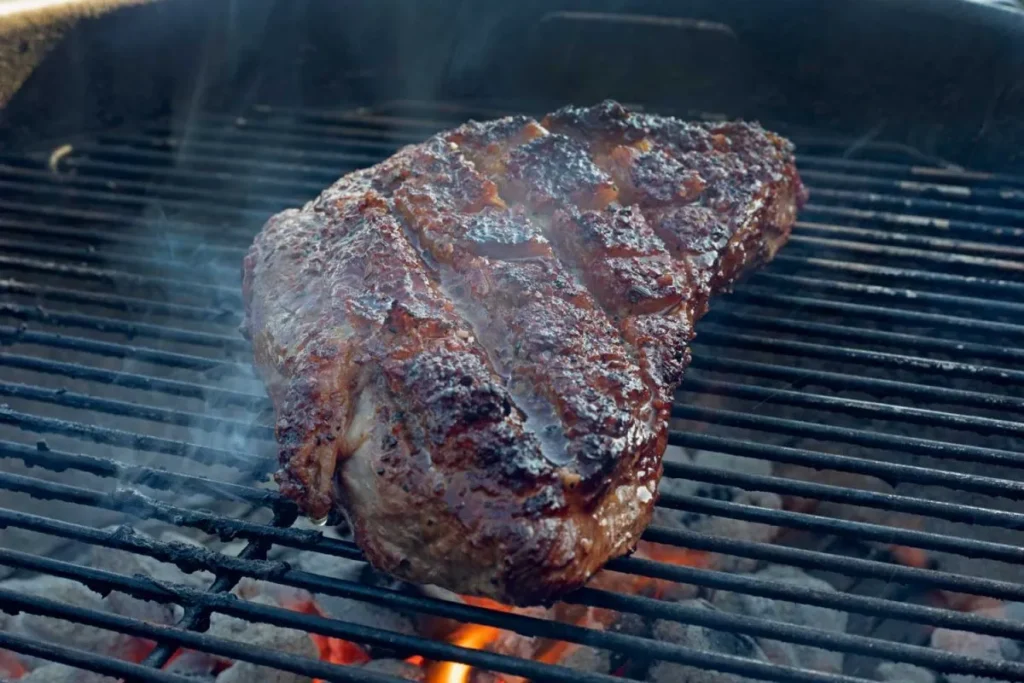
- Sear the Tri-Tip: Place the seasoned tri-tip on the hot side of the grill. Sear each side for 5-7 minutes until a nice crust forms.
- Move to Indirect Heat: After searing, move the tri-tip to the cooler side of the grill. Close the lid and cook for 20-30 minutes, flipping occasionally, until the internal temperature reaches 130°F for medium-rare.
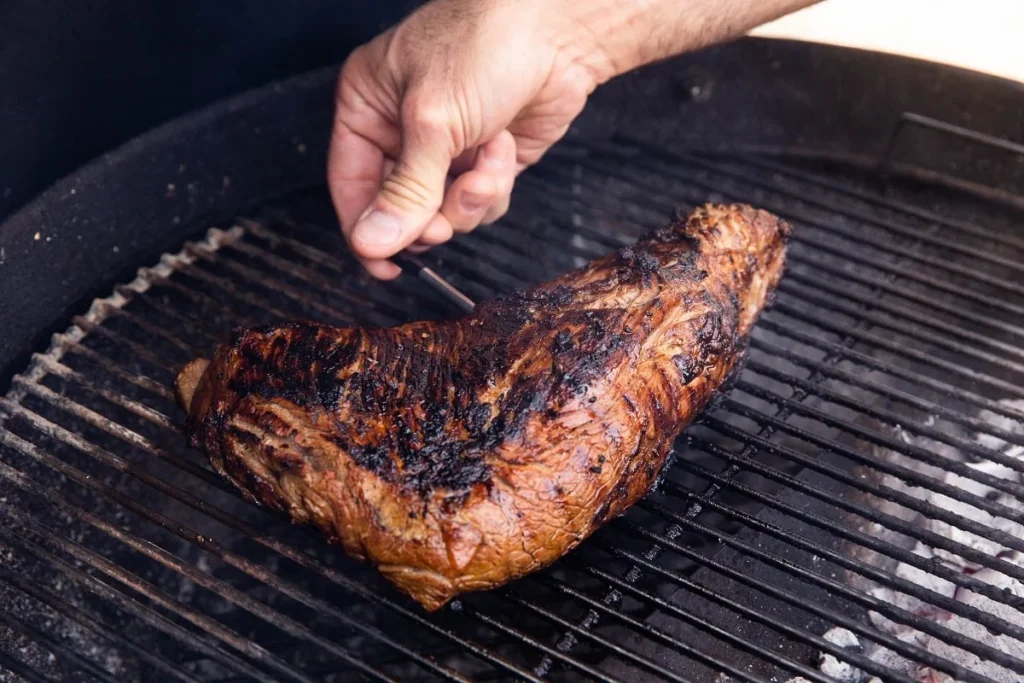
- Monitor Temperature: Use a meat thermometer to check doneness. Insert it into the thickest part of the tri-tip to get an accurate reading.
- Avoid Flare-Ups: Keep an eye on the grill to prevent flare-ups from dripping fat. If flare-ups occur, move the tri-tip to a cooler spot temporarily.
Grilling the tri-tip using this method ensures a beautifully seared exterior and a tender, juicy interior.
Checking Doneness
Ensuring your tri-tip is cooked to the perfect doneness is crucial for achieving that juicy, tender bite.
Steps to Check Doneness:
- Use a Meat Thermometer: Insert an instant-read meat thermometer into the thickest part of the tri-tip.
- Temperature Guide:
- Rare: 120-125°F
- Medium-Rare: 130-135°F (recommended)
- Medium: 140-145°F
- Visual Cues: The tri-tip should have a firm but slightly springy feel. The juices should be clear with a slight pinkish tint when you cut into it.
Why Temperature Matters:
- Achieving the right internal temperature ensures the tri-tip remains juicy and tender.
- Overcooking can lead to a dry, tough piece of meat, while undercooking might not develop the full flavors.
By checking the temperature, you can confidently pull your tri-tip off the grill at the perfect moment for a delicious, perfectly cooked meal.
Resting the Meat
Resting your tri-tip after grilling is a crucial step for achieving maximum juiciness and flavor.
Steps to Rest:
- Remove from Grill: Once the tri-tip reaches your desired internal temperature, take it off the grill.
- Tent with Foil: Loosely cover the tri-tip with aluminum foil to retain heat.
- Rest Time: Let the meat rest for at least 10 minutes. This allows the juices to redistribute throughout the meat.

Why Resting is Important:
- Juice Redistribution: Resting helps the juices that have been driven to the center during cooking to redistribute evenly, ensuring each bite is moist and flavorful.
- Temperature Rise: During the rest period, the internal temperature of the meat can rise by about 5-10 degrees, reaching the perfect doneness without overcooking.
Skipping this step can result in a dry, less flavorful tri-tip. Patience here pays off with a significantly better eating experience.
Slicing and Serving
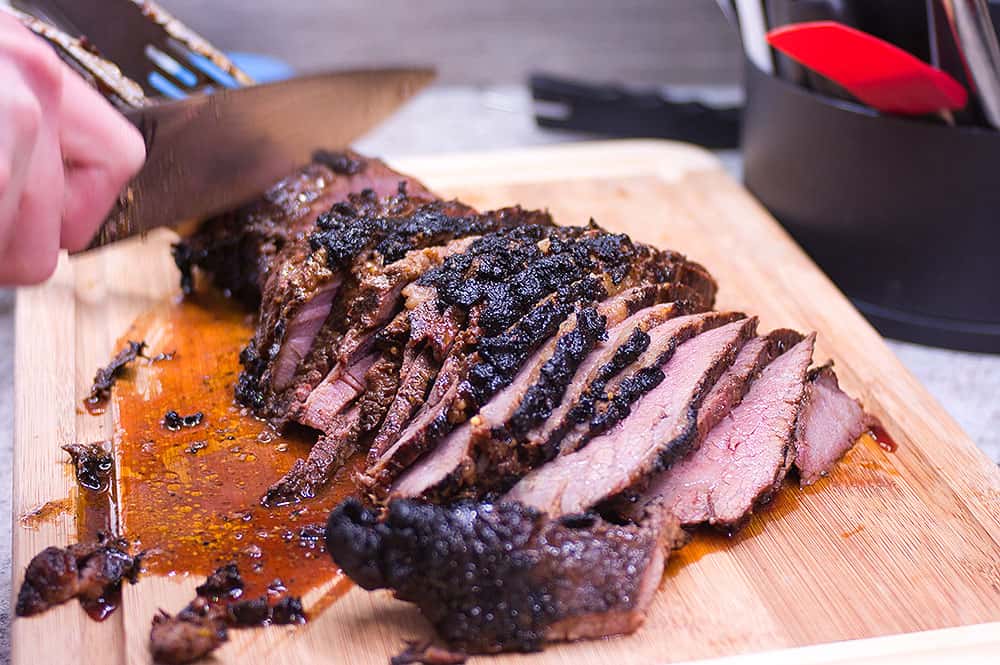
Slicing your tri-tip correctly is key to ensuring each bite is tender and flavorful.
Steps to Slice:
- Identify the Grain: Look at the direction of the muscle fibers (grain). The grain typically changes direction in a tri-tip, so you might need to adjust your slicing angle halfway through.
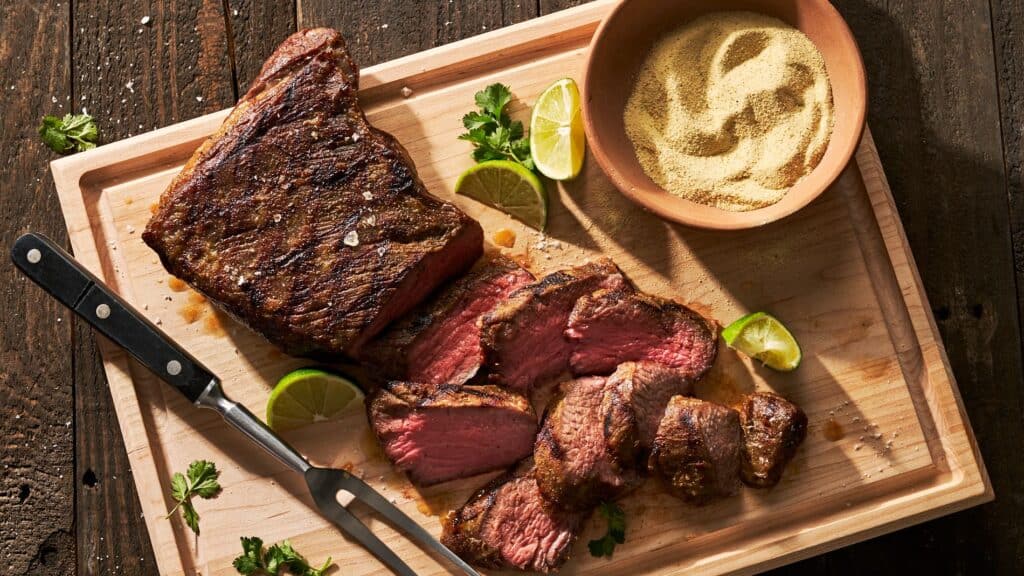
- Slice Against the Grain: Use a sharp knife to cut thin slices against the grain. This shortens the muscle fibers, making the meat more tender.
- Serve Immediately: Arrange the slices on a serving platter and serve while warm.
Serving Suggestions:
Pair your tri-tip with classic BBQ sides like grilled vegetables, baked potatoes, or a fresh salad.
For an added touch, serve with a side of warm BBQ sauce or chimichurri.
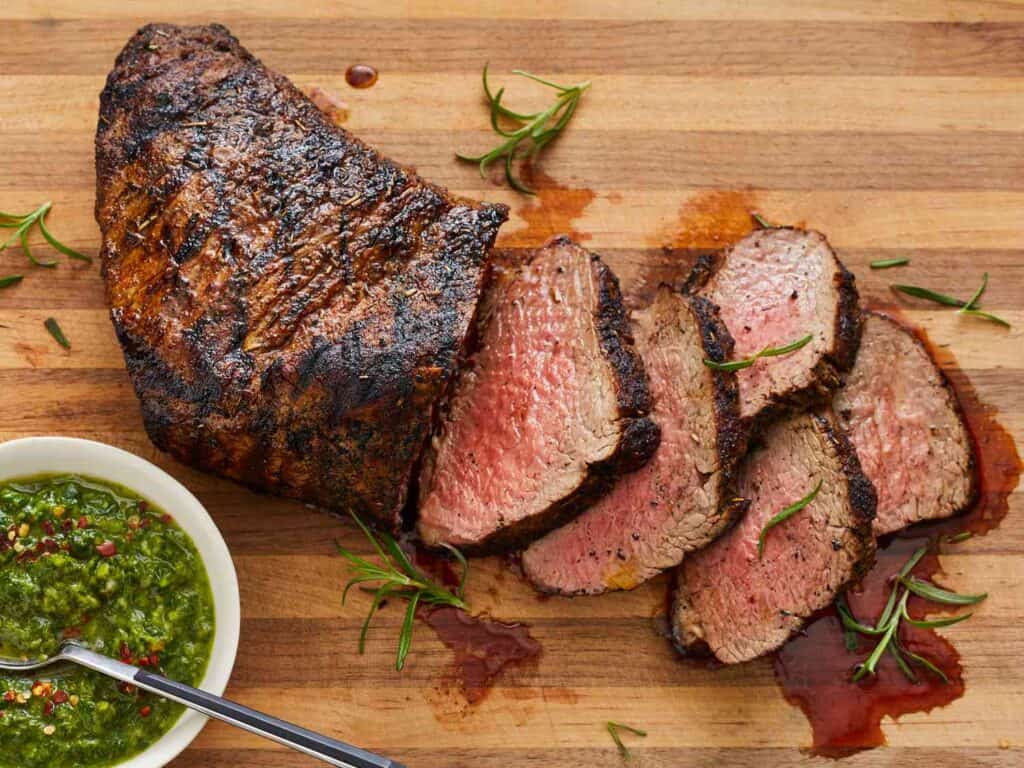
Proper slicing enhances the tenderness and presentation of your tri-tip, making it the star of your meal.
Troubleshooting Common Issues
Even with the best preparation, grilling tri-tip can sometimes present challenges. Here’s how to address common issues:
1. Flare-Ups
- Problem: Flare-ups can char the meat and cause uneven cooking.
- Solution: Keep a spray bottle of water handy to douse flames. Move the tri-tip to a cooler part of the grill if flare-ups persist.
2. Uneven Cooking
- Problem: Parts of the tri-tip cook faster than others.
- Solution: Use the two-zone method for indirect cooking. Rotate the meat periodically to ensure even exposure to heat.
3. Dry Meat
- Problem: Overcooking can lead to a dry, tough tri-tip.
- Solution: Use a meat thermometer to monitor the internal temperature closely. Remove from heat at 130-135°F for medium-rare.
4. Tough Slices
- Problem: Incorrect slicing can result in tough pieces.
- Solution: Always slice against the grain to shorten muscle fibers, making the meat more tender.
Enhancing Your Grilling Experience
To elevate your tri-tip grilling game, consider these additional tips and tools:
1. Quality Tools
- Invest in a good meat thermometer to monitor internal temperatures accurately.
- Use sturdy tongs for flipping and handling the meat without piercing it, which helps retain juices.
2. Wood Chips for Flavor
- Add soaked wood chips to your charcoal or a smoker box on a gas grill to infuse the meat with a smoky flavor. Hickory, oak, or mesquite work great with tri-tip.
3. Experiment with Rubs and Marinades
- While a simple salt, pepper, and garlic rub is classic, don’t be afraid to try different spice blends or marinades. Citrus-based marinades or coffee rubs can add unique flavors.
4. Side Dishes and Pairings
- Complement your tri-tip with grilled vegetables, roasted potatoes, or a fresh salad. Pairing with a robust red wine like Cabernet Sauvignon can enhance the dining experience.
5. Pre-Grill Prep
- Consider using a dry brine (salt and spices) a few hours before grilling to improve the meat’s flavor and tenderness. This helps to draw out moisture and create a juicier final product.
Disclosure: Our blog contains affiliate links to products. We may receive a commission for purchases made through these links. However, this does not impact our reviews and comparisons. We try our best to keep things fair and balanced, in order to help you make the best choice for you.

