Frozen Chicken Breast in the Air Fryer
Air frying frozen chicken breasts is a total game-changer for quick, healthy meals. Imagine going from freezer to table in about 30 minutes without the need to thaw! This method uses significantly less oil than traditional frying, making it a healthier alternative without sacrificing taste. The air fryer ensures your chicken breasts are tender and juicy inside, with a perfectly crispy exterior.
Why opt for this method? It’s incredibly convenient for those busy weeknights or last-minute meals. Plus, it retains more nutrients compared to other cooking methods. Cleanup is a breeze too, with no splattering oil and many air fryer baskets being dishwasher safe.
Using an air fryer also means versatility; it’s not just for chicken but a wide range of foods, making it a must-have kitchen gadget. With this technique, you get a delicious, healthy meal with minimal effort. So, let’s dive into the step-by-step process and master the art of cooking frozen chicken breasts in an air fryer.

What is Frozen Chicken Breast Air Fryer?
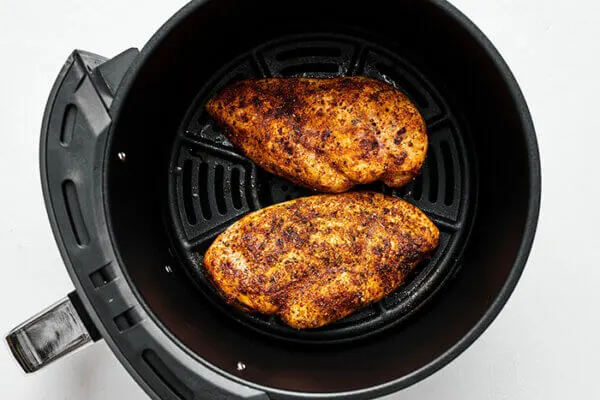
Frozen Chicken Breast Air Fryer Method: This method involves cooking frozen chicken breasts in an air fryer, typically preheated to around 375°F (190°C). The chicken breasts are seasoned, optionally coated with a small amount of oil for crispiness, placed in the air fryer basket, and cooked until they reach an internal temperature of at least 165°F (74°C). Cooking times may vary based on the air fryer model and chicken breast thickness.
Benefits of Using an Air Fryer for Frozen Chicken Breast
- Convenience: Using an air fryer for frozen chicken breasts is incredibly convenient. There’s no need to thaw the chicken beforehand, saving you time and effort. Simply season the frozen chicken and pop it into the air fryer, making it perfect for quick weeknight dinners or last-minute meals.
- Health Benefits: Air frying requires significantly less oil than traditional frying methods, making it a healthier option. It also helps retain more nutrients in the chicken, ensuring you get a delicious, juicy meal that’s better for your health. The crispy exterior and tender interior achieved with minimal oil make it an excellent choice for health-conscious cooks.
- Time-Saving: Compared to conventional cooking methods, air frying is much faster. Traditional methods can take up to an hour, especially if you need to thaw the chicken first. With an air fryer, your meal can be ready in about 30 minutes or less, allowing you to enjoy a tasty, nutritious dinner without the long wait.
Equipment and Ingredients Needed
Essential Tools
- Air Fryer: The main piece of equipment you’ll need. It cooks the chicken quickly and evenly with hot air circulation.
- Tongs: Useful for safely handling the hot chicken breasts during and after cooking.
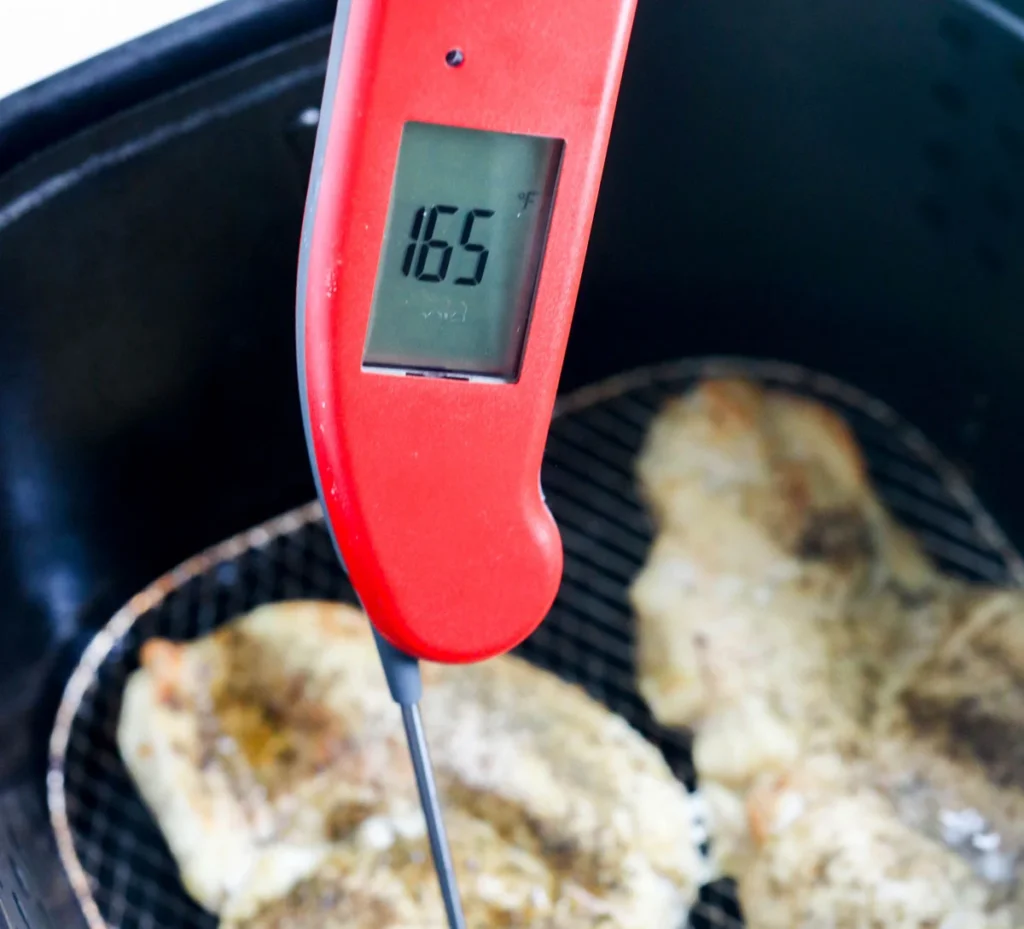
- Instant-Read Thermometer: Ensures your chicken reaches the safe internal temperature of 165°F, making sure it’s perfectly cooked and safe to eat.
Basic Ingredients
- Frozen Chicken Breasts: The star of the show. Use boneless, skinless chicken breasts for the best results.
- Olive Oil: Helps the seasoning stick to the chicken and adds a bit of healthy fat.
- Seasonings:
- Salt: Enhances the overall flavor.
- Pepper: Adds a slight kick.
- Garlic Powder: Provides a savory depth.
- Paprika: Adds color and a mild smokiness.
Step-by-Step Guide to Cooking Frozen Chicken Breast in an Air Fryer
Preparation
- Preheating the Air Fryer:
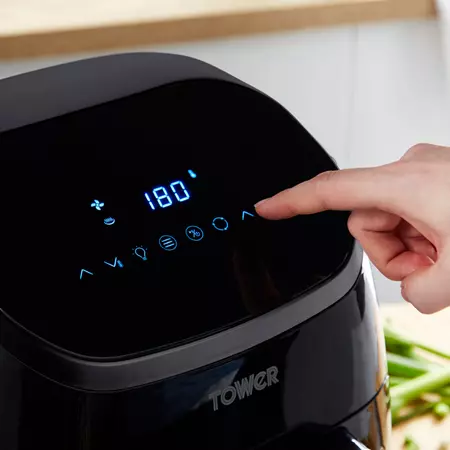
- Set Temperature: Preheat your air fryer to 375°F (190°C). This ensures the chicken starts cooking immediately upon placing it in the basket, leading to a more evenly cooked result.
- Duration: Let the air fryer preheat for about 3-5 minutes. Most air fryers will have a preheat setting or an indicator to let you know when it’s ready.
- Seasoning the Chicken Breast:
- Apply Olive Oil: Lightly coat the frozen chicken breasts with olive oil. This helps the seasonings adhere better and adds a bit of healthy fat.
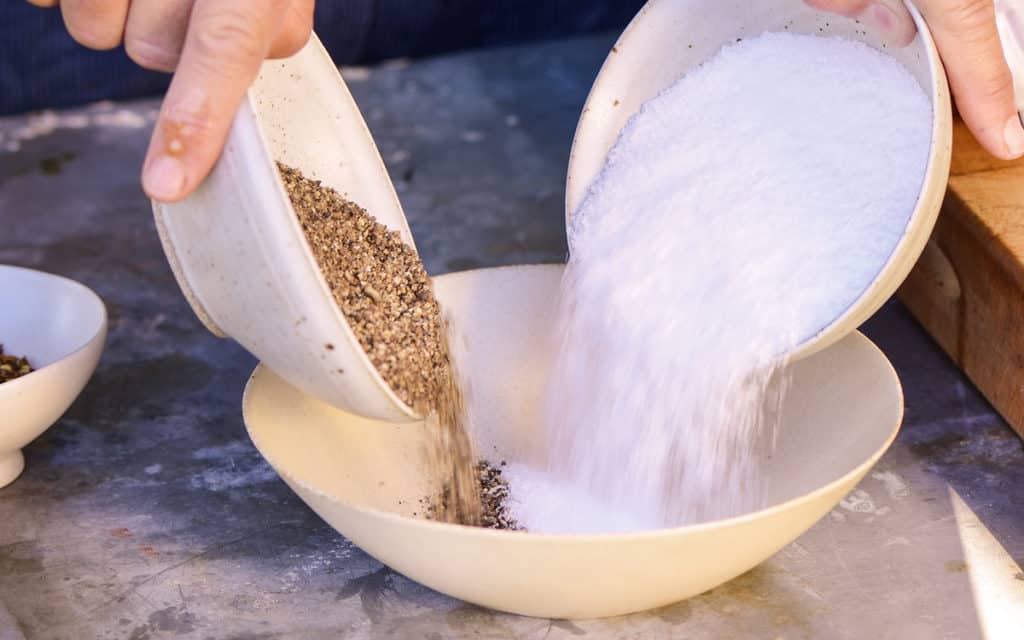
- Mix Seasonings: In a small bowl, mix together your seasonings – typically salt, pepper, garlic powder, and paprika. Adjust quantities to your taste preference.
- Season the Chicken: Sprinkle the seasoning mix evenly over the chicken breasts. Ensure both sides are well-coated for maximum flavor.
Cooking
- Placing Chicken in the Air Fryer Basket:
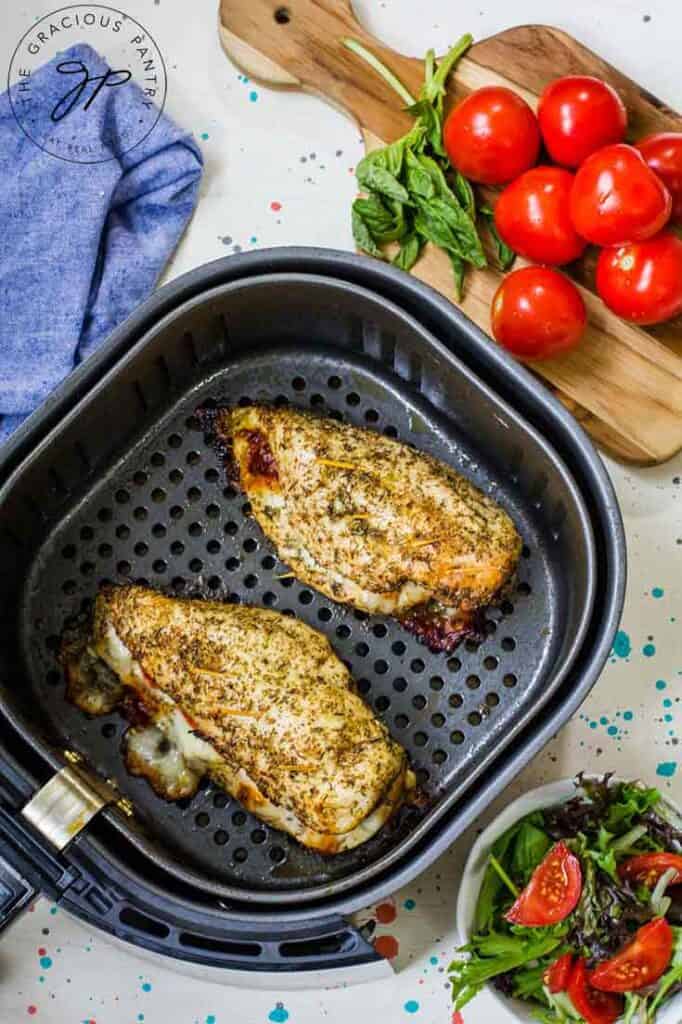
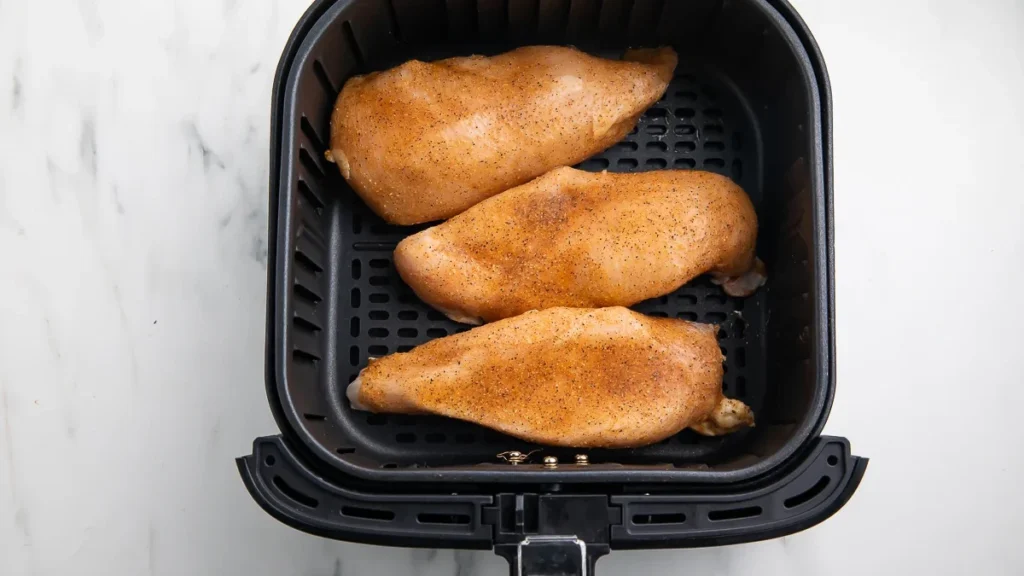
- Arrange Chicken: Place the seasoned chicken breasts in a single layer in the air fryer basket. Avoid overcrowding to ensure even cooking. If necessary, cook in batches.
- Setting the Appropriate Cooking Time and Temperature:
- Initial Cooking: Set the air fryer to 375°F (190°C) and cook the chicken for 25-30 minutes.
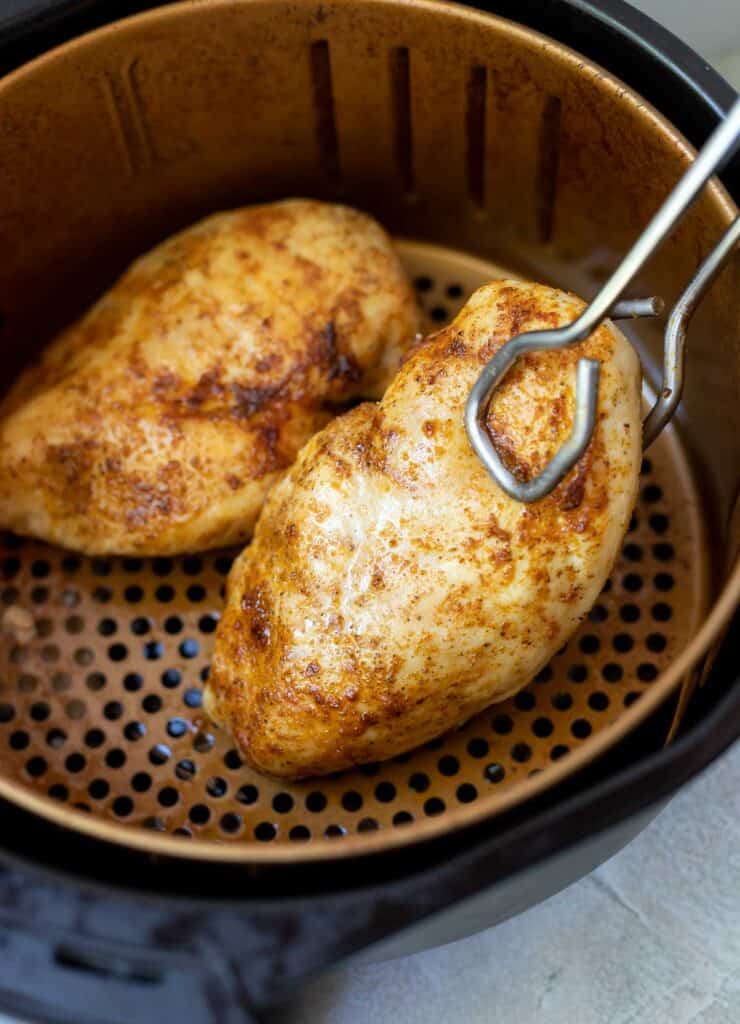
- Mid-Cooking Check: After the first 12-15 minutes, check the chicken. This is a good time to flip the chicken breasts to ensure even cooking on both sides. Flipping is optional but recommended for uniform results.
- Adjust if Needed: If your chicken breasts are particularly thick, they might need a bit more time. Conversely, thinner pieces might cook faster.
- Tips for Ensuring Even Cooking:
- Uniform Pieces: Try to use chicken breasts that are similar in size for more consistent cooking.
- Midway Flip: Flipping the chicken halfway through the cooking process helps in achieving an evenly crispy exterior.
Finishing
- Checking Internal Temperature for Doneness:
- Use Thermometer: Insert an instant-read thermometer into the thickest part of the chicken breast. The internal temperature should reach 165°F (74°C) to ensure it’s fully cooked and safe to eat.
- Additional Time: If the temperature hasn’t reached 165°F, continue cooking for another 2-5 minutes and recheck.
- Letting the Chicken Rest Before Serving:
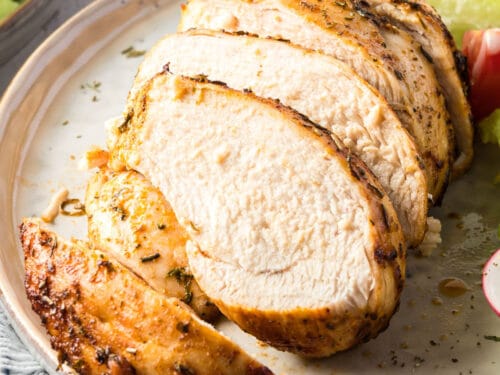
- Resting Period: Once the chicken is done, remove it from the air fryer and let it rest on a plate for 5 minutes. This allows the juices to redistribute throughout the meat, ensuring a juicier result.
- Covering: You can cover the chicken with foil during the resting period to keep it warm.
Tips for Perfect Air-Fried Chicken Breast
Adjusting Cooking Times Based on the Size of the Chicken Breasts
- Thickness Matters:
- Thicker chicken breasts will take longer to cook. For example, a 1-inch thick breast generally takes about 15-20 minutes, while a 2-inch thick breast can take 25-30 minutes.
- Use a meat mallet to pound thicker parts of the chicken breast to a uniform thickness. This helps ensure even cooking.
- Check Doneness Regularly:
- Start checking the internal temperature at the lower end of the cooking time range. This prevents overcooking and ensures the chicken remains juicy.
- Always aim for an internal temperature of 165°F (74°C) at the thickest part of the breast.
Using an Oil Spray for Even Coating
- Light and Even Coating:
- Use an oil spray to lightly coat the chicken breasts. This ensures the seasoning sticks well and promotes even browning.
- If you don’t have an oil spray, you can brush a thin layer of olive oil on the chicken using a silicone brush.
- Avoid Over-Oiling:
- Too much oil can cause the chicken to become greasy and prevent it from achieving a crispy exterior. A light mist is sufficient.
How to Ensure the Chicken Stays Juicy and Flavorful
- Season Generously:
- Don’t be shy with the seasonings. Salt, pepper, garlic powder, and paprika are great basics, but feel free to experiment with herbs and spices like rosemary, thyme, or chili powder for extra flavor.
- Resting Period:
- After cooking, let the chicken rest for at least 5 minutes. This resting period allows the juices to redistribute throughout the meat, resulting in a juicier bite.
- Cover While Resting:
- Cover the chicken with foil while it rests. This helps retain heat and keeps the chicken moist.
- Marinate if Time Permits:
- If you have extra time, marinate the chicken for a few hours before freezing. This can infuse additional flavors and help keep the chicken tender during cooking.
Serving Suggestions
Pairing Ideas
- Roasted Vegetables:
- Classic Combo: Pair your air-fried chicken breast with roasted vegetables like carrots, bell peppers, zucchini, and broccoli. Drizzle the veggies with olive oil, sprinkle with salt and pepper, and roast in the oven while the chicken cooks. The result is a healthy, colorful, and delicious meal.
- Salads:
- Light and Fresh: Serve the chicken over a fresh green salad with ingredients like mixed greens, cherry tomatoes, cucumbers, red onions, and avocado. Top with a light vinaigrette or your favorite salad dressing for a refreshing and nutritious option.
- Grains:
- Hearty and Filling: Complement the chicken with a side of quinoa, brown rice, or couscous. These grains add a satisfying element to your meal and can be seasoned with herbs, lemon zest, or a splash of olive oil for extra flavor.
- Pasta:
- Comfort Food: For a more indulgent option, serve the chicken breast with a side of pasta. Opt for whole grain or vegetable-based pasta for added nutrition, and toss with a light garlic and olive oil sauce or a classic marinara.
Storage and Reheating Tips for Leftovers
- Storage:
- Refrigeration: Store leftover air-fried chicken breasts in an airtight container in the refrigerator. They will stay fresh for up to 3-4 days.
- Freezing: For longer storage, you can freeze the cooked chicken breasts. Wrap them tightly in plastic wrap or aluminum foil, then place them in a freezer-safe bag or container. They can be stored for up to 3 months.
- Reheating:
- Air Fryer: To retain the crispiness, reheat the chicken in the air fryer. Preheat the air fryer to 350°F and cook the chicken for 5-7 minutes, or until heated through.
- Microwave: If you’re in a hurry, you can reheat the chicken in the microwave. Place the chicken on a microwave-safe plate, cover it with a damp paper towel, and heat on medium power for 1-2 minutes, or until warmed through.
- Oven: For a larger batch, reheat the chicken in the oven. Preheat the oven to 350°F, place the chicken on a baking sheet, and cover it with aluminum foil. Heat for 10-15 minutes, or until hot.
Common Mistakes to Avoid
Overcrowding the Air Fryer Basket
- Even Air Circulation:
- Mistake: Overcrowding the basket can block the hot air from circulating evenly around the chicken breasts, leading to uneven cooking.
- Solution: Arrange the chicken in a single layer without overlapping. If you need to cook a larger quantity, do it in batches to ensure each piece cooks thoroughly and evenly.
Not Preheating the Air Fryer
- Optimal Cooking Temperature:
- Mistake: Skipping the preheating step means your chicken won’t start cooking at the optimal temperature, which can result in longer cooking times and less crispy results.
- Solution: Always preheat your air fryer to the recommended temperature before adding your chicken. Most air fryers have a preheat function or you can run it at the desired temperature for 3-5 minutes.
Skipping the Resting Step After Cooking
- Juicier Chicken:
- Mistake: Cutting into the chicken immediately after cooking allows the juices to escape, making the meat dry.
- Solution: Let the chicken rest for at least 5 minutes after cooking. This resting period allows the juices to redistribute throughout the meat, ensuring a juicier and more flavorful result.
FAQs
Conclusion
Air frying frozen chicken breasts offers numerous benefits, making it a fantastic cooking method for quick, healthy meals. The convenience of not needing to thaw the chicken, combined with the health advantages of using less oil, makes air frying an excellent choice for anyone looking to enjoy delicious and nutritious food with minimal effort. Additionally, the time-saving aspect of air frying means you can have a perfectly cooked meal on the table in about 30 minutes or less.
We encourage you to try this recipe and experiment with different seasonings to keep things exciting. Whether you prefer classic flavors or want to spice things up with unique blends, the air fryer allows for endless culinary creativity. Enjoy your perfectly air-fried chicken breasts with a variety of sides for a well-rounded and satisfying meal.
Additional Resources
Links to Other Air Fryer Recipes and Tips
- Simply Air Fryer – Air Fryer Frozen Chicken Breast
- Air Fryer Eats – Frozen Chicken Breast
- Thyme and Joy – Air Fryer Frozen Chicken Breast
Recommendations for Air Fryer Models and Accessories
- Air Fryers:
- Ninja Foodi 9-in-1 Deluxe XL
- Philips Premium Airfryer XXL
- COSORI Air Fryer Max XL
- Accessories:
- Instant-Read Thermometer: Ensures your chicken reaches the safe internal temperature.
- Oil Spray Bottle: Helps in applying a light, even coat of oil.
- Silicone Tongs: For safely handling the hot chicken breasts.
Disclosure: Our blog contains affiliate links to products. We may receive a commission for purchases made through these links. However, this does not impact our reviews and comparisons. We try our best to keep things fair and balanced, in order to help you make the best choice for you.

