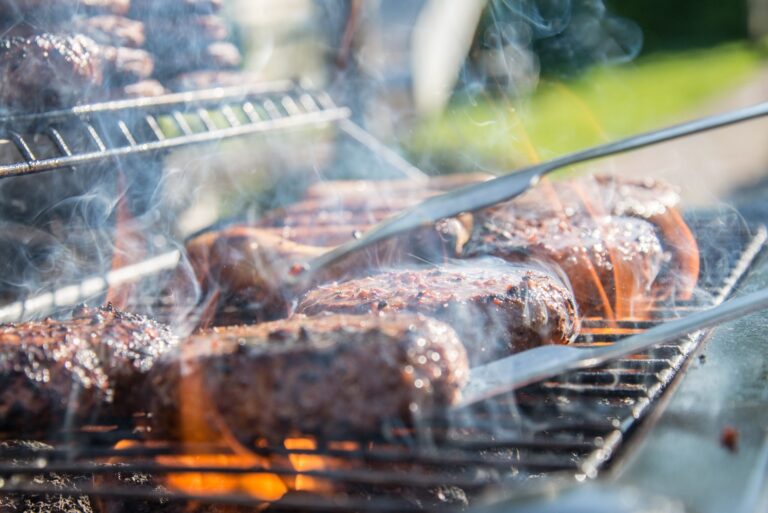
How To Can BBQ Sauce – Canning Guide
Welcome to the ultimate guide on how to can BBQ sauce! If you’re like me, you know there’s nothing quite like the smoky, tangy goodness of homemade barbecue sauce. Canning your own BBQ sauce not only preserves that delicious flavor but also gives you a sense of accomplishment and a pantry stocked with your very own creation.
In this guide, we’ll walk you through the entire process, from prepping your ingredients to sealing those jars. Whether you’re a seasoned canner or a newbie in the kitchen, this guide will have you canning BBQ sauce like a pro in no time. Let’s dive in and get started on making and preserving this mouth-watering sauce!
Why Can Your Own Barbecue Sauce?
Canning your own barbecue sauce isn’t just a culinary adventure; it’s a game-changer in your kitchen. Here’s why you should consider making and preserving your own BBQ sauce:
1. Flavor Customization: When you make your own barbecue sauce, you have complete control over the flavor profile. Want it smokier? Add more liquid smoke. Prefer it sweet? Increase the honey or brown sugar. Enjoy a bit of heat? Throw in some extra chili peppers. The possibilities are endless, and you can tailor the sauce exactly to your taste.
2. No Preservatives: Store-bought sauces often contain preservatives and artificial ingredients to extend shelf life. By canning your own sauce, you can ensure that what you’re eating is pure and natural. You get to skip the high fructose corn syrup, artificial flavors, and colorings that you might find on supermarket shelves.
3. Quality Ingredients: When you make your own BBQ sauce, you choose the quality of the ingredients. Fresh tomatoes, organic spices, and high-quality vinegar can make a world of difference in the final product. You know exactly what’s going into your sauce, and you can keep it as healthy and wholesome as you like.
Ingredients Required
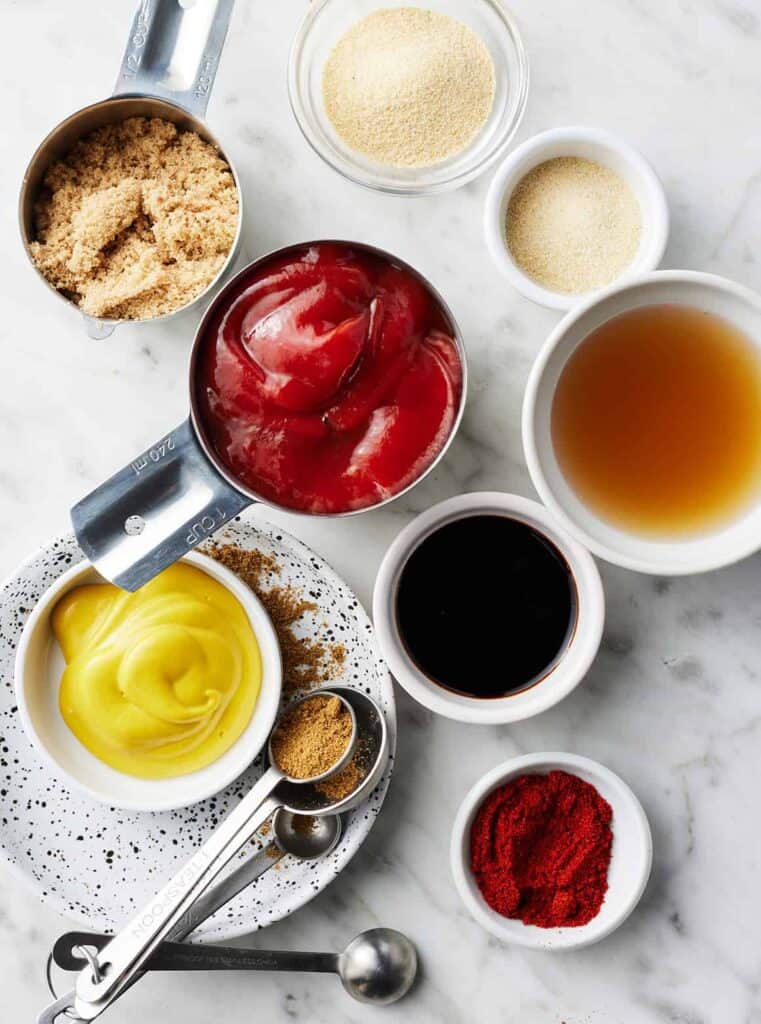
To make the ultimate homemade BBQ sauce, you’ll need a solid foundation of core ingredients and some additional flavor enhancers to customize the sauce to your liking. Here’s a detailed list of everything you’ll need:
Core Ingredients
These ingredients form the backbone of your BBQ sauce:
- Tomatoes: Fresh or canned tomatoes (about 5 pounds fresh or 2 quarts canned)
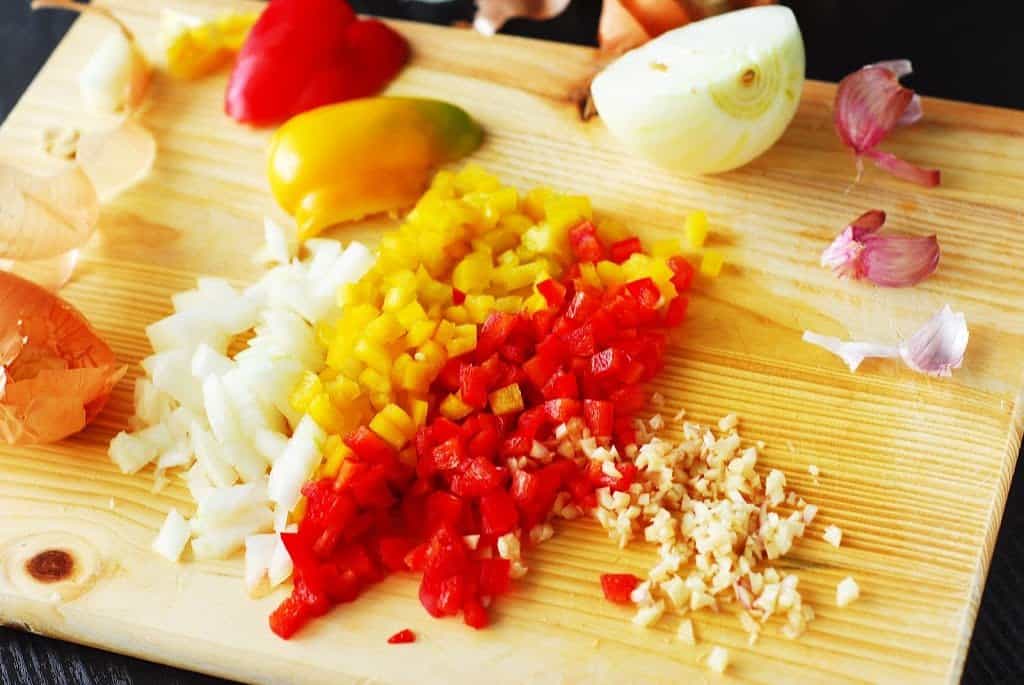
- Peppers: 1-2 bell peppers (red or green), finely chopped
- Onions: 1 large onion, finely chopped
- Garlic: 4-5 cloves, minced
- Brown Sugar: 1 cup (for sweetness)
- Molasses: 1/2 cup (adds depth and richness)
- Apple Cider Vinegar: 1 cup (for tanginess)
- Tomato Paste: 1 small can (6 ounces)
- Worcestershire Sauce: 2 tablespoons
- Yellow Mustard: 2 tablespoons
- Salt: 1 tablespoon
- Black Pepper: 1 teaspoon
- Cayenne Pepper: 1/2 teaspoon (adjust to taste)
- Paprika: 2 teaspoons
Additional Flavor Enhancers
Customize your BBQ sauce with these optional ingredients to add depth and complexity:
- Smoked Paprika: 2 teaspoons (for a smoky flavor)
- Liquid Smoke: 1 teaspoon (adds a robust smoky taste)
- Chiles: Chipotle, jalapeño, or habanero (1-2, finely chopped for heat)
- Honey or Maple Syrup: 1/4 cup (alternative sweeteners)
- Soy Sauce: 2 tablespoons (adds umami)
- Bourbon or Whiskey: 1/4 cup (for a rich, complex flavor)
- Pineapple Juice: 1/2 cup (adds sweetness and a hint of tropical flavor)
- Cumin: 1 teaspoon (adds warmth)
- Ground Cloves: 1/4 teaspoon (for a subtle, spicy note)
- Apple Juice: 1/2 cup (alternative tanginess)
Equipment Needed for Canning
Canning your homemade BBQ sauce requires some specific equipment to ensure a safe and successful process. Here’s a list of essential tools and supplies you’ll need:
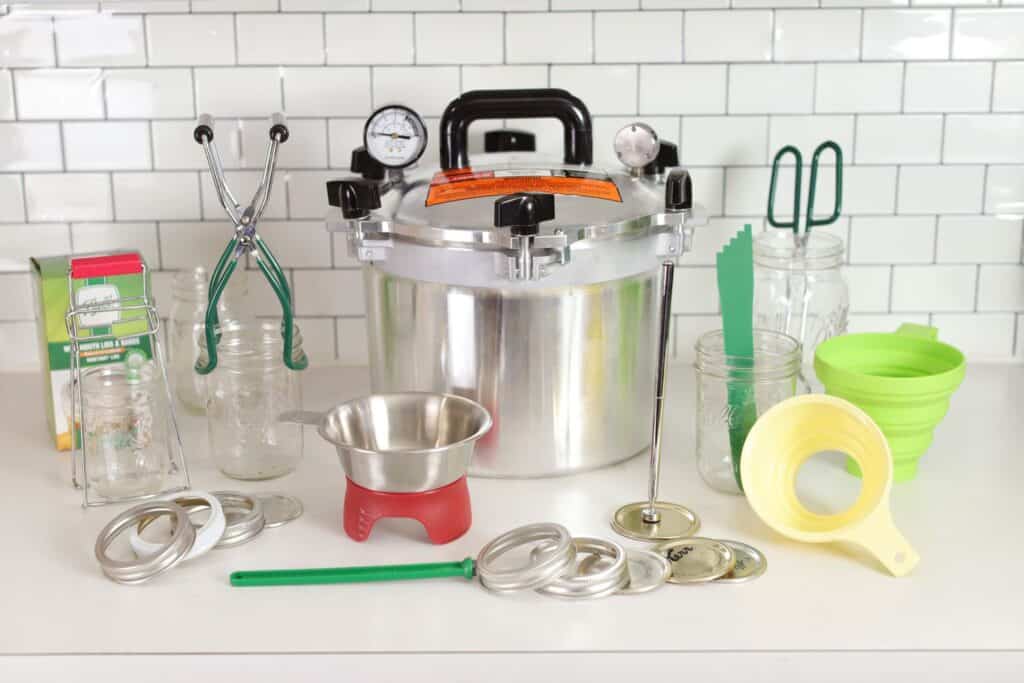
- Canning Jars:
- Quart or pint-sized jars, depending on your preference. Make sure they are specifically designed for canning, with no chips or cracks.
- Lids and Bands:
- New lids with sealing compound (never reuse lids).
- Reusable bands to secure the lids during processing.
- Water Bath Canner:
- A large pot deep enough to hold your jars submerged in water with a rack at the bottom to prevent jars from direct contact with the pot.
- Jar Lifter:
- Special tongs designed to lift hot jars safely out of boiling water.
- Canning Funnel:
- A wide-mouth funnel to help you pour the sauce into jars without spilling.
- Bubble Remover/Headspace Tool:
- A plastic or wooden tool to remove air bubbles from the jars and ensure proper headspace.
- Ladle:
- A ladle for transferring the BBQ sauce into the jars.
- Clean Towels:
- For wiping the rims of jars before sealing and for handling hot jars.
- Magnetic Lid Lifter:
- A handy tool to lift lids out of hot water without touching them, ensuring they stay sterile.
- Timer:
- To keep track of processing time accurately.
Optional but Helpful Tools:
- Jar Labels:
- For labeling your jars with the date and type of sauce.
- Cooling Rack:
- A rack to place your jars on after processing, allowing them to cool properly.
- Canning Cookbook or Guide:
- While not equipment, having a reliable canning guide or cookbook can provide additional tips and recipes.
Preparing the Ingredients
Before we dive into cooking and canning, it’s crucial to properly prepare your vegetables and spices. Here’s a step-by-step guide to ensure everything is ready for making your BBQ sauce.
Cleaning and Chopping
- Tomatoes:
- Cleaning: Rinse tomatoes under cold water to remove any dirt or pesticides.
- Peeling (optional): For a smoother sauce, blanch the tomatoes in boiling water for 1 minute, then transfer them to an ice bath. The skins should peel off easily.
- Chopping: Core the tomatoes and chop them into small pieces. If using canned tomatoes, skip this step but make sure to drain any excess liquid.
- Bell Peppers:
- Cleaning: Rinse peppers under cold water.
- Chopping: Cut off the tops, remove the seeds and membranes, and finely chop the peppers.
- Onions:
- Cleaning: Remove the outer skin.
- Chopping: Finely chop the onions. You can use a food processor to save time and get uniform pieces.
- Garlic:
- Cleaning: Peel the cloves.
- Chopping: Mince the garlic finely. A garlic press can make this task quicker.
- Additional Vegetables (if using):
- Cleaning: Follow similar cleaning steps as above.
- Chopping: Finely chop any additional vegetables like jalapeños or chiles.
Measuring and Adjustments
Accurate measurement of ingredients ensures the consistency and balance of your BBQ sauce. Here’s how to do it right:
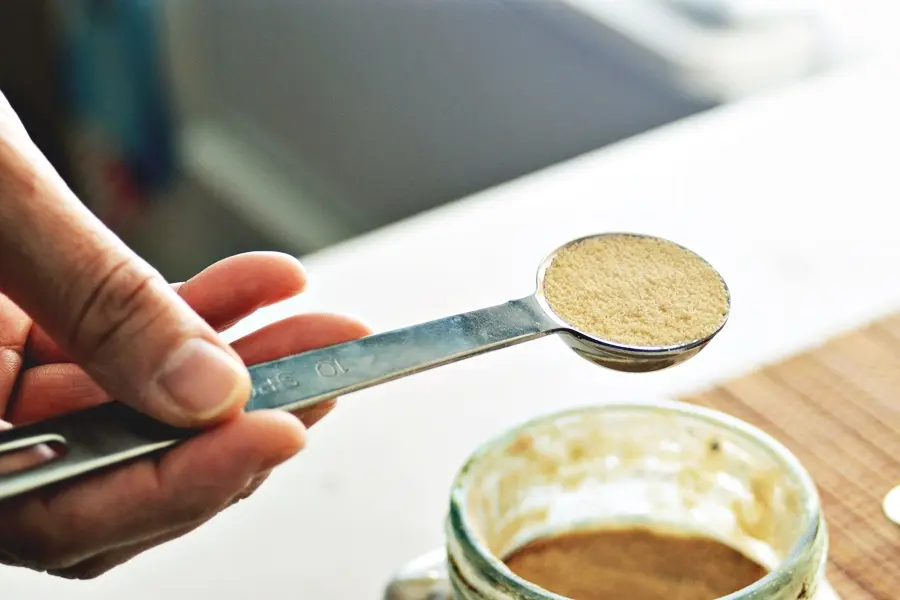
- Measuring Dry Ingredients:
- Use dry measuring cups for ingredients like brown sugar and spices. Level off each measurement with a straight edge for accuracy.
- For spices, use measuring spoons and ensure they are leveled for precise amounts.
- Measuring Liquid Ingredients:
- Use liquid measuring cups for ingredients like vinegar, molasses, and any juices.
- Pour the liquid in until it reaches the desired mark, checking at eye level for accuracy.
- Adjusting for Taste:
- Sweetness: Adjust the amount of brown sugar or molasses based on your preference for sweetness.
- Heat: Add more or fewer chiles, cayenne pepper, or hot sauce depending on how spicy you like your sauce.
- Tanginess: Increase or decrease the amount of apple cider vinegar to achieve your desired level of tang.
- Smokiness: Adjust the quantity of smoked paprika or liquid smoke to control the smoky flavor.
Cooking Process
With all your ingredients prepped and ready, it’s time to combine and cook them into a rich, flavorful BBQ sauce. Here’s a step-by-step guide:
Combining Ingredients
- Select Your Cooking Vessel:
- Use a large, heavy-bottomed pot or Dutch oven to prevent the sauce from sticking and burning.
- Heat the Pot:
- Begin by heating the pot over medium heat.
- Sauté Aromatics:
- Add a small amount of oil (about 1-2 tablespoons) to the pot.
- Once the oil is hot, add the chopped onions and sauté until they become translucent, about 5-7 minutes.
- Add the minced garlic and chopped bell peppers, and continue to sauté for another 3-4 minutes until they are softened and fragrant.
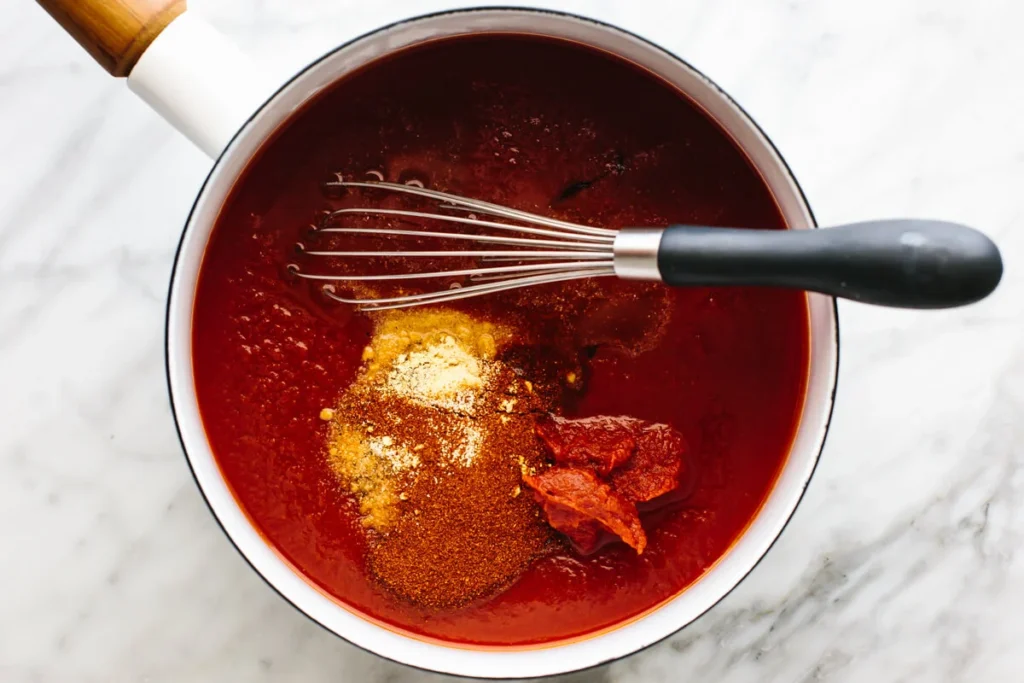
- Add Core Ingredients:
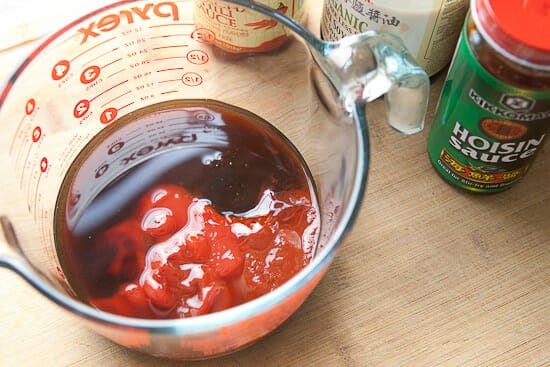
- Add the chopped tomatoes (or canned tomatoes) to the pot. Stir well to combine.
- Add the tomato paste, brown sugar, molasses, apple cider vinegar, Worcestershire sauce, and yellow mustard. Stir thoroughly to ensure all ingredients are well mixed.
- Seasoning:
- Add the salt, black pepper, cayenne pepper, and paprika. Stir to incorporate the spices evenly throughout the mixture.
Simmering the Sauce
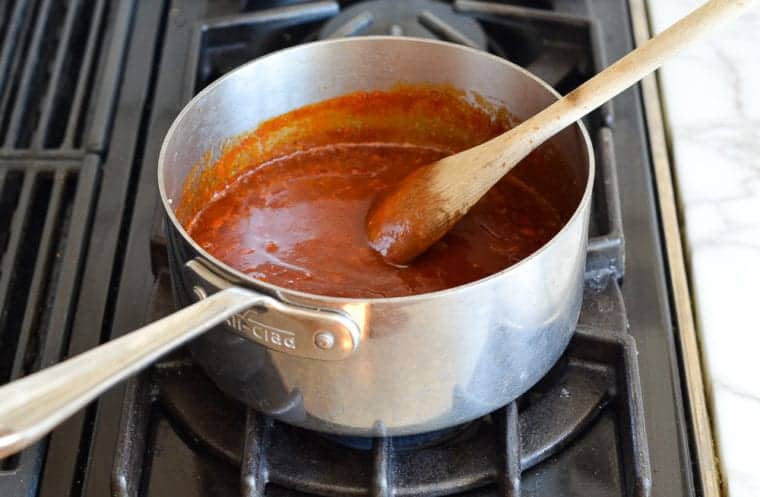
- Initial Simmer: Bring the mixture to a gentle boil over medium-high heat, stirring occasionally to prevent sticking.
- Reduce Heat: Once the mixture reaches a boil, reduce the heat to low to maintain a gentle simmer.
- Simmering Time:
- Allow the sauce to simmer uncovered for about 1-2 hours. Stir occasionally to ensure the sauce does not stick to the bottom of the pot.
- The sauce will thicken as it cooks. If it becomes too thick, you can add a little water or apple juice to reach your desired consistency.
- Adjusting Flavor:
- Taste the sauce periodically during simmering. Adjust the seasoning as needed by adding more salt, sugar, or vinegar to balance the flavors.
- If you prefer a smoother sauce, use an immersion blender directly in the pot to puree the sauce to your desired consistency.
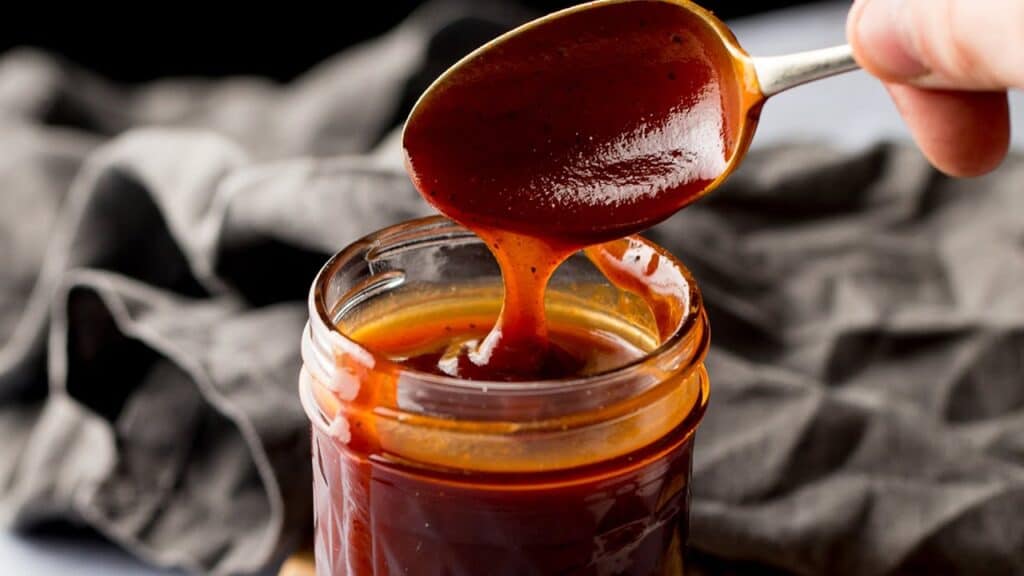
- Final Consistency: The sauce is ready when it has thickened to a rich, smooth consistency and the flavors are well blended. It should coat the back of a spoon without being too runny.
- Cooling the Sauce (if needed): If you prefer to can the sauce at a cooler temperature, allow it to cool slightly before transferring it to jars.
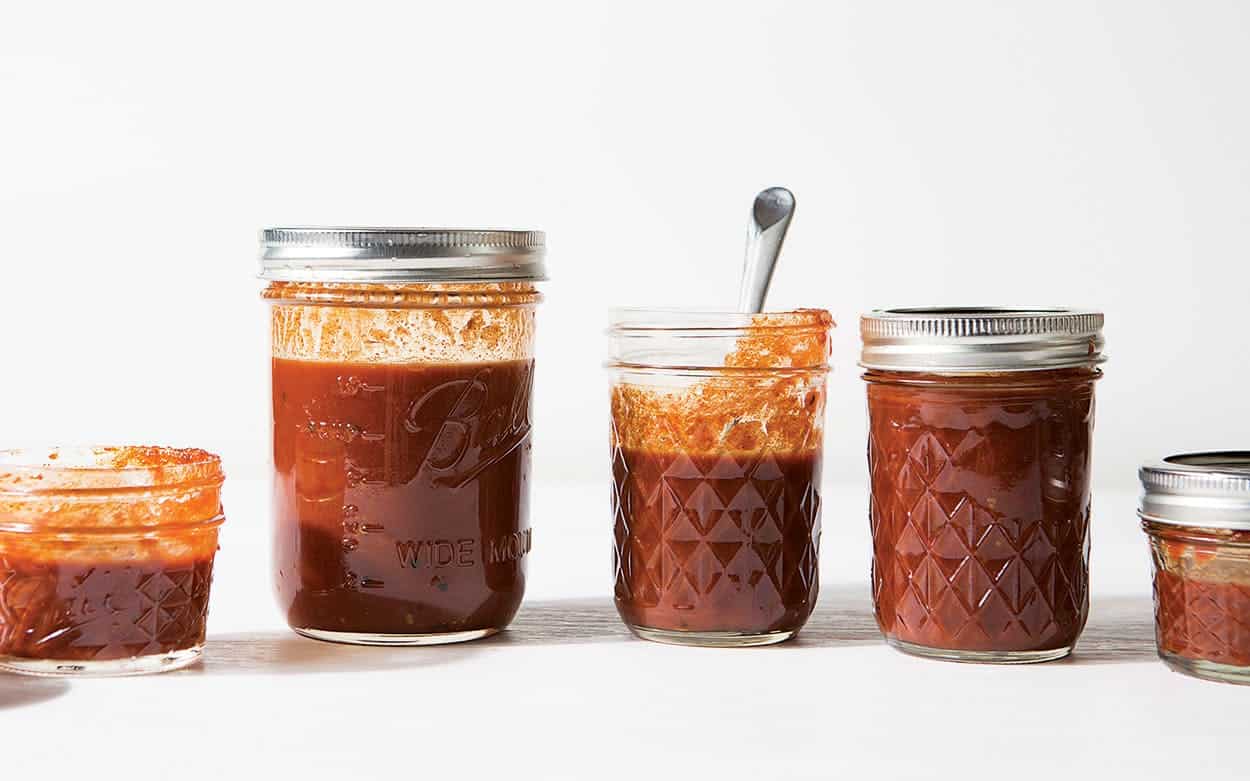
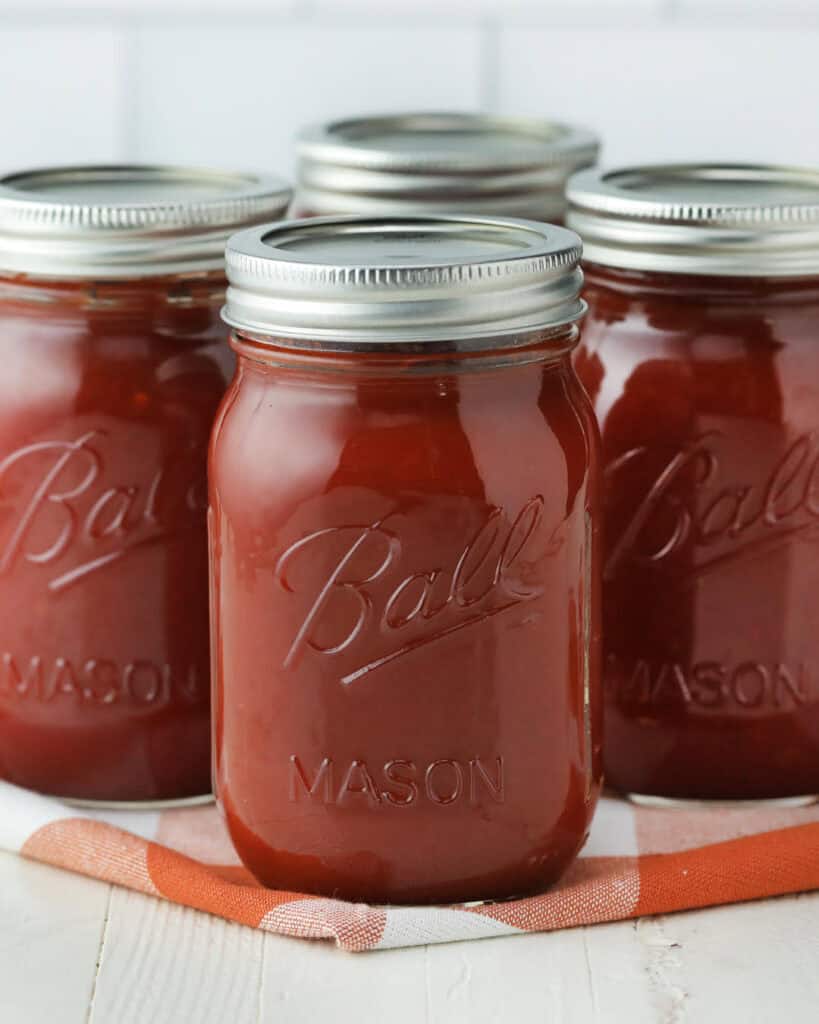
Canning Process
Canning your homemade BBQ sauce ensures it stays fresh and delicious for months. Follow these steps to can your sauce safely and effectively.
Sterilizing the Jars
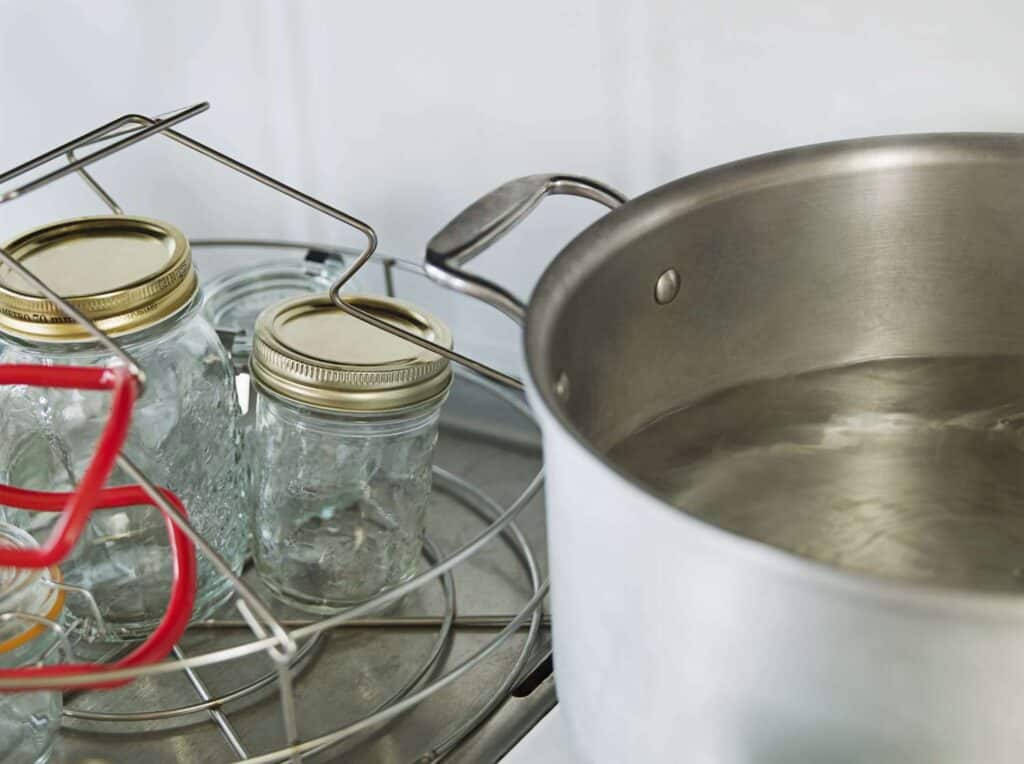
- Prepare Your Equipment:
- Gather your canning jars, lids, and bands. Inspect them for any cracks or chips.
- Wash the Jars:
- Wash the jars, lids, and bands in hot, soapy water. Rinse them thoroughly.
- Sterilize the Jars:
- Place the jars in a large pot or water bath canner and cover them with water.
- Bring the water to a boil and let the jars boil for at least 10 minutes to sterilize them.
- Keep the jars hot until you are ready to fill them.
- Prepare the Lids:
- Place the lids in a small saucepan and cover them with water.
- Heat the water to just below boiling (simmer) and keep the lids in hot water until ready to use. This helps soften the sealing compound
Filling the Jars
- Remove Jars from the Water: Use a jar lifter to carefully remove the sterilized jars from the hot water. Place them on a clean towel or rack.
- Fill the Jars: Place a canning funnel in the jar and ladle the hot BBQ sauce into the jar, leaving about 1/2 inch of headspace at the top then use a bubble remover or a non-metallic utensil to remove any air bubbles by gently sliding it down the sides of the jar.
- Clean the Jar Rims: Wipe the rims of the jars with a clean, damp cloth to ensure there is no sauce residue that could interfere with sealing.
- Apply the Lids and Bands: Use the magnetic lid lifter to place a hot lid on each jar. Screw on the bands until they are fingertip-tight (do not over-tighten).
Processing the Jars
- Prepare the Water Bath Canner:
- Fill the water bath canner with enough water to cover the jars by at least 1 inch. Begin heating the water.
- Place the Jars in the Canner:
- Use the jar lifter to carefully place the filled jars into the canner. Make sure the jars are not touching each other.
- Process the Jars:
- Once all the jars are in the canner, bring the water to a full rolling boil.
- Process pint jars for 20 minutes and quart jars for 30 minutes. Adjust the processing time if you are at a higher altitude (consult a canning guide for specific adjustments).
- Remove and Cool the Jars:
- After the processing time is complete, turn off the heat and carefully remove the canner lid. Allow the jars to sit in the water for 5 minutes.
- Use the jar lifter to remove the jars from the canner and place them on a towel or cooling rack. Allow the jars to cool undisturbed for 12-24 hours.
- Check the Seals:
- Once the jars are completely cool, check the seals by pressing down on the center of each lid. If the lid does not pop up, the jar is sealed properly.
- Any jars that did not seal properly should be refrigerated and used within a few weeks.
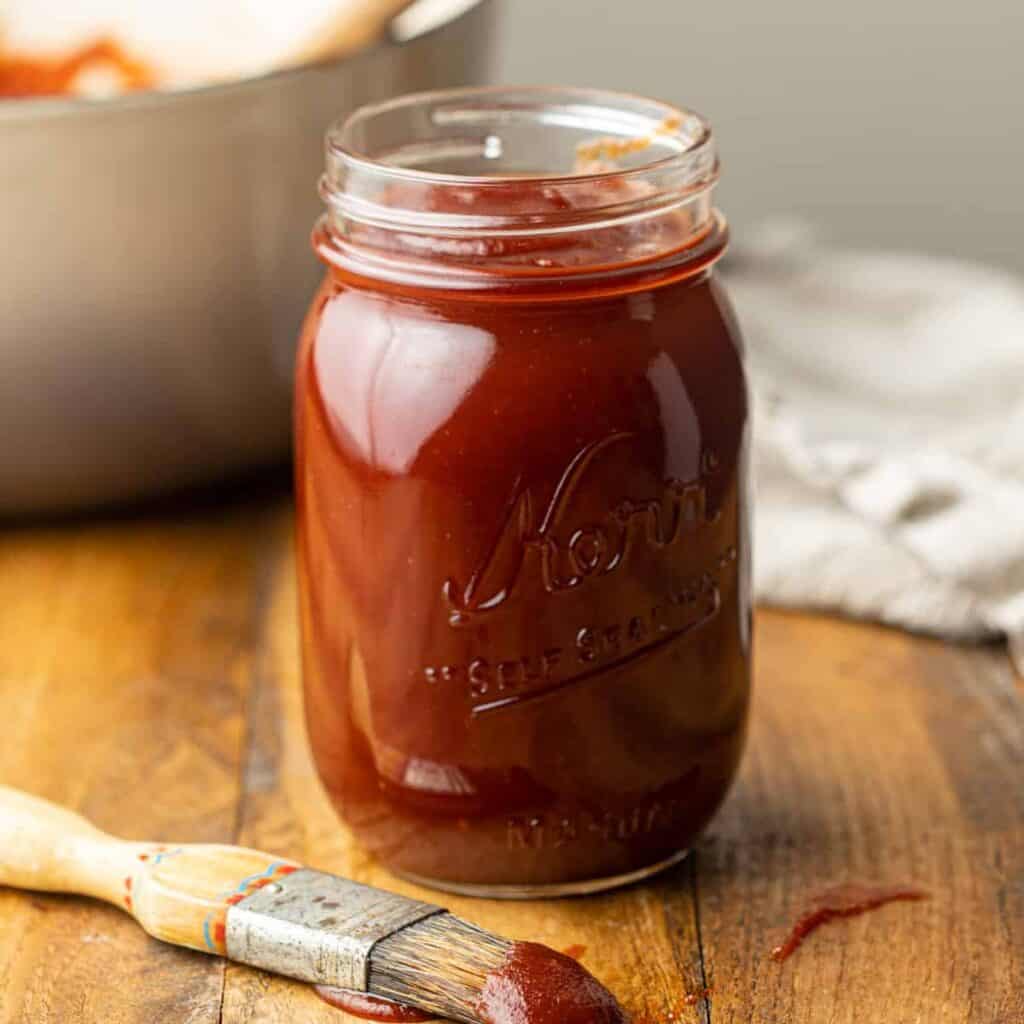
- Store the Jars:
- Label the jars with the date and contents. Store them in a cool, dark place.
After Canning
Now that your BBQ sauce is safely canned, it’s essential to store it properly and ensure that the seals are intact for long-term preservation. Here are the guidelines process of preserving BBQ sauce using canning methods:
Storing the Canned BBQ Sauce
- Cool and Dry Place: Store your canned BBQ sauce in a cool, dark, and dry place. A pantry, cupboard, or basement works well. The ideal storage temperature is between 50°F and 70°F (10°C to 21°C).
- Avoid Direct Sunlight: Keep the jars away from direct sunlight. Exposure to light can degrade the quality and color of the sauce over time.
- Check for Moisture:
- Ensure that the storage area is not too humid. Excessive moisture can cause the lids to rust and compromise the seals.
- Labeling: Label each jar with the date of canning and the type of sauce. This helps you keep track of how long the sauce has been stored and ensures you use the oldest jars first.
Checking for Proper Seals
- Cooling Period:Allow the jars to cool undisturbed for 12-24 hours after processing. This cooling period is crucial for the seals to form properly.
- Visual Inspection: Once the jars have cooled, inspect the lids. A properly sealed lid will be concave (curved inward) and should not move when pressed in the center.
- Seal Test: Press down on the center of each lid. If the lid does not pop up, the jar is sealed correctly. If it does pop up, the jar did not seal properly and should be refrigerated and used within a few weeks.
- Tapping Test: Tap the lid with the back of a spoon. A properly sealed jar will produce a high-pitched, ringing sound, while an unsealed jar will produce a dull sound.
- Reprocessing (if necessary): If any jars did not seal properly, you can reprocess them within 24 hours. Remove the lids, check the rims for any food particles or damage, clean the rims, use new lids, and reprocess using the same method.
Long-Term Storage Tips

- Shelf Life: Properly canned BBQ sauce can last for up to one year. For the best flavor and quality, aim to use it within this time frame.
- Regular Checks: Periodically check your stored jars for any signs of spoilage, such as bulging lids, leaking, or off smells. Discard any jars that show these signs.
- Rotate Stock: Use the “first in, first out” method to ensure you use your oldest jars first, keeping your stock fresh.
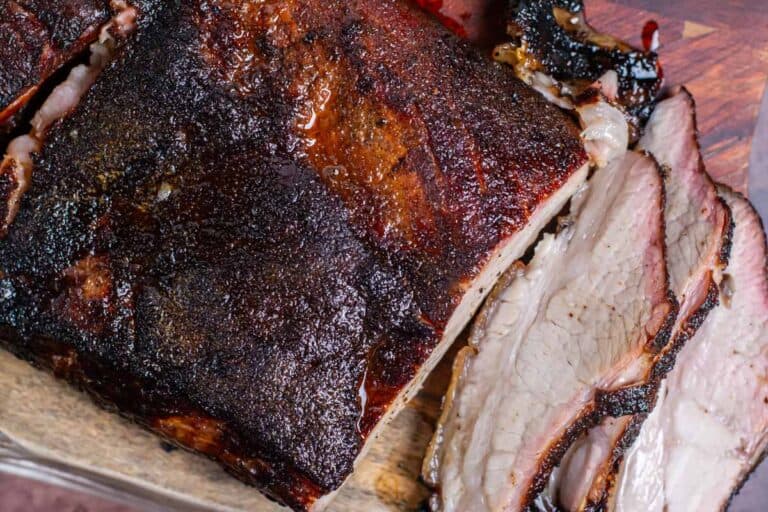
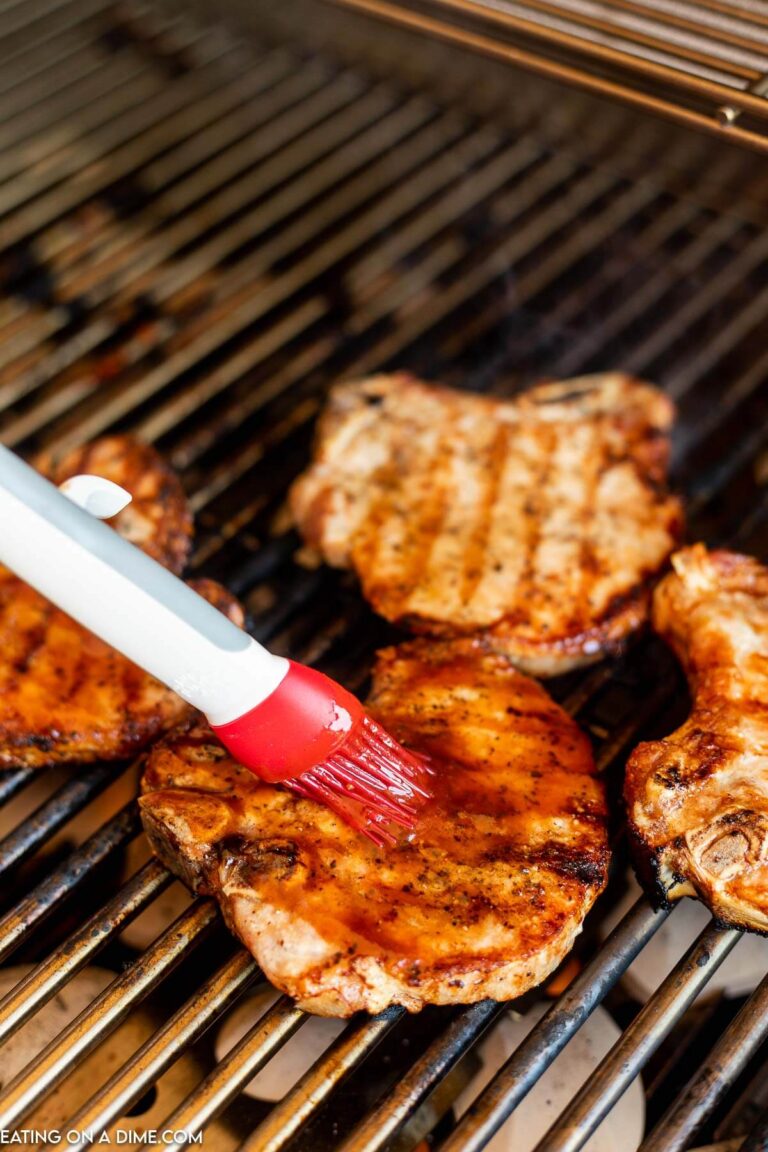
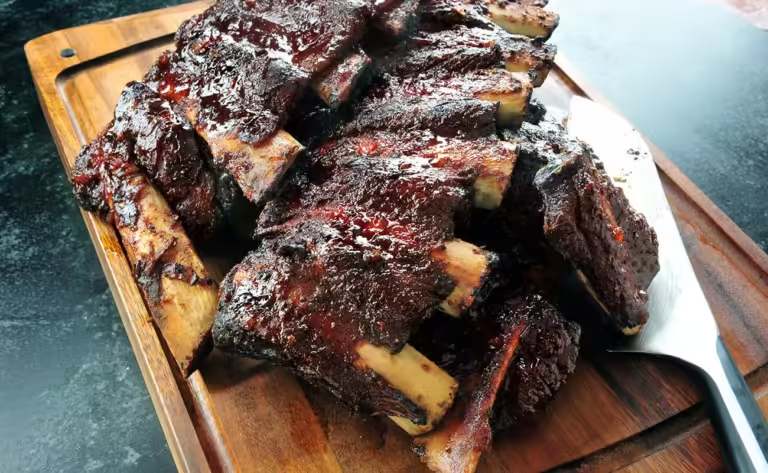
Creative Ways to Use Canned Sauce
Your homemade BBQ sauce isn’t just for ribs and chicken—there are countless ways to use this flavorful condiment to elevate your meals. Here are some creative ideas:
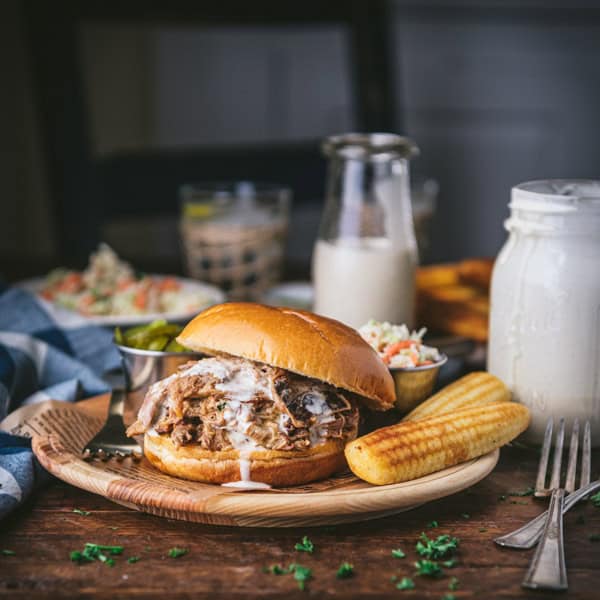
- BBQ Pulled Pork Sandwiches: Slow-cook a pork shoulder with your BBQ sauce until it’s tender and shreddable. Pile it high on a bun with coleslaw for a classic sandwich.
- Grilled BBQ Pizza: Use your sauce as the base for a delicious grilled pizza. Top with chicken, red onions, and cilantro for a BBQ chicken pizza that’s sure to impress.
- BBQ Meatloaf: Add a smoky twist to your meatloaf by mixing some BBQ sauce into the meat mixture and glazing the top with more sauce before baking.
- BBQ Baked Beans: Stir your BBQ sauce into a pot of baked beans for a rich, tangy flavor that pairs perfectly with any cookout.
- BBQ Chicken Tacos: Toss shredded chicken in your sauce and serve it in warm tortillas with fresh salsa, avocado, and a squeeze of lime.
- BBQ Salad Dressing: Mix BBQ sauce with olive oil and a bit of vinegar to create a unique and flavorful salad dressing.
- BBQ Shrimp Skewers:
- Marinate shrimp in BBQ sauce and grill them on skewers for a quick and tasty appetizer or main dish.
Looking for more sauce recipes? Check out our Hot BBQ Sauce to add some heat to your collection.
Troubleshooting Common Canning Issues
Even the best canners can encounter problems. Here’s how to handle some common canning issues:
Jar Sealing Failures
- Improper Sealing:
- Cause: Food residue on the jar rim, old or defective lids, or not enough processing time.
- Solution: Ensure rims are clean before sealing, use new lids, and follow processing times accurately. If jars don’t seal, refrigerate and use within a few weeks or reprocess within 24 hours with new lids.
- Band Too Tight or Too Loose:
- Cause: Bands that are too tight can prevent air from escaping during processing; too loose can cause lids to not seal properly.
- Solution: Tighten bands to fingertip tightness, ensuring they are secure but not overly tight.
Sauce Separation
- Separation During Storage:
- Cause: Natural separation can occur, especially if the sauce wasn’t cooked long enough or blended well.
- Solution: Shake the jar before using to recombine the ingredients. Ensure thorough cooking and blending next time.
- Thickening Issues:
- Cause: Sauce may be too thin due to insufficient simmering time.
- Solution: Simmer sauce longer until it reaches the desired consistency. You can also add a thickening agent like tomato paste.
Spoilage
- Off Smell or Appearance:
- Cause: Contamination during canning or improper storage.
- Solution: Discard any jars with off smells, colors, or signs of mold. Ensure proper canning techniques and storage conditions.
- Bulging Lids:
- Cause: Gas formation from spoilage organisms.
- Solution: Do not consume. Discard the entire jar and contents. Review canning procedures for possible errors.
FAQs
Disclosure: Our blog contains affiliate links to products. We may receive a commission for purchases made through these links. However, this does not impact our reviews and comparisons. We try our best to keep things fair and balanced, in order to help you make the best choice for you.
2 Comments