How to Trim a Brisket: A Step By Step Guide
Welcome to our comprehensive guide on how to trim a brisket. If you’re aiming for that perfect smoke and mouth-watering tenderness, mastering the art of trimming is a must. Whether you’re a seasoned pitmaster or a backyard BBQ enthusiast, this step-by-step guide will take you through everything you need to know to get your brisket ready for the smoker.
What Trimming a Brisket is?
Trimming brisket refers to the process of removing excess fat and undesirable parts from a beef brisket before cooking it. Brisket is a tough cut of meat from the chest of a cow, and it typically consists of two main parts: the flat and the point. Trimming is done to prepare the brisket for smoking, barbecuing, or slow-cooking, as it helps improve the flavor, texture, and appearance of the final dish.

Reasons You Need To Know How To Trim a Brisket
Knowing how to trim a brisket is an essential skill for anyone who enjoys barbecue or smoking meats. Here are several reasons why it’s important to know how to trim a brisket:
- Improved Flavor: Trimming allows you to remove excess fat and undesirable parts of the brisket, resulting in a more balanced flavor profile. By reducing excessive fat, you can better control the meat-to-fat ratio, ensuring that the seasoning and smoke penetrate the meat more effectively.
- Better Texture: Trimming helps create a more consistent thickness in the brisket, which leads to more even cooking.
- Smoke Absorption: Removing the fat cap and silver skin during trimming allows the meat to absorb the smoke more readily.
- Customization: Knowing how to trim a brisket allows you to customize the cut to your preferences. You can choose the level of marbling, fat, and meat that suits your taste.
How to Trim a Brisket: A Step-by-Step Guide
Tools Needed:
- Quality Brisket Knife: Sharp, long-bladed knife, ideally a boning or fillet knife.
- Cutting Board: Sturdy, large, and easy to clean.
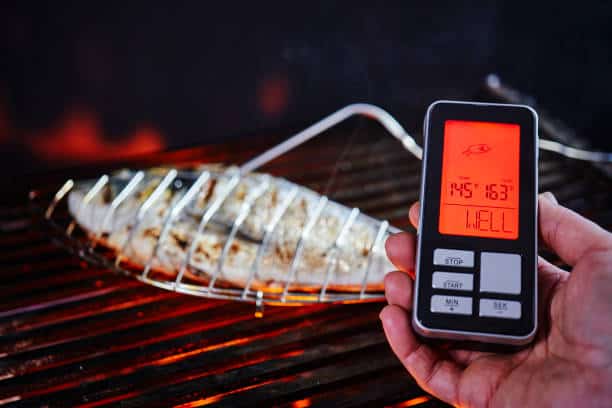
- Meat Thermometer: Ensures perfect cooking post-trim.
- Sharpie or Chalk: Marks the grain direction for slicing.
- Tongs or Meat Claws: For flipping and maneuvering the brisket.
- Gloves: Optional, for better grip and cleanliness.
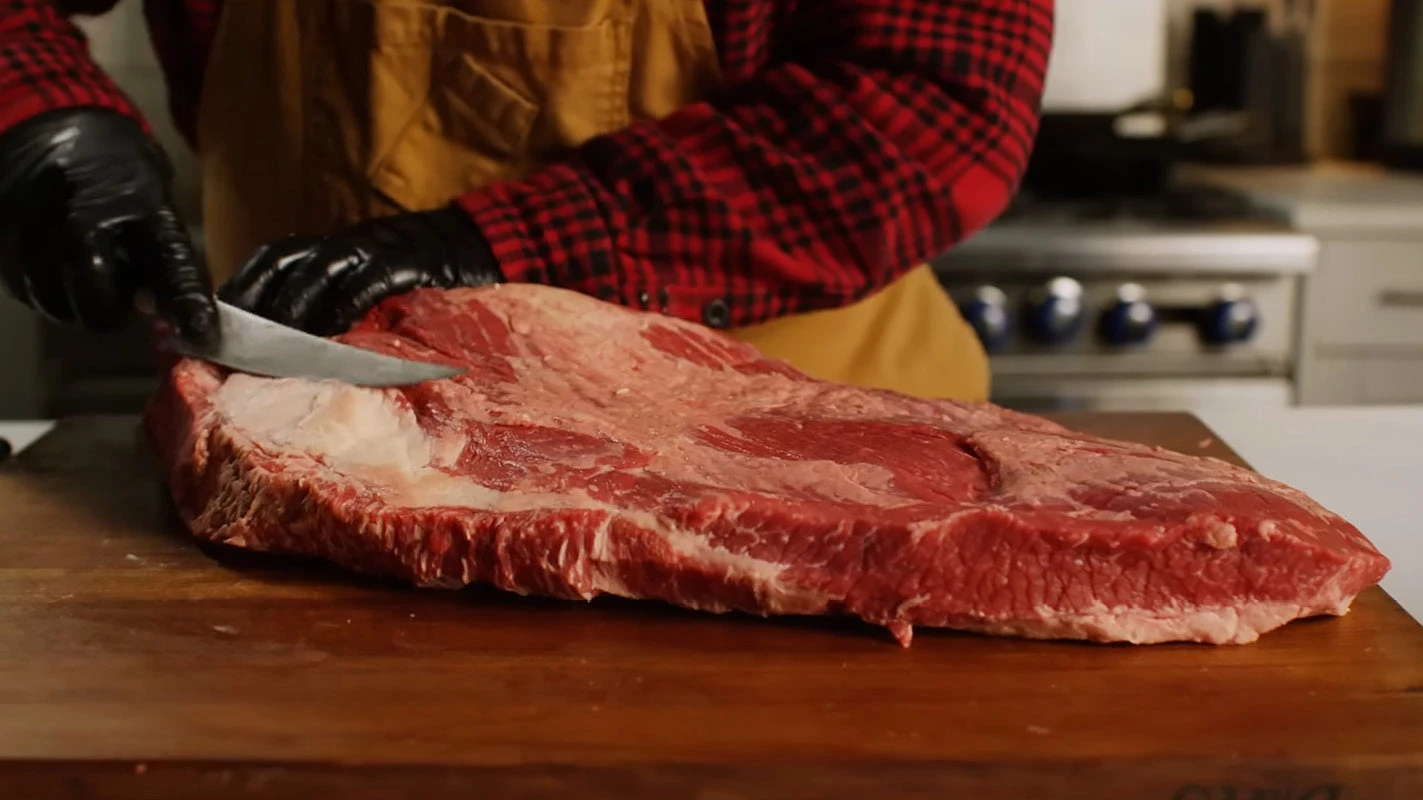
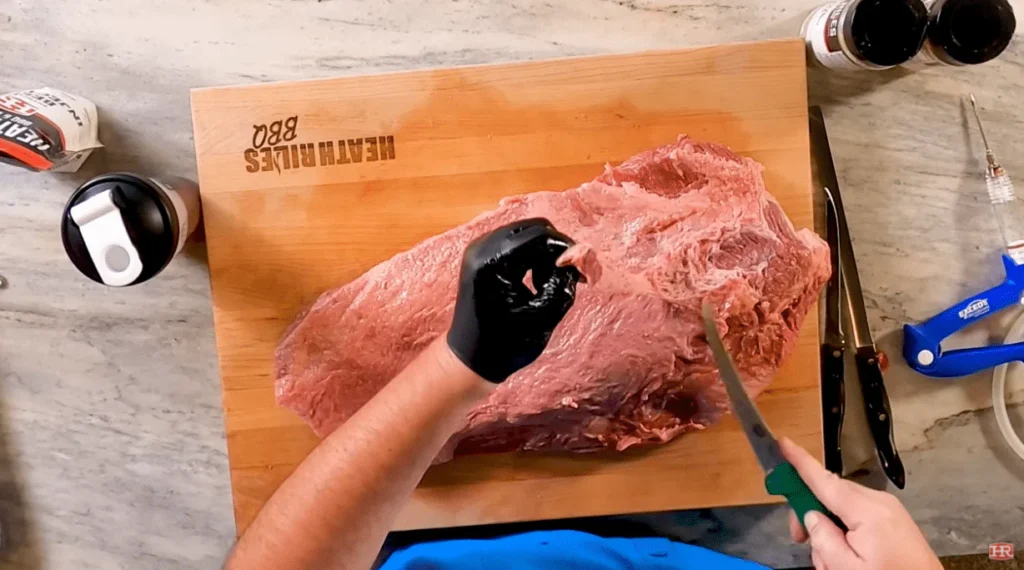
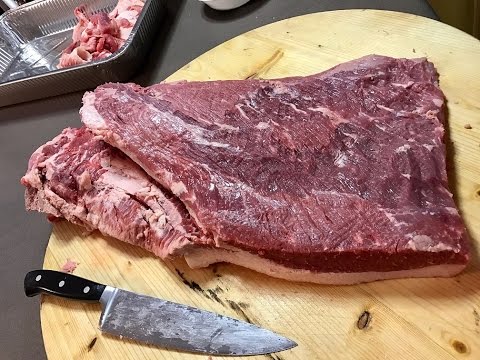
Step 1: Getting Started
Before diving into the trimming process, make sure you have the right tools. You’ll need a sharp knife (a boning knife is ideal), a large cutting board, and some kitchen gloves for safety.
- Chill the Brisket: Start with a cold brisket. This makes it easier to handle and trim. Keep it in the fridge until you’re ready to begin.
- Set Up Your Workspace: Clear a large space on your kitchen counter. Place the brisket on the cutting board, fat side up.
Step 2: Trim the Underside
- Remove Excess Fat and Silver Skin: Flip the brisket over to trim the underside. Carefully remove any excess fat and the silver skin. This helps in even cooking and developing a good bark.
- Tip: Use a sharp knife and make long, smooth cuts to avoid jagged edges on the meat.
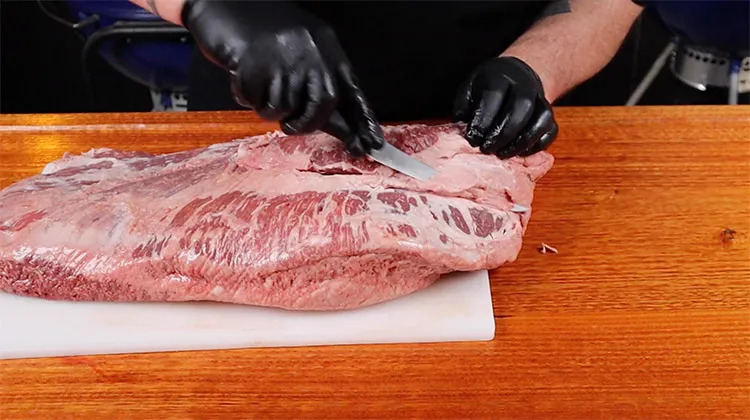
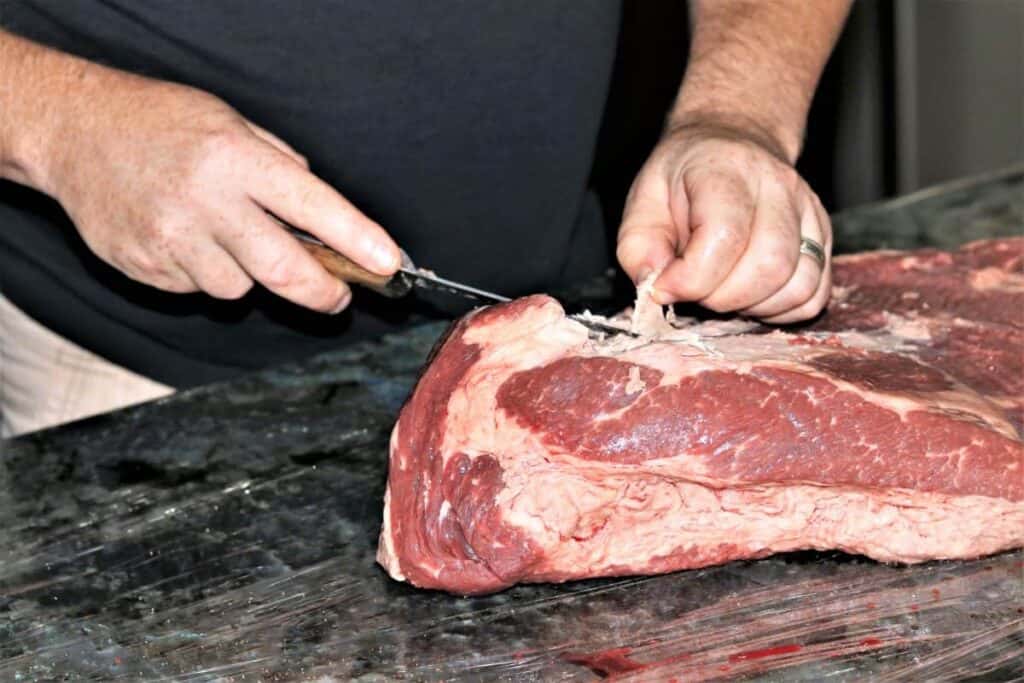
Step 3: Trim the Fat Cap
- Uniform Thickness: The fat cap should be about 1/4 to 1/2 inch thick. Trim down any thick areas, being careful not to cut into the meat. This layer of fat will render during cooking, adding flavor and moisture to your brisket.
- Tip: Work slowly and methodically, making shallow cuts to ensure you don’t remove too much fat at once.
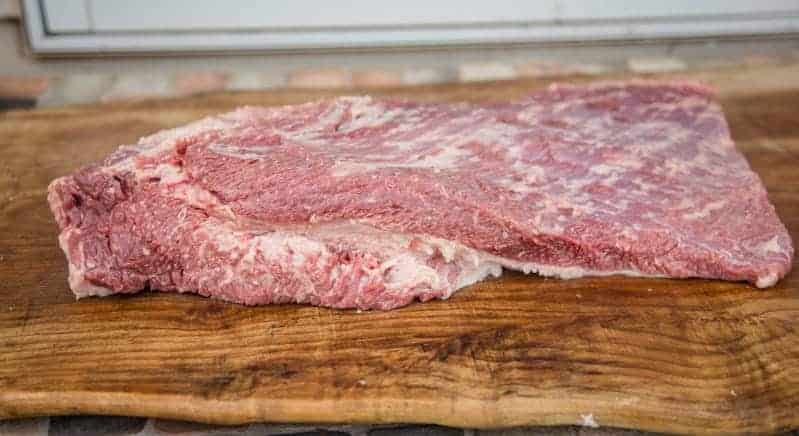
Step 4: Square Off the Edges
- Shape the Brisket: Trim any thin, uneven edges to create a more uniform shape. This helps the brisket cook evenly and prevents those thin edges from burning.
- Tip: Keep the edges smooth to avoid uneven cooking and burnt ends.
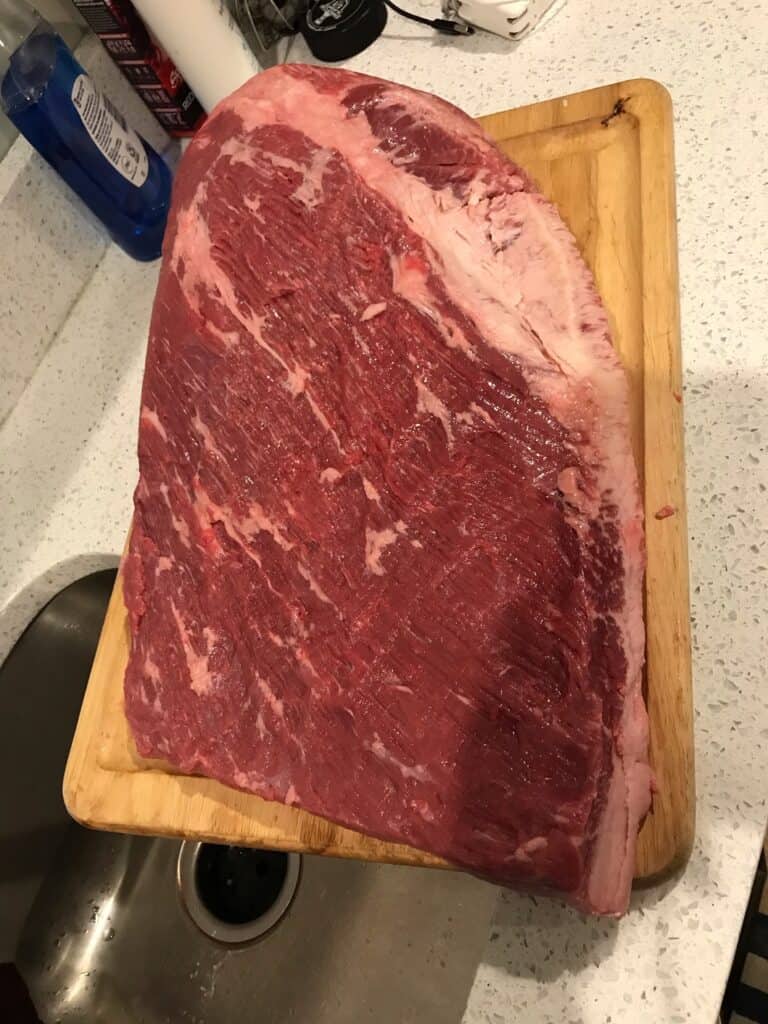
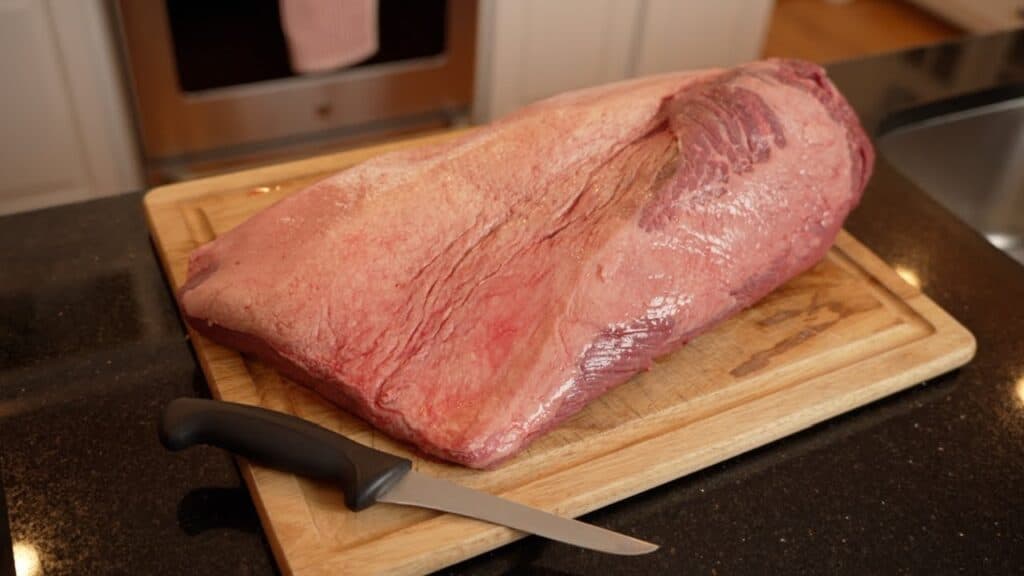
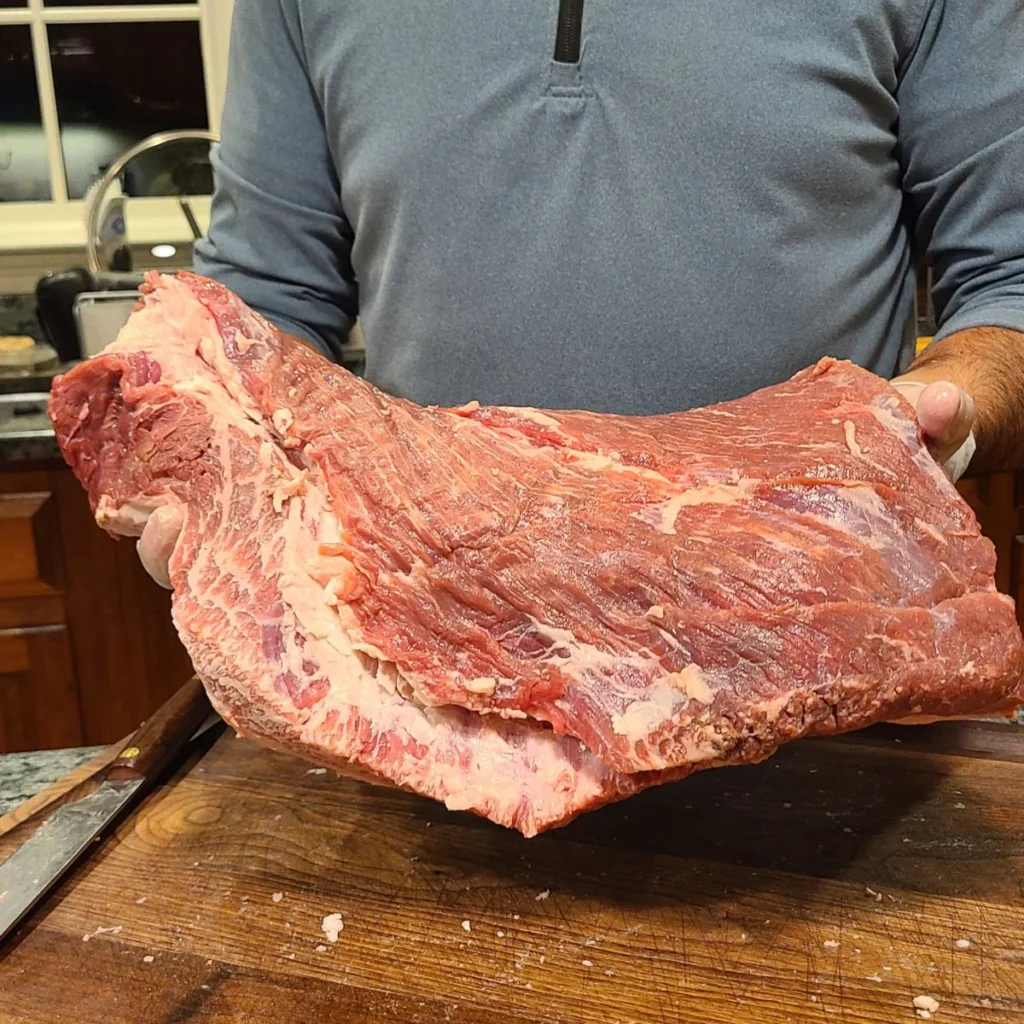
Step 5: Final Touches
- Remove Hard Fat: Check for any hard pieces of fat that won’t render during cooking and remove them. This includes the thick seam of fat between the flat and the point.
- Inspect and Adjust: Give your brisket a final inspection, ensuring all sides are evenly trimmed and smooth. Make any last-minute adjustments to ensure a consistent thickness and shape.
Tips
- Sharp Knife: Use a sharp knife for clean cuts through fat and meat.
- Strategic Fat Removal: Trim excessive fat while leaving a thin, even layer for flavor and moisture.
- Cut Against the Grain: Trim against the grain to maintain tenderness after cooking.
- Take Your Time: Rushing can lead to mistakes; trim patiently and evenly.
- Practice Makes Perfect: Brisket trimming improves with practice, so keep at it to refine your technique.
What to Use with Brisket Trimmings?
1. Beef Tallow:
- Gather the fat trimmings and render them down in a pan over low heat until they melt into a golden liquid.
- Strain out any solids and store the liquid beef tallow in a jar.
- Use it for frying or roasting potatoes, veggies, or even to give your homemade french fries that unbeatable flavor.
2. Beef Broth:
- Combine the lean meat trimmings with any leftover bones (if available) in a large pot.
- Add water, onions, garlic, carrots, celery, and your favorite herbs and spices.
- Simmer for hours, strain, and you’ve got a rich homemade beef broth for soups, stews, or cooking grains.
3. Flavor Boosters:
- Finely chop the trimmings and use them as a flavor booster in chili, meatloaf, or even homemade sausages.
- They can also be ground and mixed with other meats for burgers or meatballs, adding that brisket magic to your creations.
Common Brisket Trimming Mistakes
When it comes to trim a brisket, even the best of us can stumble. Here are some common mistakes to avoid:
- Over-Trimming: Removing too much fat can leave your brisket dry and lacking flavor. Aim to leave about a quarter-inch of fat for that juicy goodness.
- Ignoring Silver Skin: Neglecting to remove the silver skin underneath the fat can result in a tough and chewy texture. Take the time to get rid of it.
- Uneven Thickness: Failing to ensure an even thickness across the brisket can lead to uneven cooking. Pay attention to those thinner and thicker areas and trim accordingly.
- Rushing: Don’t rush through the trimming process. Take your time to get it right. Precision is key in the world of brisket.
- Dull Knife: Using a dull knife can make your job harder and result in messy, uneven cuts. Keep your brisket knife sharp.
- Not Marking the Grain: Forgetting to mark the grain direction on the brisket can make slicing later a confusing ordeal. A simple step that makes a big difference.
- Inadequate Tools: Using the wrong tools can hinder your trimming efforts. Invest in a quality brisket knife and a suitable cutting board.
- Not Practicing: Like any skill, brisket trimming gets better with practice. Don’t expect perfection on your first try. Keep honing your skills.
Conclusion
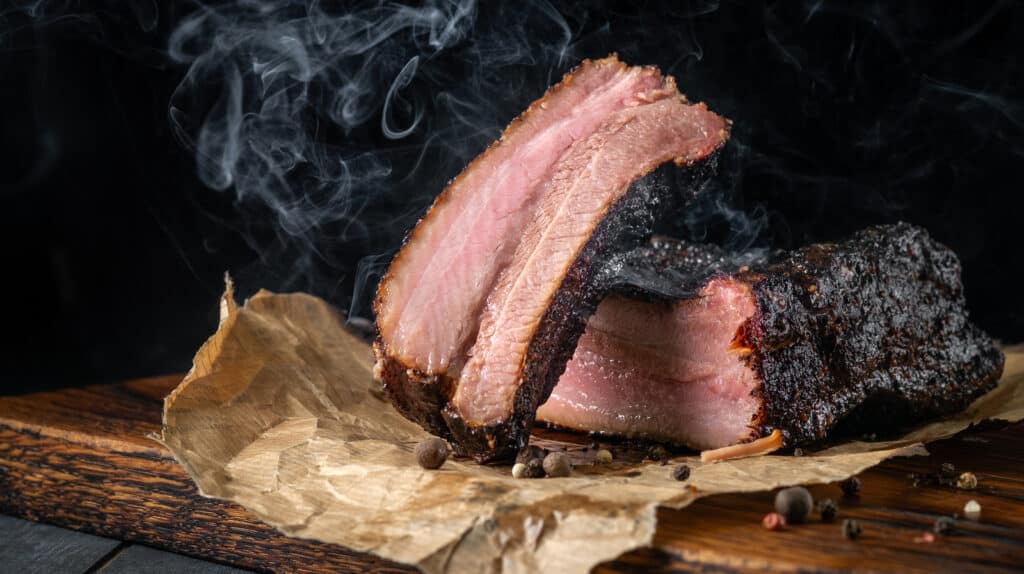
Trimming a brisket may seem daunting at first, but with practice, it becomes an easy and essential step for great BBQ. Proper trimming ensures even cooking and a deliciously tender result.
As someone who lives and breathes the world of bourbon, and BBQ, I’ve spent years perfecting my craft. Trust me, when it comes to brisket, I’ve been there, sliced that. So, keep that knife sharp, fire up the smoker, and let’s embark on your brisket journey together. Now that your brisket is trimmed to perfection, it’s ready for seasoning and the smoker. Happy grilling!
Disclosure: Our blog contains affiliate links to products. We may receive a commission for purchases made through these links. However, this does not impact our reviews and comparisons. We try our best to keep things fair and balanced, in order to help you make the best choice for you.