Preparation Techniques for BBQ Beef Ribs
BBQ beef ribs are a classic favorite at any barbecue party. The rich, smoky flavor combined with tender, juicy meat makes for a dish that is hard to beat. However, achieving the perfect BBQ beef ribs requires careful preparation and attention to detail. This article will guide you through the essential preparation techniques for BBQ beef ribs to ensure that they the hit at your next gathering.
How to Remove the Membrane
Removing the membrane from beef ribs is a crucial step in ensuring they cook evenly and absorb flavors better. Here’s a detailed guide to help you remove the membrane effectively.
Step-by-Step Guide
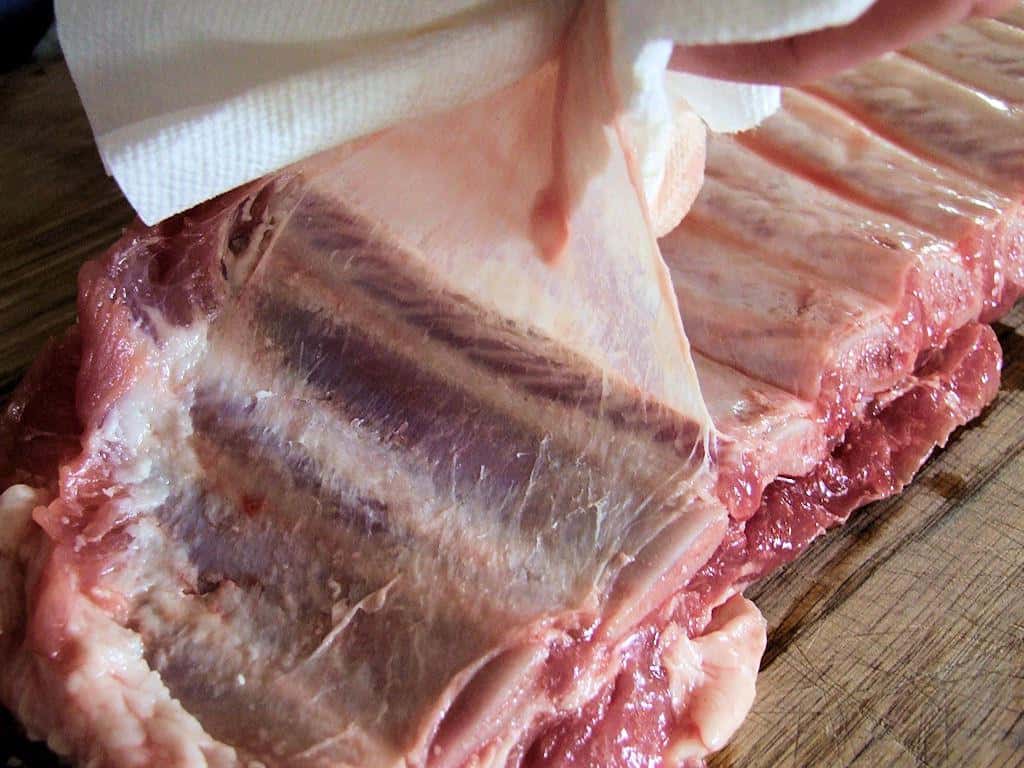
- Locate the Membrane: Turn the ribs over to the bone side. You will see a thin, silvery layer covering the bones – this is the membrane.
- Start at a Corner: Use a blunt knife to gently slide under the membrane at one corner of the rack. Lift it up just enough to grab it with your fingers.
- Grip Firmly: Hold the membrane with a paper towel to get a better grip. This helps prevent slipping.
- Pull Slowly: Carefully pull the membrane away from the bones. It should come off in one piece, but if it tears, simply start again at another section until it’s completely removed.
Tools Needed
To remove the membrane efficiently, you’ll need a few basic tools:
- Blunt Knife: A butter knife or a similar blunt object to slide under the membrane.
- Paper Towel: For a firm grip on the slippery membrane.
- Cutting Board: To keep your workspace clean and safe.
Importance of Seasoning
Seasoning is what transforms your BBQ beef ribs from good to great. Understanding the difference between dry rubs and marinades is key to choosing the right method for your ribs.
Difference Between Dry Rubs and Marinades
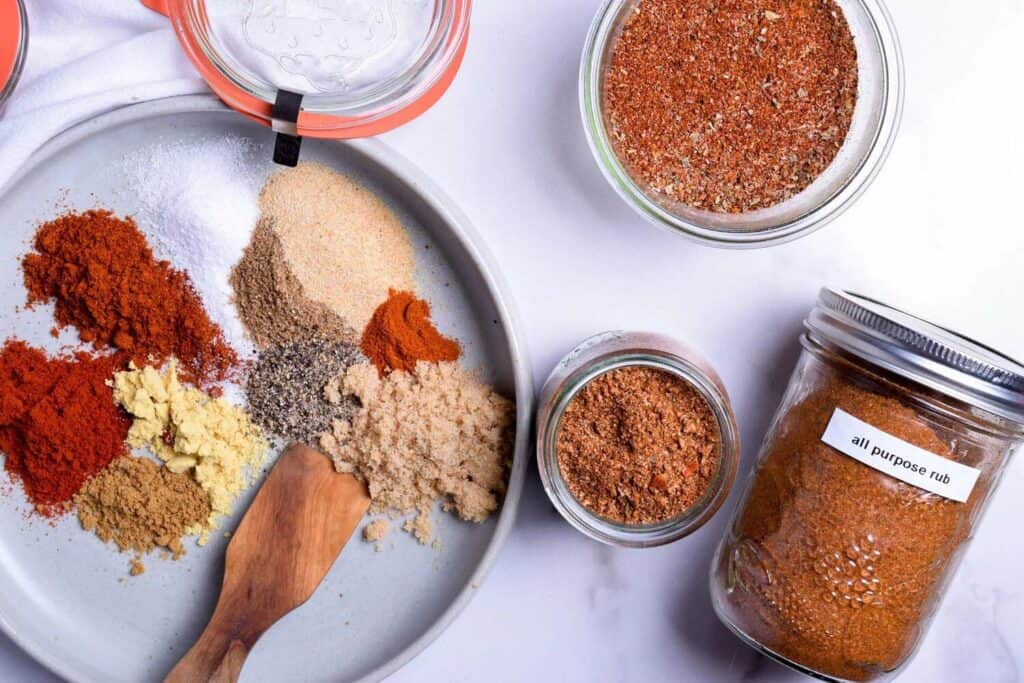
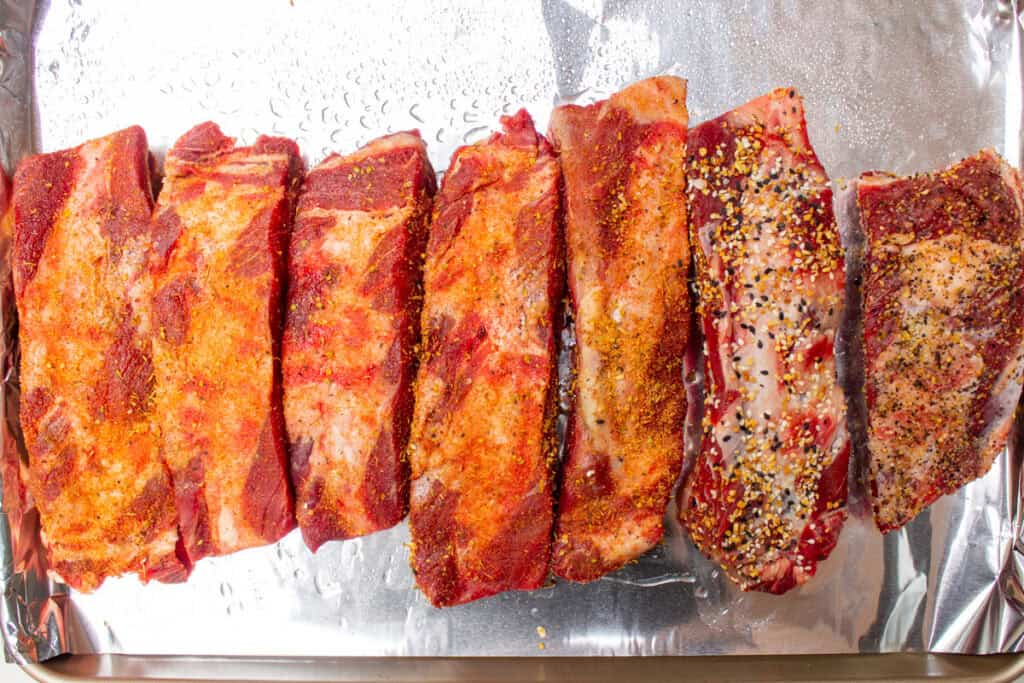
- Dry Rubs: These are a mixture of dry spices and herbs that you rub directly onto the meat. Dry rubs form a flavorful crust on the ribs and are ideal for those who prefer a more intense and concentrated flavor.
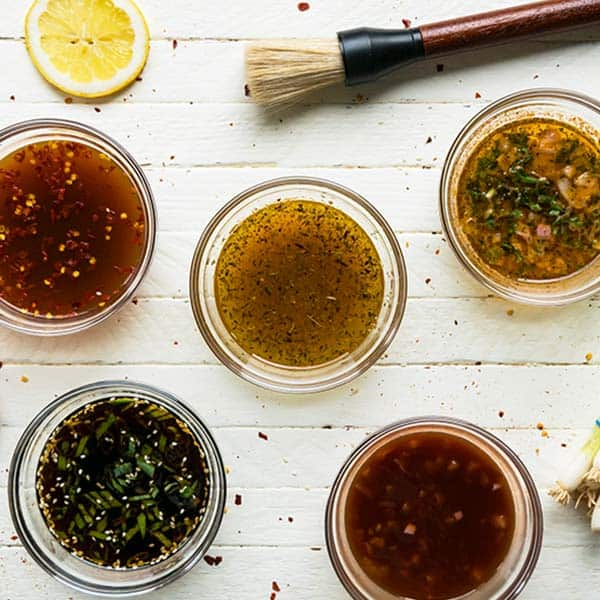
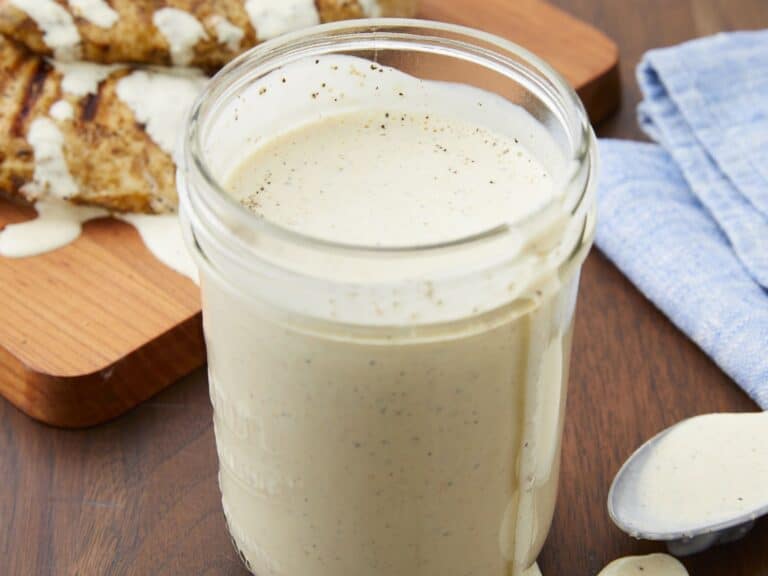
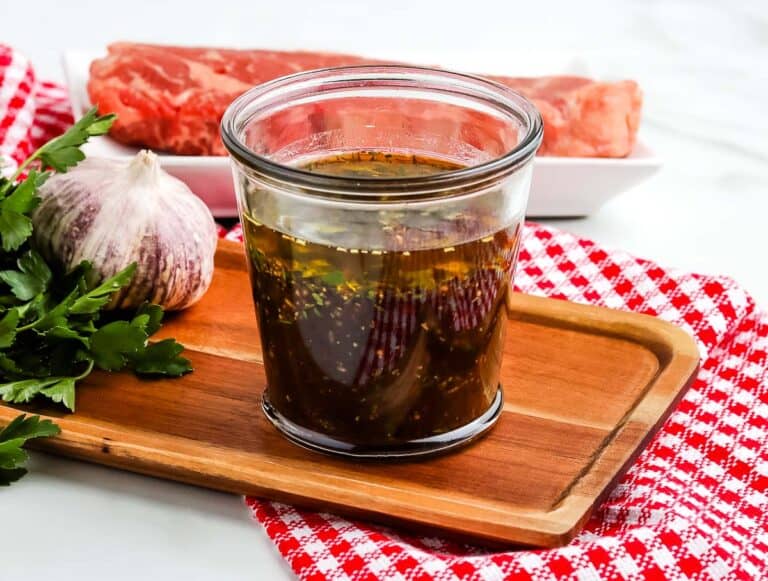
- Marinades: These are liquid mixtures that often include acidic components like vinegar or citrus juice, oils, herbs, and spices. Marinades penetrate deeper into the meat, making it tender and adding moisture.
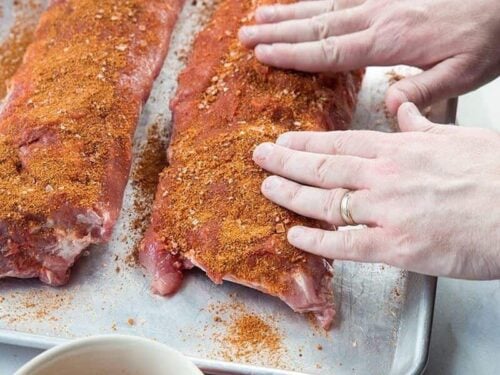
How to Apply Seasonings
Applying the right amount of seasoning can make a significant difference in the taste of your BBQ beef ribs.
- Dry Rub Application:
- Pat the ribs dry with a paper towel.
- Generously sprinkle the dry rub over all sides of the ribs.
- Massage the rub into the meat to ensure it adheres well.
- Marinade Application:
- Place the ribs in a large resealable plastic bag or a shallow dish.
- Pour the marinade over the ribs, ensuring they are fully covered.
- Seal the bag or cover the dish and refrigerate for at least 4 hours, preferably overnight.
Step-by-Step Preparation Guide
Preparing BBQ beef ribs involves several steps, each contributing to the final flavor and texture of the ribs.
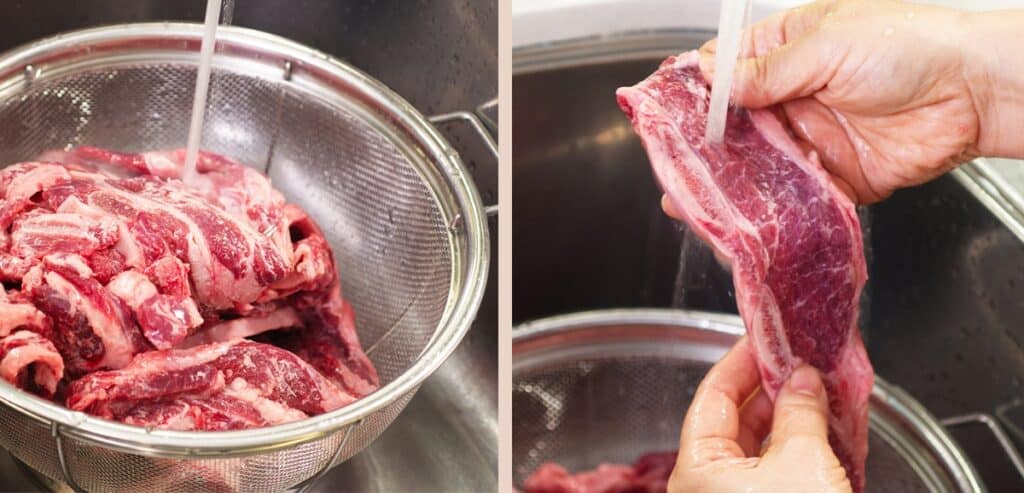
Cleaning the Ribs
Before seasoning, it’s important to clean the ribs properly:
- Rinse Under Cold Water: Briefly rinse the ribs under cold water to remove any bone fragments or blood.
- Pat Dry: Use paper towels to pat the ribs dry. This helps the seasoning adhere better and promotes even cooking.
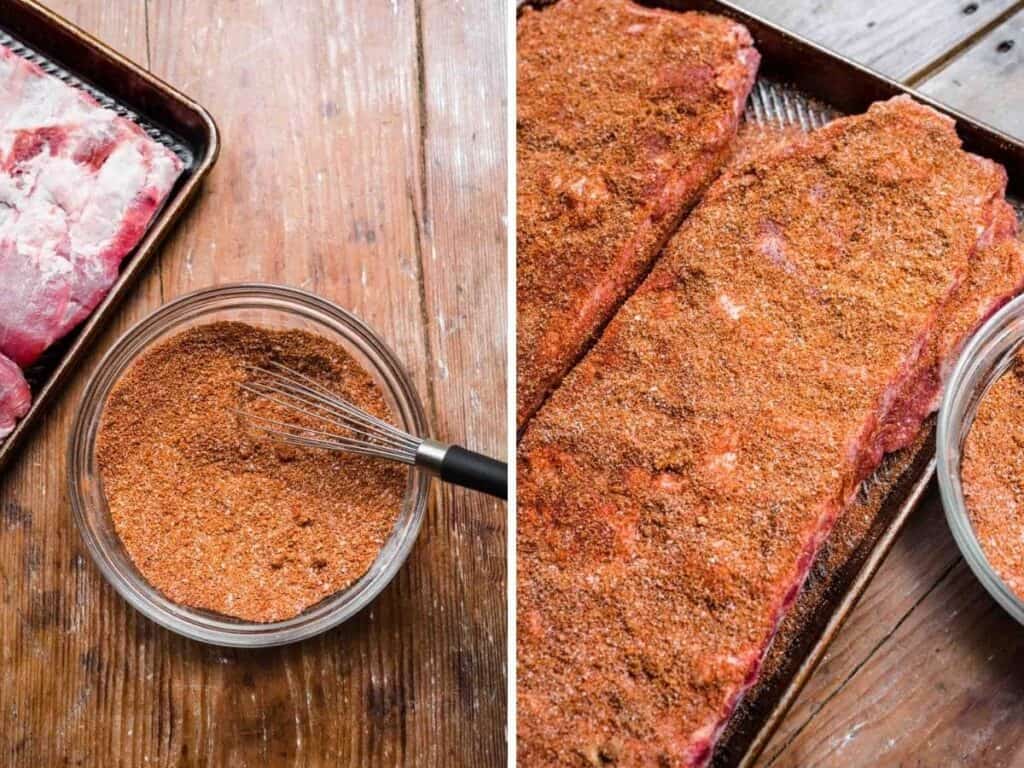
Applying the Rub
Once the ribs are clean and dry, it’s time to apply your chosen rub or marinade.
- Even Coating: Ensure an even coating on all sides of the ribs. This step is crucial for balanced flavor.
- Massage the Rub: Don’t just sprinkle the rub; take the time to massage it into the meat. This helps the flavors penetrate better.
Letting the Ribs Rest
After applying the seasoning, letting the ribs rest is essential for allowing the flavors to meld and the meat to absorb the spices.
- Resting Time: Let the seasoned ribs rest in the refrigerator for at least 30 minutes to 1 hour. For marinades, a longer resting period, such as overnight, is recommended.
- Bring to Room Temperature: Before cooking, let the ribs sit at room temperature for about 30 minutes. This ensures even cooking.
Choosing the Right Wood for Smoking
Types of Wood
The type of wood you use can significantly impact the flavor of your BBQ beef ribs. Here are some popular options:
- Hickory: Provides a strong, smoky flavor that is ideal for beef.
- Oak: Offers a medium to strong flavor and burns well for long smoking sessions.
- Mesquite: Delivers a very strong, earthy flavor, but can be overpowering if used in large quantities.
- Fruit Woods: Apple, cherry, and peach woods provide a mild, sweet flavor that complements beef ribs nicely.
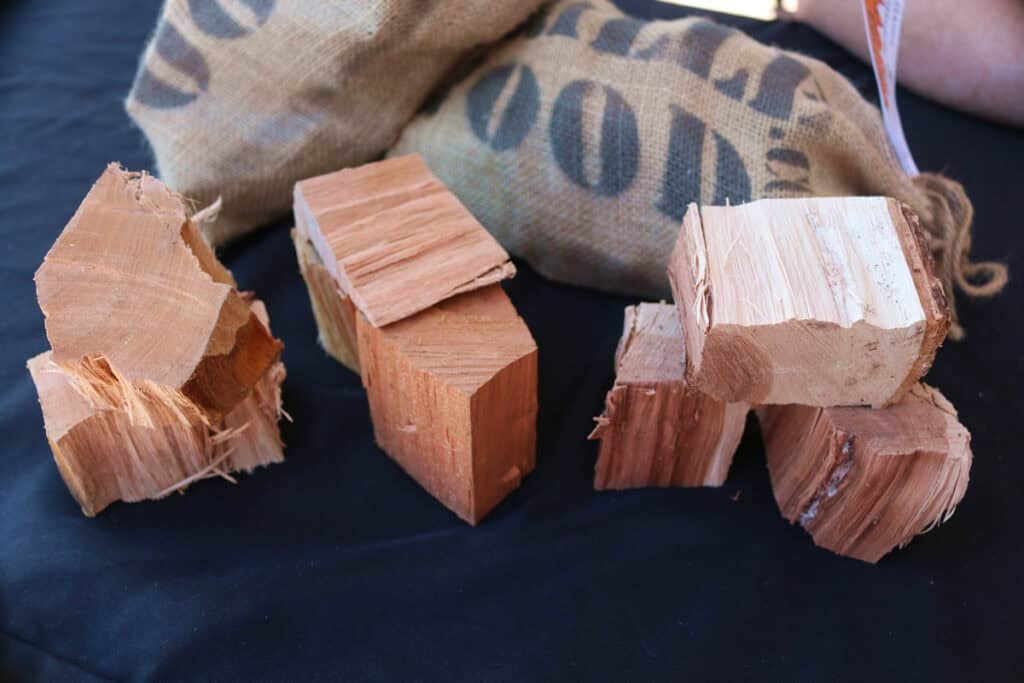
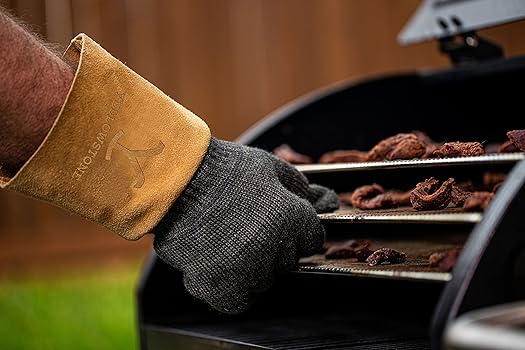
Wood Preparation
- Chips or Chunks: Wood chips burn faster and are great for shorter smoking sessions. Wood chunks burn longer and are better for longer smoking.
- Soaking: Soak wood chips in water for about 30 minutes before using them. This helps them smolder and produce smoke rather than just burn up quickly.
Smoking the Ribs
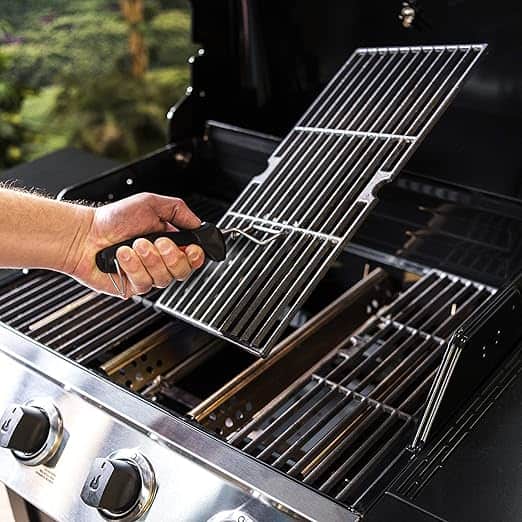
Setting Up the Grill
Properly setting up your grill or smoker is crucial for achieving perfect BBQ beef ribs.
- Indirect Heat: Set up your grill for indirect heat. This means placing the coals on one side of the grill and the meat on the other.
- Temperature Control: Maintain a consistent temperature of around 225-250°F (107-121°C). Use a grill thermometer to monitor the temperature.
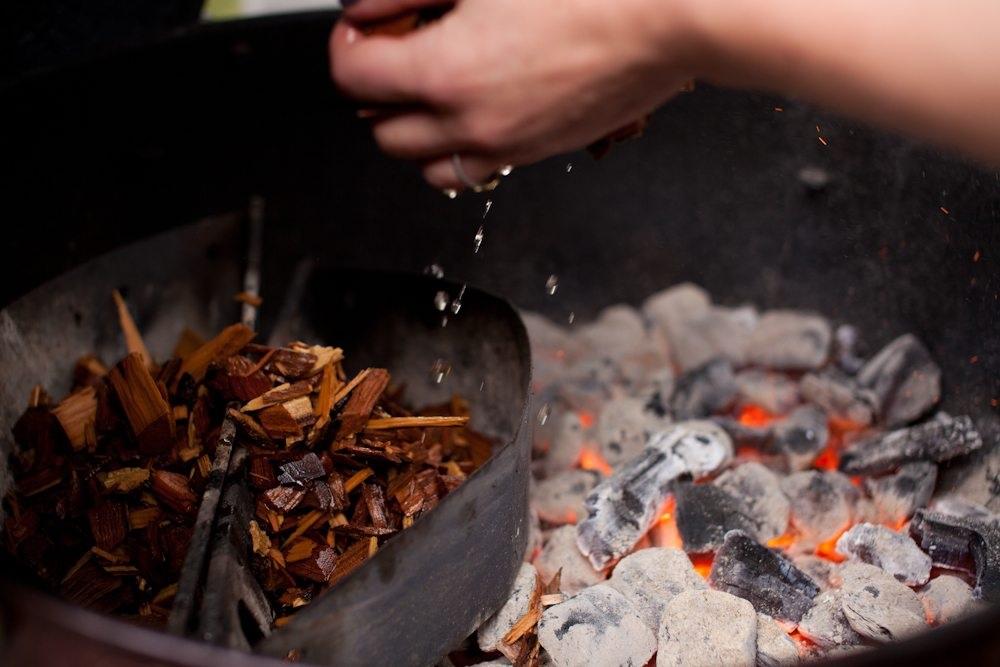
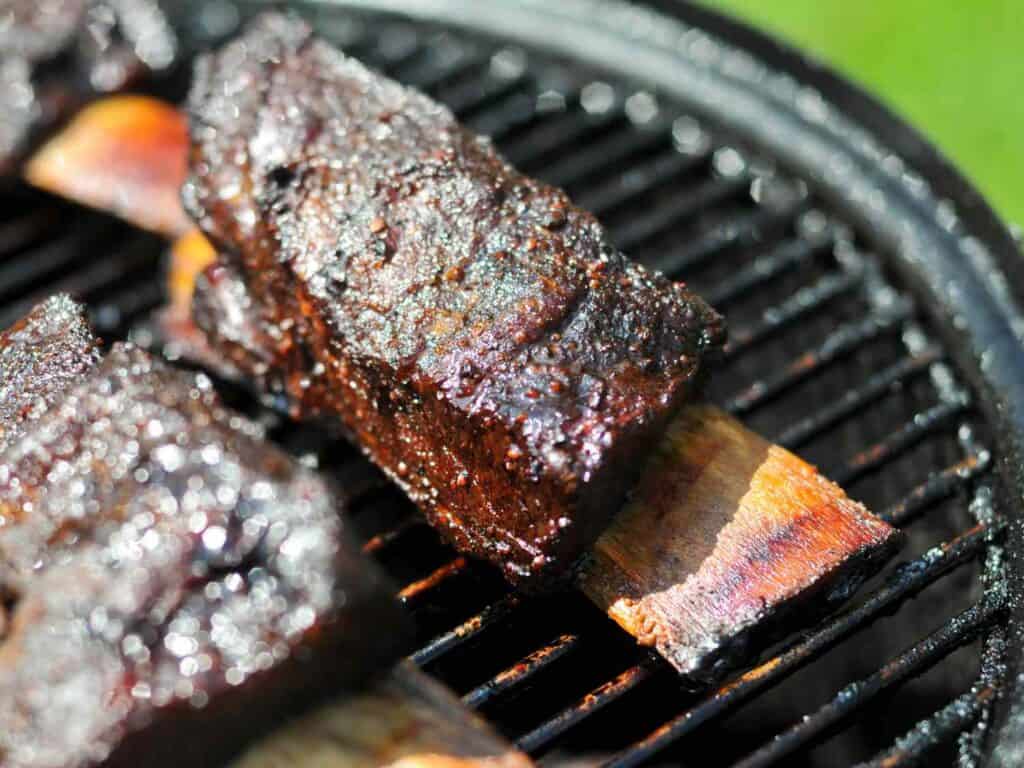
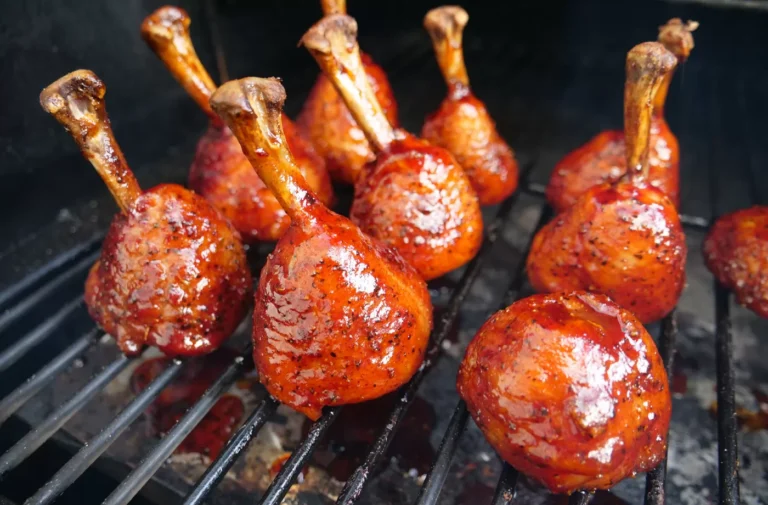
Smoking Process
- Place the Ribs: Once the grill is ready, place the ribs on the grate, bone side down.
- Add Wood: Add your chosen wood chips or chunks to the coals.
- Close the Lid: Keep the lid closed as much as possible to maintain a steady temperature and smoke flow.
- Monitor the Ribs: Check the ribs every hour to ensure they are cooking evenly. Spritz them with apple juice or a mixture of apple juice and vinegar to keep them moist.
Wrapping the Ribs (Texas Crutch)
Why Wrap?
Wrapping the ribs in foil during cooking helps to lock in moisture and speeds up the cooking process. This method, known as the Texas Crutch, is widely used by BBQ enthusiasts.
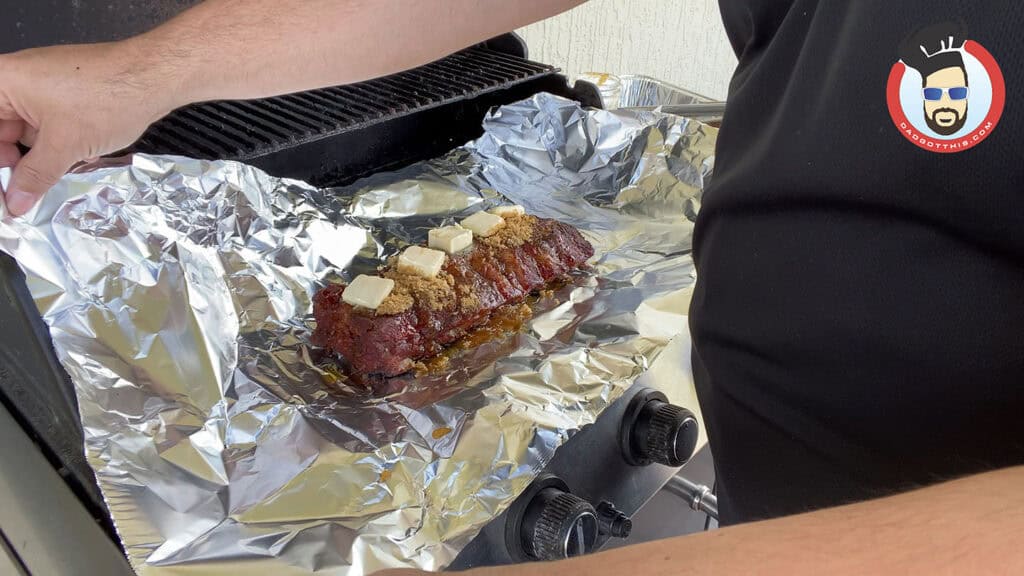
Wrapping Process
- When to Wrap: Wrap the ribs after they have developed a nice bark, usually after 3-4 hours of smoking.
- Foil or Butcher Paper: Use heavy-duty aluminum foil or butcher paper. Foil retains more moisture, while butcher paper allows for some airflow and maintains the bark.
- Add Moisture: Before wrapping, add a little liquid such as apple juice, beer, or a mixture of butter and brown sugar to the ribs. This adds flavor and keeps the meat moist.
Finishing the Ribs
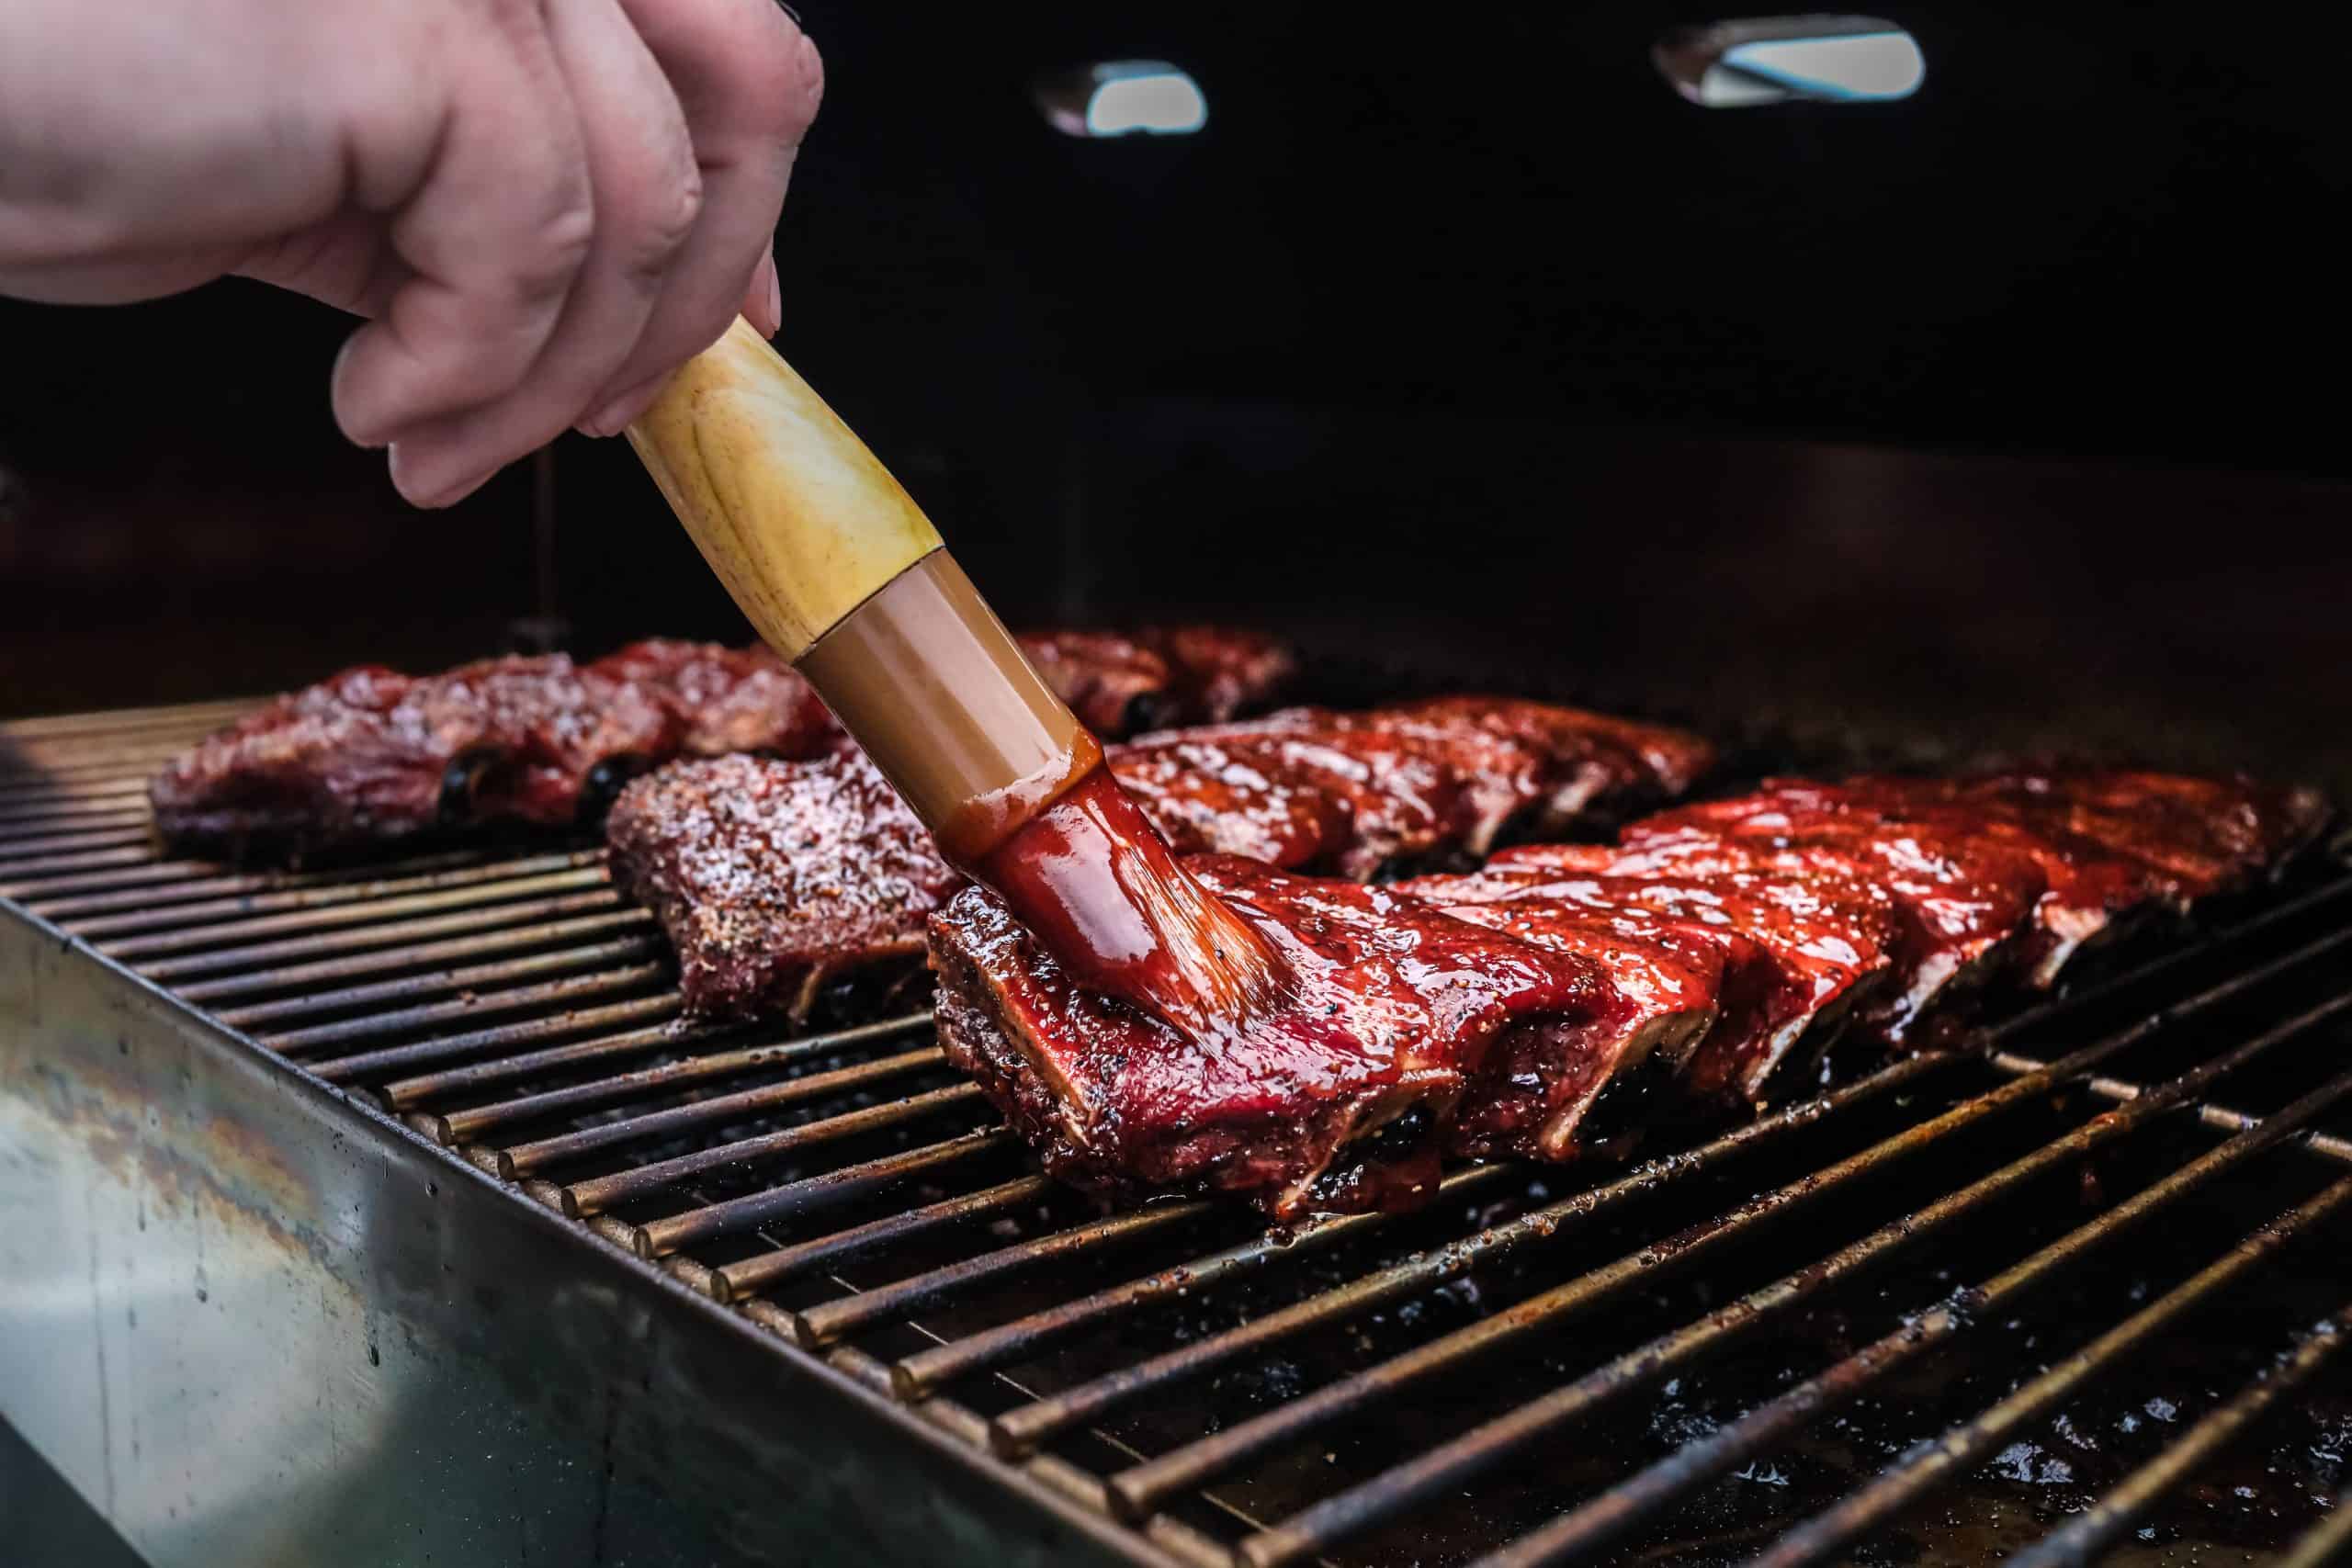
Unwrapping and Saucing
- Unwrap Carefully: After another 1-2 hours of cooking, carefully unwrap the ribs. Be cautious of the hot steam.
- Apply Sauce: If you like saucy ribs, apply your favorite BBQ sauce during the last 30 minutes of cooking. Brush the sauce on both sides of the ribs and let it caramelize on the grill.
Checking for Doneness
- Temperature Check: The internal temperature of the ribs should be around 190-205°F (88-96°C). Use a meat thermometer to check.
- Bend Test: Pick up the ribs with tongs in the middle. If the meat bends easily and starts to crack, they are done.
- Toothpick Test: Insert a toothpick into the meat between the bones. If it slides in and out with little resistance, the ribs are ready.

Serving the Ribs
Resting the Ribs
- Rest Period: Let the ribs rest for about 10-15 minutes after removing them from the grill. This allows the juices to redistribute throughout the meat.
- Tent with Foil: Lightly tent the ribs with foil to keep them warm while they rest.
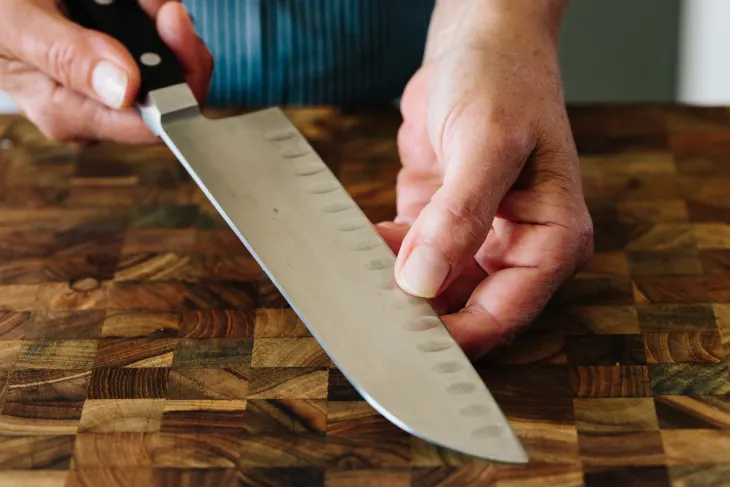
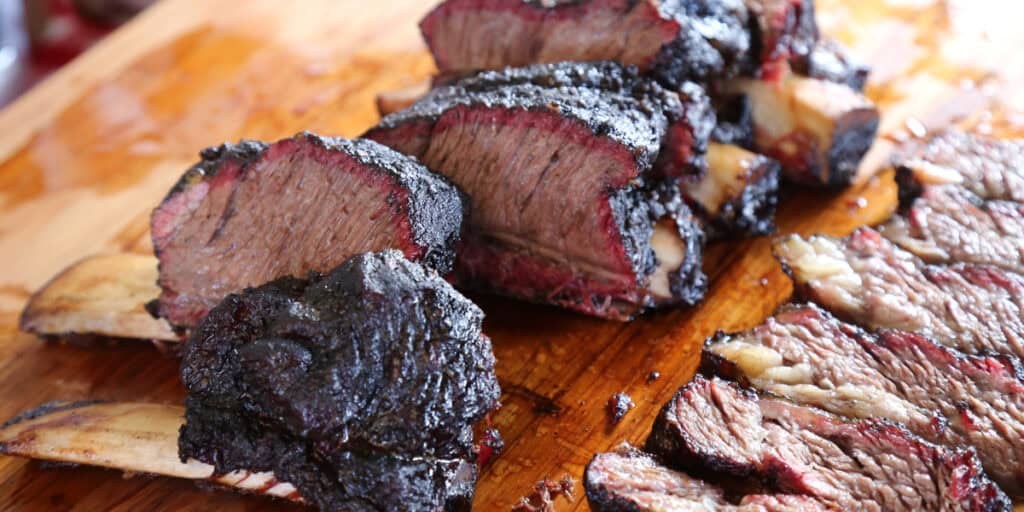
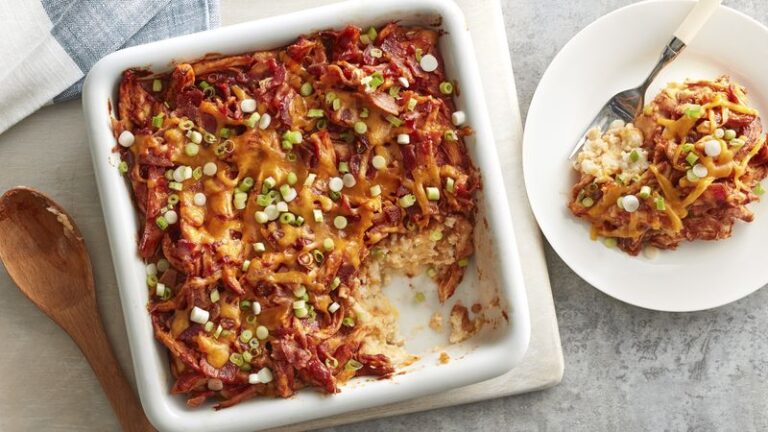
Cutting and Plating
- Cutting: Use a sharp knife to slice the ribs between the bones. Make sure each piece has a good amount of meat.
- Plating: Arrange the ribs on a platter and garnish with fresh herbs or sliced onions for a beautiful presentation.
Conclusion
By following these detailed preparation techniques, you’ll be well on your way to serving up some of the best BBQ beef ribs your guests have ever tasted. From removing the membrane to seasoning, smoking, and finally serving, each step is crucial in creating ribs that are tender, flavorful, and utterly delicious. Now, fire up that grill and get ready to impress with your perfectly prepared BBQ beef ribs!
Disclosure: Our blog contains affiliate links to products. We may receive a commission for purchases made through these links. However, this does not impact our reviews and comparisons. We try our best to keep things fair and balanced, in order to help you make the best choice for you.
2 Comments