Can You Put BBQ Grates in the Dishwasher?
Not sure how to clean those stubborn BBQ grates without causing damage? It might be tempting to pop them in the dishwasher, but before you do, let’s talk about why that might not be the best idea. Join me as we explore the best care for your grilling gear, from what can go wrong in the dishwasher to simple, effective cleaning methods that will keep your grates grilling perfectly every time. Stick around and learn how to keep your BBQ in pristine condition!
Can You Put BBQ Grates in the Dishwasher?
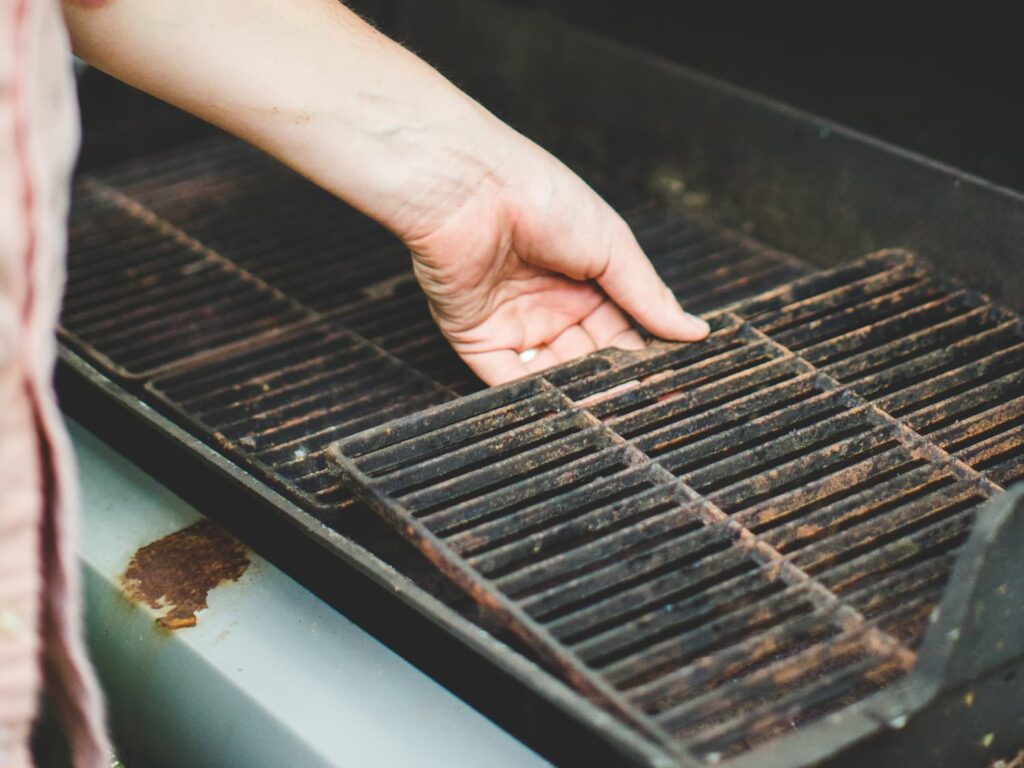
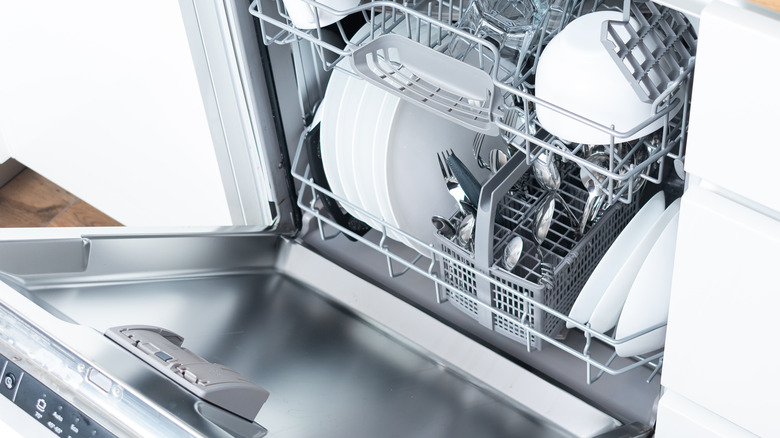
Putting BBQ grates in the dishwasher is generally not recommended. While it might seem like a quick and hassle-free cleaning solution, there are a few reasons why you should avoid doing this:
- Material Concerns: Many BBQ grates are made from cast iron or have a porcelain coating, which can be damaged by the harsh conditions inside a dishwasher. The high heat and potent detergents can strip away protective coatings and lead to rust.
- Size and Fit: BBQ grates are often too large and awkwardly shaped to fit properly in a dishwasher, which means they might not get cleaned effectively anyway.
- Damage to Dishwasher: The grease and food debris from BBQ grates can clog the dishwasher’s filter and spray arms, leading to poor performance and potential repairs that could be costly.
Alternative Cleaning Methods: Instead, clean your grates manually:
- Burn off excess food by heating the grill.
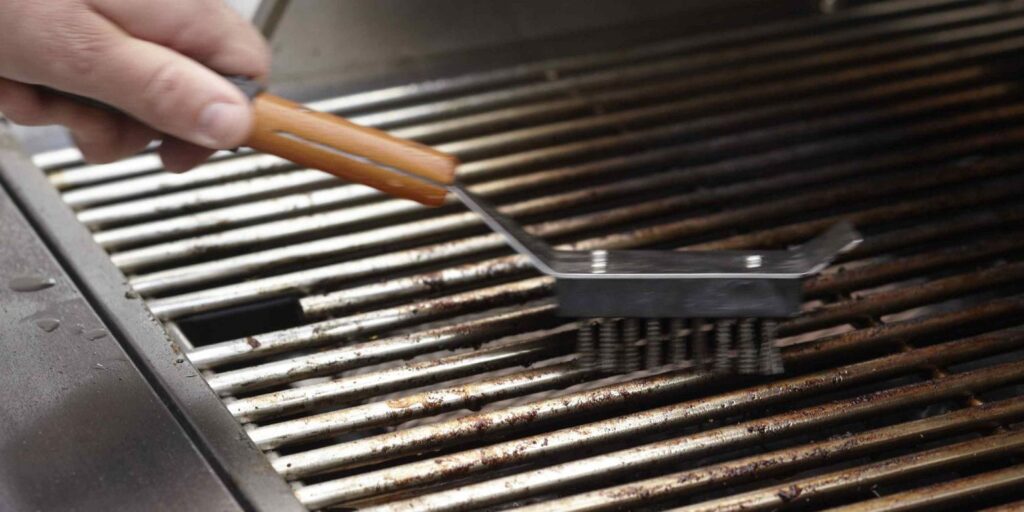
- Scrub the grates with a grill brush or crumpled aluminum foil.
- For a deep clean, soak the grates in a mixture of warm water and dish soap, then scrub, rinse, and dry thoroughly.
This approach not only protects your grates from damage but also ensures they’re cleaned thoroughly, preserving their lifespan and performance.
Why You Shouldn’t Toss Your Grill Grates in the Dishwasher
Tossing your grill grates into the dishwasher might seem like a convenient shortcut, but there are compelling reasons to avoid it. Here’s why you should think twice before using your dishwasher to clean your BBQ grates:
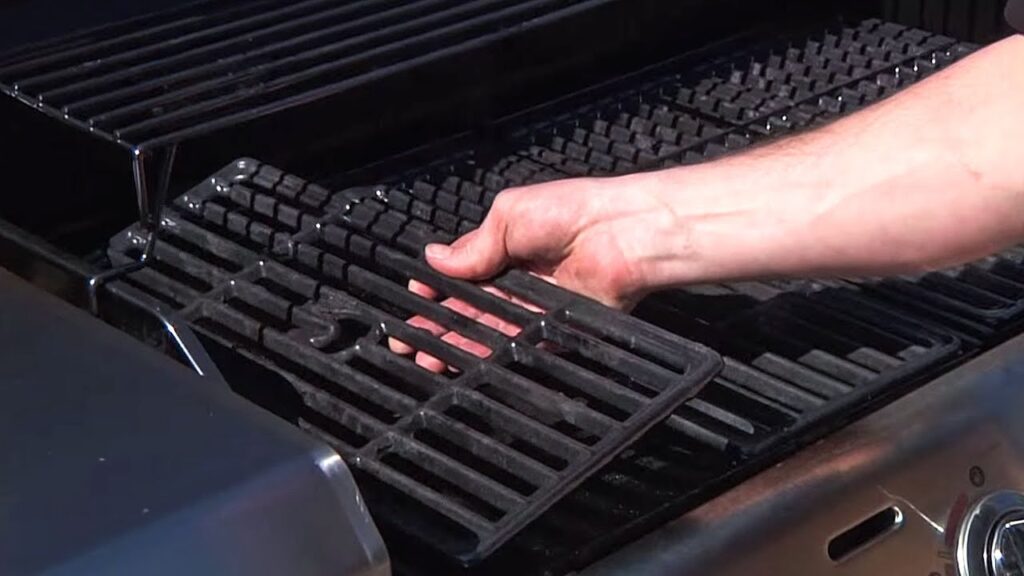
1. Risk of Rust and Damage Most grill grates are made from materials like cast iron or steel, which are prone to rust when exposed to the moisture in a dishwasher. Furthermore, the harsh detergents can strip away any protective coatings, leaving your grates vulnerable to corrosion and wear.
2. Ineffective Cleaning Grill grates often have tough, baked-on grease and food particles that a dishwasher can struggle to remove. Dishwashers are designed for kitchenware, not the heavy-duty cleaning needed for grilling accessories covered in char and stubborn residue.

3. Potential Harm to Your Dishwasher The grease and debris from grill grates can clog your dishwasher’s filter and spray arms. This not only leads to poor dishwasher performance but could also require costly repairs or maintenance, negating any convenience from not manually cleaning the grates.
4. Size and Fit Issues Many grill grates are too large and bulky to fit properly in a dishwasher, which can prevent the spray arms from reaching other dishes, thereby reducing the overall effectiveness of the washing cycle for all your loaded items.
5. Health and Safety Concerns Improperly cleaned grill grates may harbor bacteria and old food particles, posing health risks. Manual scrubbing ensures that all nooks and crannies are reached, providing a safer cooking surface for your food.
Better Alternatives for Cleaning:
Preheat and Scrub: Heat the grill to high for 15 minutes to burn off excess residue, then use a grill brush to scrub the grates.
Soak and Scrub: If residue remains, soak the grates in warm, soapy water and then scrub them with a suitable cleaning tool.
Dry and Season: After cleaning, thoroughly dry and, if needed, season your grates to prevent rust and ensure a non-stick surface.
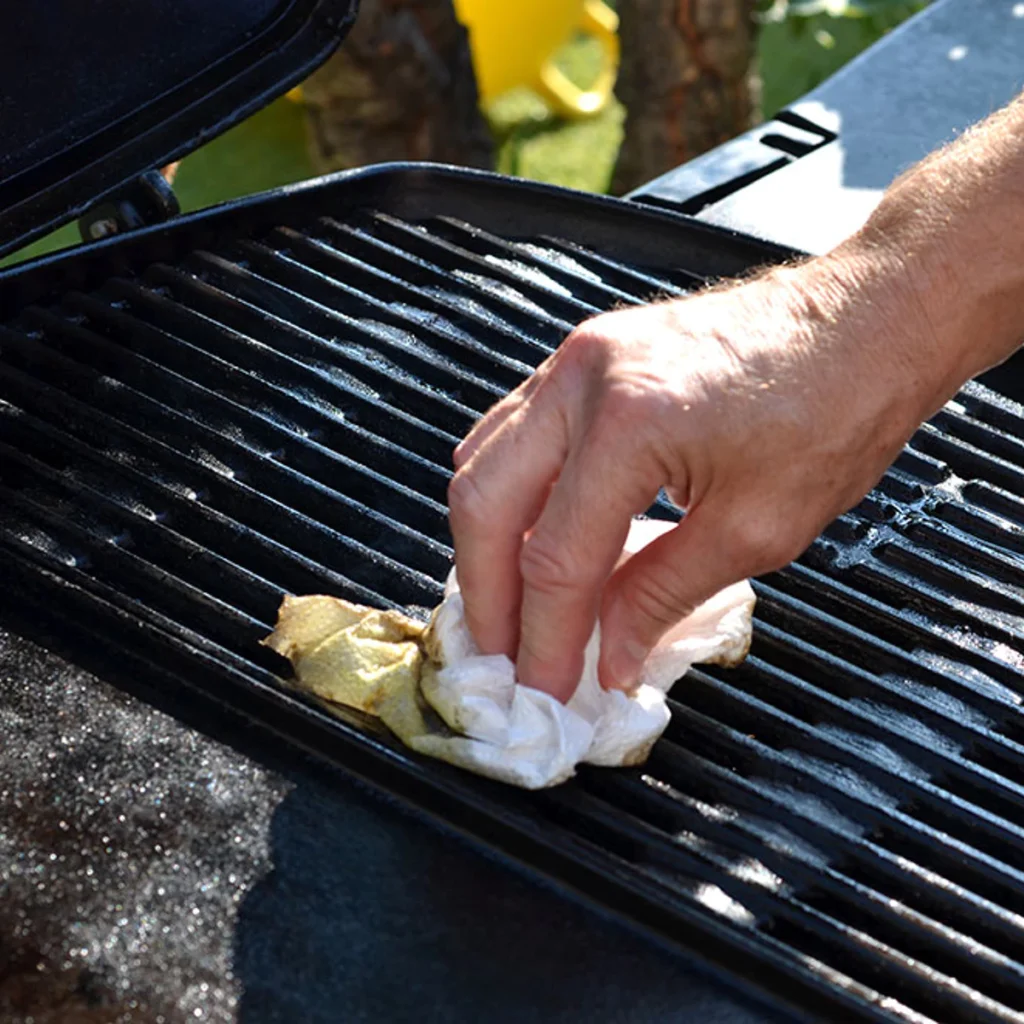
By manually handling the cleaning of your grill grates, you ensure they remain in top condition, extending their usability and getting the best performance out of your grill.
How do you clean BBQ grill grates?
Cleaning BBQ grill grates thoroughly not only improves the taste of your food but also extends the life of your grill. Here’s a detailed step-by-step guide to getting those grates sparkling clean:
Step 1: Burn Off Excess Residue
- Preheat the Grill: Turn your grill to high and let it run with the lid closed for about 15 to 20 minutes. This will burn off most of the leftover food and grease, making it easier to scrub off.
- Cool Slightly: Turn off the grill and let it cool just enough to handle safely but still warm.
Step 2: Scrub the Grates
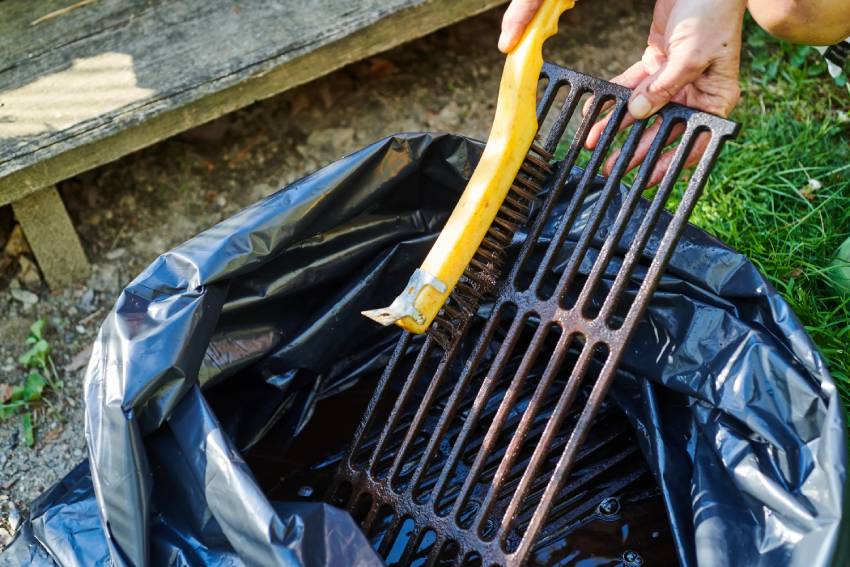
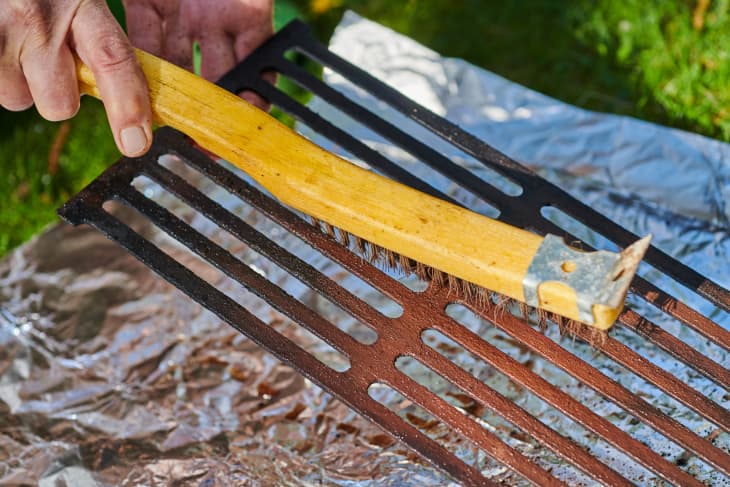
- Use a Grill Brush: While the grates are still warm (but cool enough to handle), use a high-quality grill brush to scrub off the charred debris. Brushes with stiff wire bristles or a metal scraper work best.
- Alternative Tools: If you don’t have a grill brush, ball up a piece of aluminum foil, grasp it with tongs, and scrub the grates to remove the residue.
Step 3: Deep Clean with Soap and Water
- Remove the Grates: Once the initial residue is scrubbed off, remove the grates from the grill.
- Soak: Place them in a large container or a clean trash bag. Add warm water mixed with a generous amount of dish soap. Let them soak for at least 30 minutes to an hour.
- Scrub Again: After soaking, use a scouring pad (for stainless steel grates) or a nylon brush (for porcelain-coated grates) to scrub the grates thoroughly. Avoid using a metal scouring pad on porcelain as it can scratch the surface.
Step 4: Rinse and Dry
- Rinse Thoroughly: Rinse the grates with clean water to remove all soap and loosened debris.
- Dry Completely: Dry the grates completely with a clean cloth or paper towels. This step is crucial to prevent rust, especially if the grates are made of cast iron.
Step 5: Season the Grates (If Cast Iron)
- Oil the Grates: Lightly coat the grates with cooking oil. Use a high-smoke point oil like canola or peanut oil.
- Heat the Grill: Place the oiled grates back on the grill, turn it to high, and close the lid. Let the grill run for about 15 minutes or until it stops smoking. This process seasons the grates, creating a non-stick surface and preventing rust.
Step 6: Regular Maintenance
- After Each Use: Quickly brush the grates after each cooking session when the grill is still warm but not hot. This will make your next deep cleaning session much easier.
- Inspect Regularly: Regularly check for any signs of rust or deterioration, especially if your grill is exposed to the elements.
By following these detailed steps, you’ll ensure that your grill grates are clean, well-maintained, and ready for your next barbecue.
Conclusion
Keeping your BBQ grill grates clean is essential for both the longevity of your grill and the quality of your food. Regularly burning off excess residues and performing a deep clean with soap and water will prevent buildup and ensure that your grates remain in great condition. Remember to thoroughly dry and, if necessary, season your grates after each cleaning to prevent rust and maintain a non-stick surface.
By taking the time to care for your grill grates properly after each use, you’ll not only enhance the flavor of your meals but also extend the life of your grill. Make these steps part of your grilling routine to enjoy a safe, delicious, and hassle-free BBQ experience every time. Happy grilling!


