How to Make a BBQ Pit with Bricks in Few Easy Steps
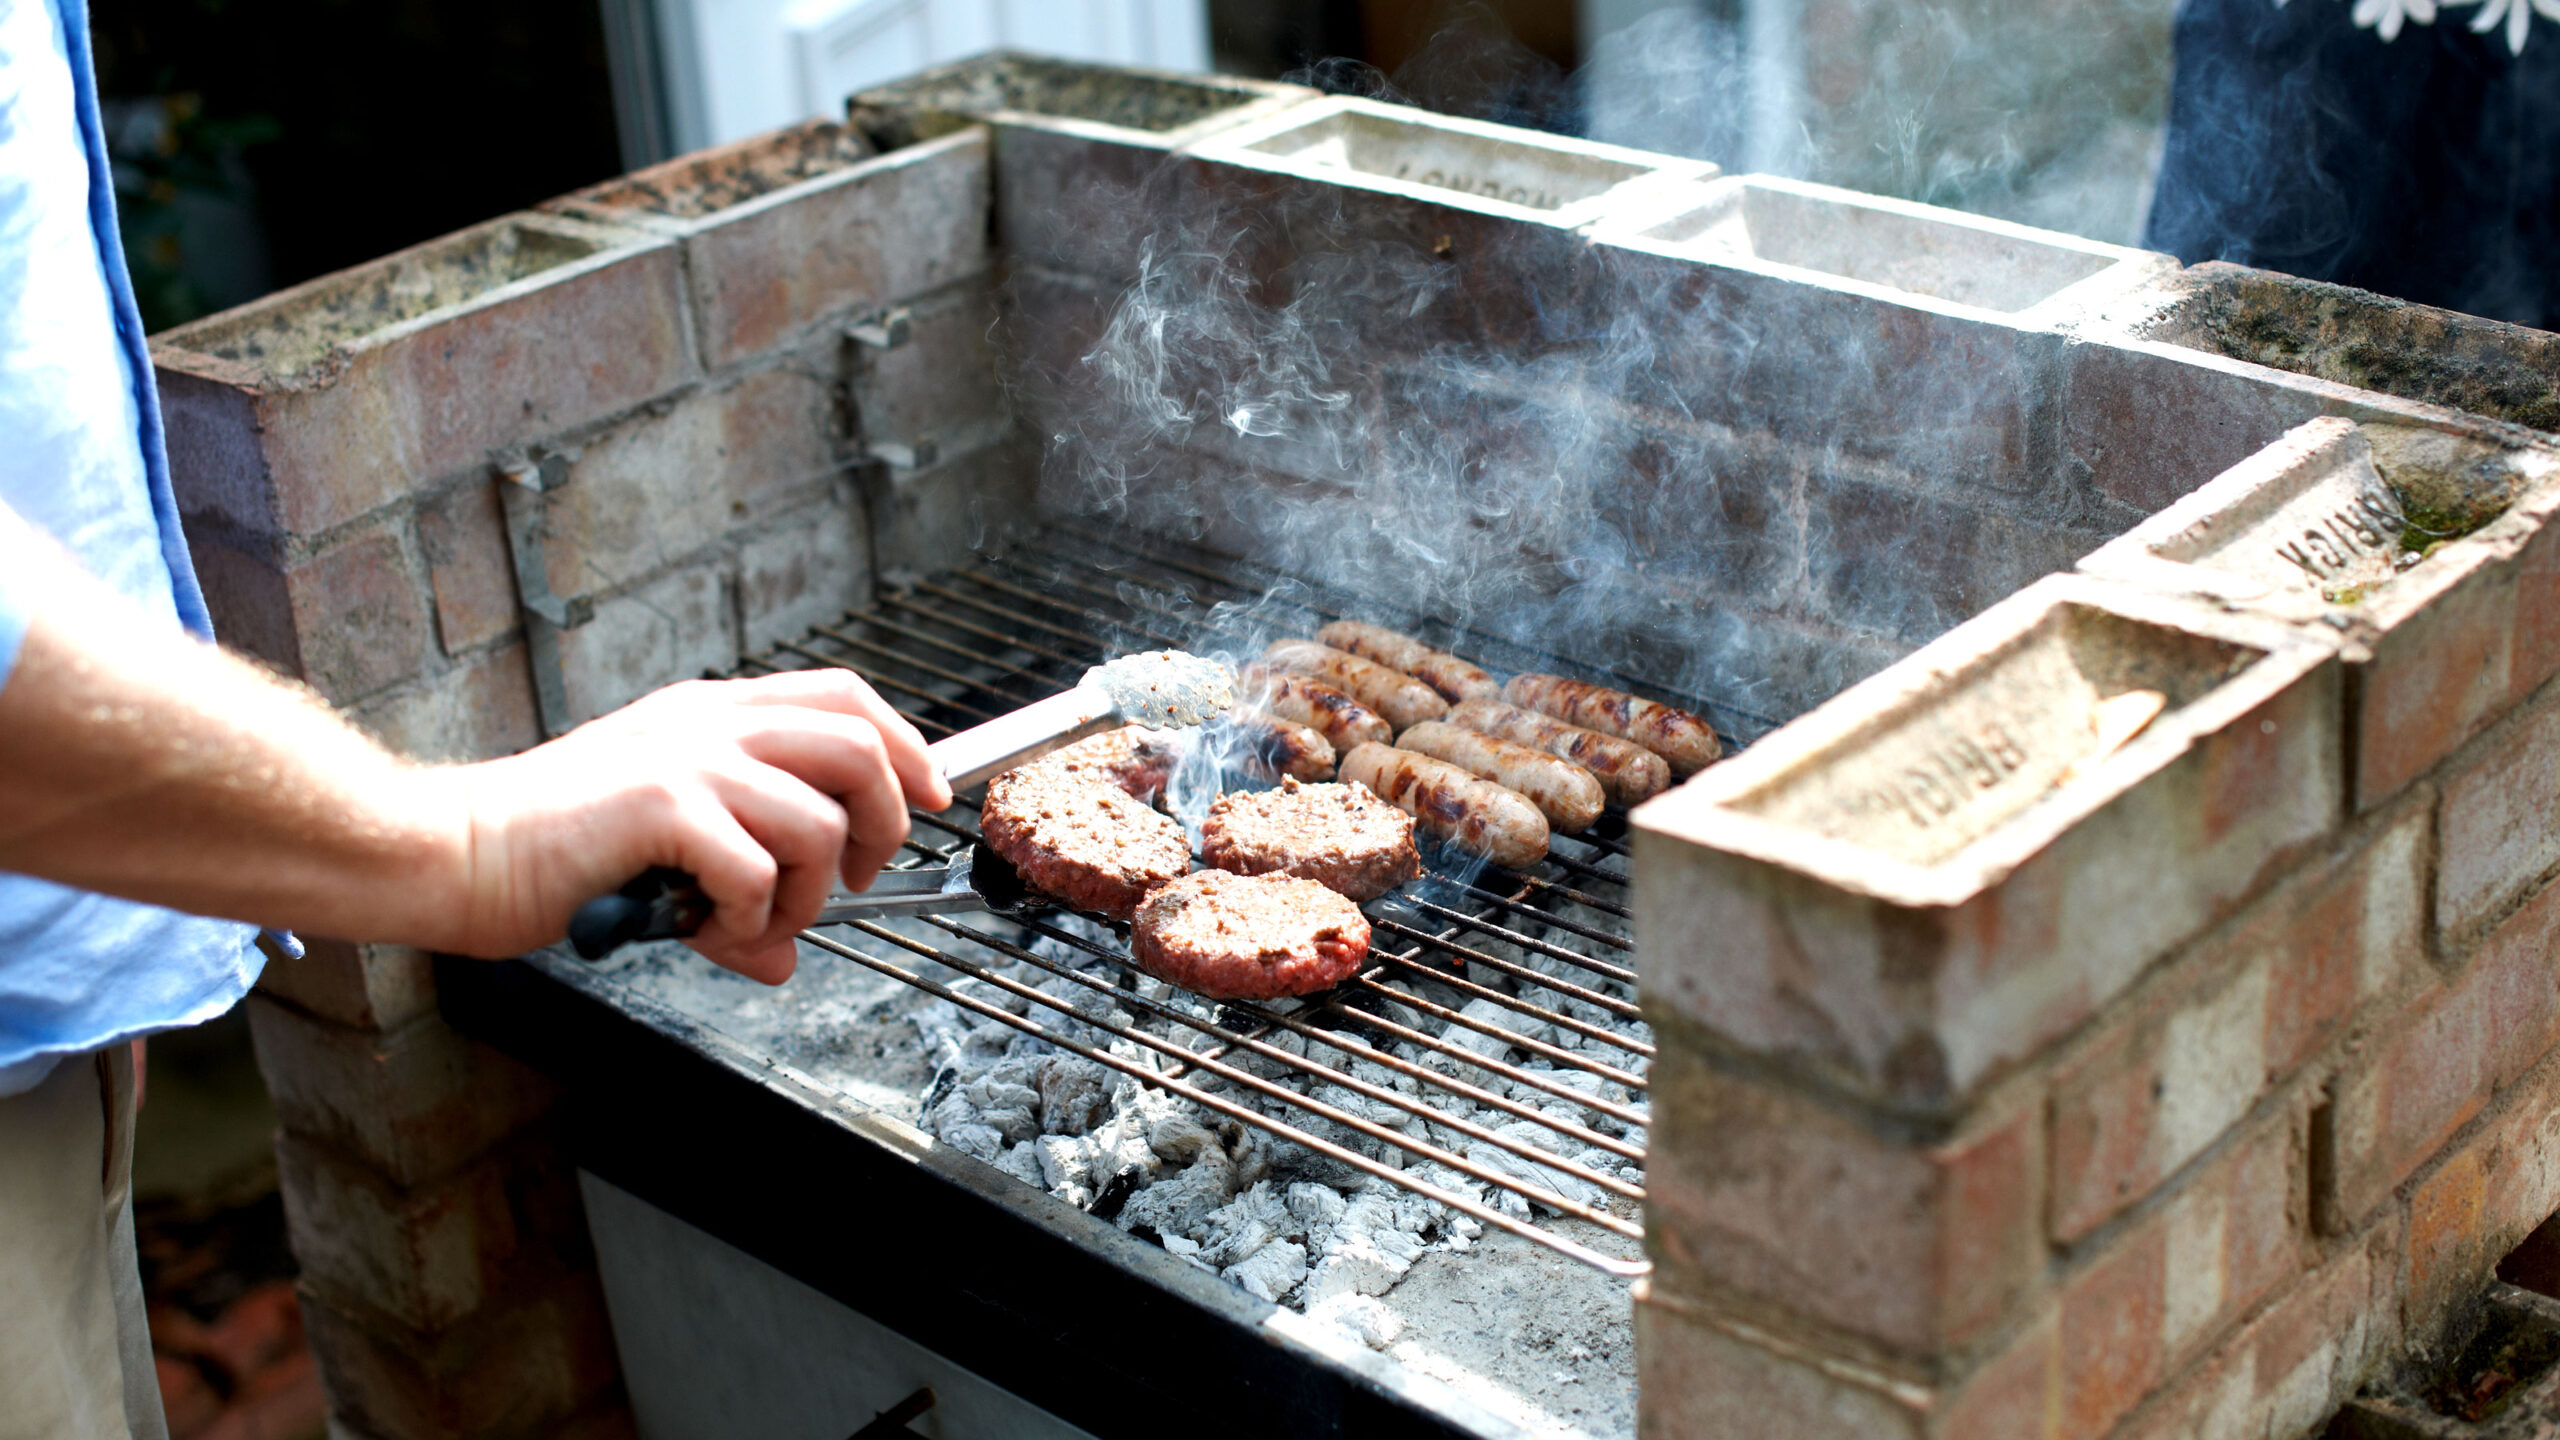
Learn How to Make a BBQ Pit with Bricks, transforming your backyard into the ultimate grilling destination. This project is not only a crowd-pleaser but also a fantastic way to enhance your outdoor cooking experience.
Whether you’re hosting a big family gathering or just kicking back with friends, a handmade brick BBQ pit adds a touch of rustic charm and functionality to any outdoor space. Ready to get your hands a little dirty and dive into some DIY fun? Let’s get started and build something that’ll heat up your backyard parties!
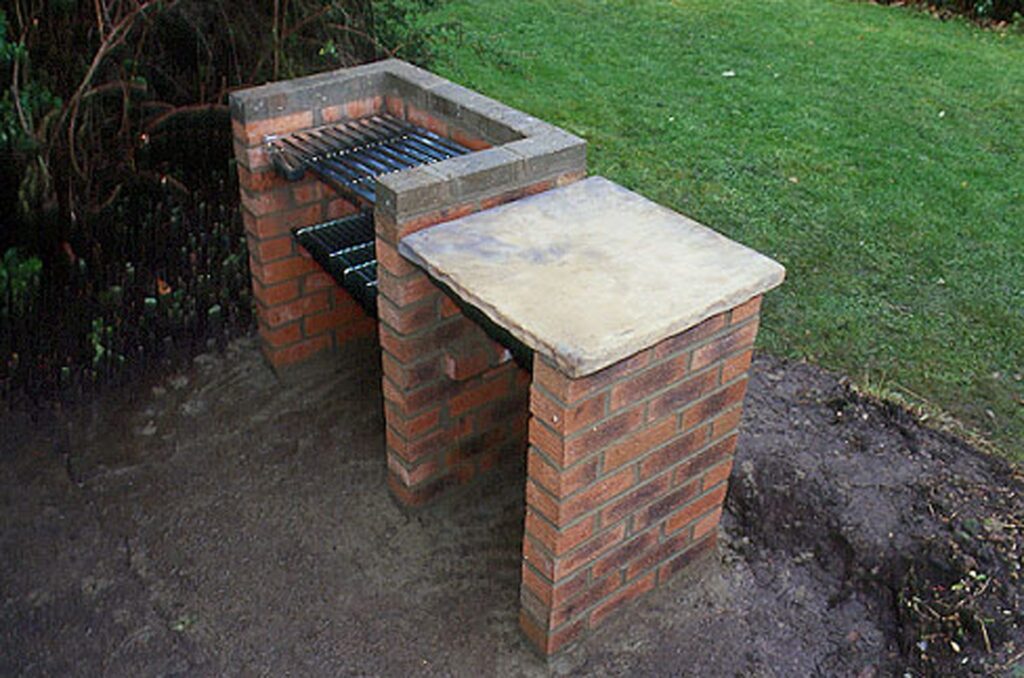
Can you build a barbecue with normal bricks?
You can build a barbecue with normal bricks, but it’s not always the best choice, especially for the parts of the barbecue that will be exposed to direct heat. Here’s why:
- Heat Resistance: Regular bricks aren’t designed to withstand the high temperatures often reached in barbecues. Over time, these bricks can crack and deteriorate when exposed to continuous heat.
- Safety: When regular bricks get too hot, they can crack explosively, which is a safety hazard. This cracking is due to moisture trapped within the brick turning into steam.
- Durability: A barbecue built with regular bricks might not last as long as one built with materials designed for high heat.
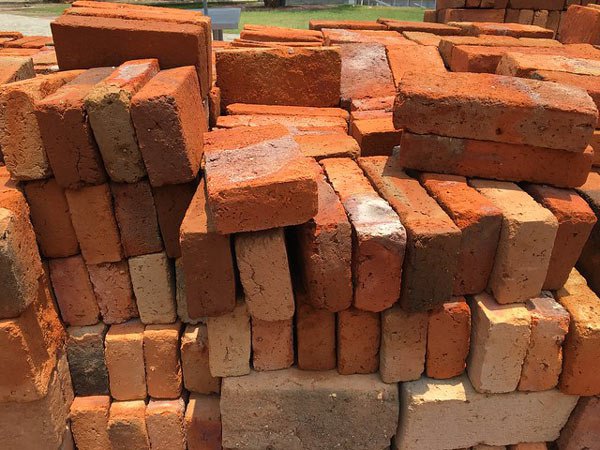
For parts of the BBQ that won’t be exposed to direct heat, like the outer walls or base, regular bricks can be used. However, for the firebox—the area where the charcoal or wood will burn—it’s better to use firebricks.
Firebricks are made from refractory ceramic material which can withstand higher temperatures and are more durable for this purpose.
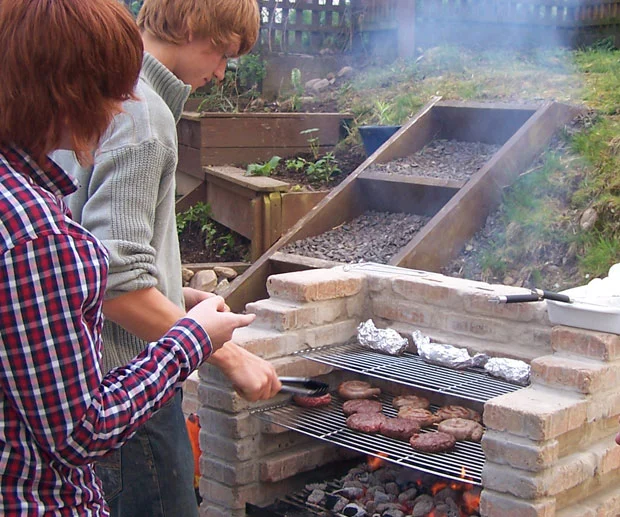
Additionally, it’s important to use the right kind of mortar. High-temperature mortar is necessary for areas exposed to heat, as regular mortar can also crack and degrade under high heat conditions.
If you decide to use regular bricks, be mindful of these limitations and consider incorporating firebricks for the critical areas to ensure a longer-lasting, safer BBQ pit.
How to Make a BBQ Pit with Bricks
Building a BBQ pit with bricks is a rewarding DIY project that enhances your outdoor space and cooking capabilities. Here’s a detailed step-by-step guide on how to construct a durable and functional brick BBQ pit:
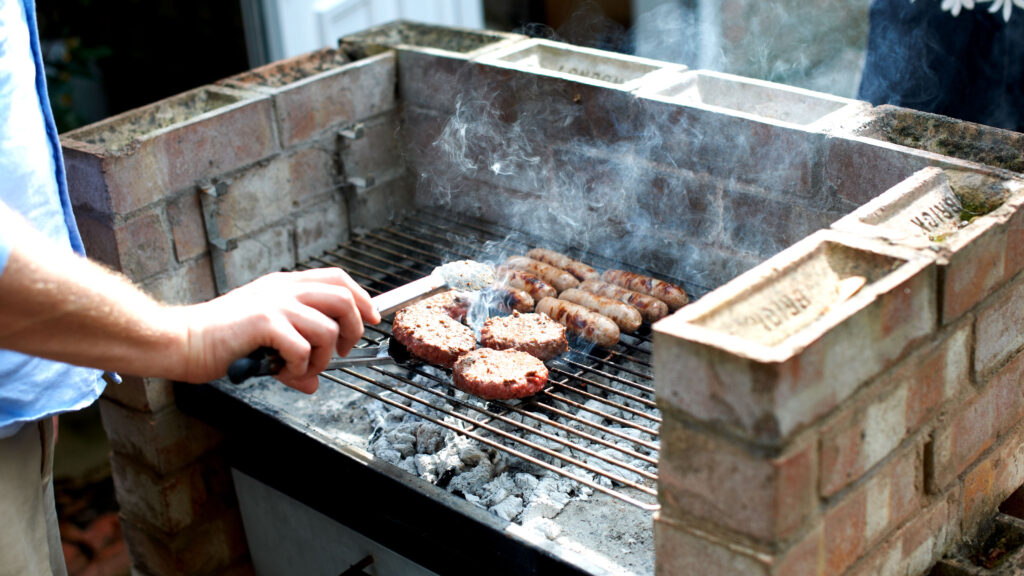
Supplies Needed:
- Firebricks: For the inner part of the pit to withstand high temperatures.
- Regular bricks: For outer walls and decorative parts.
- High-temperature mortar: To assemble firebricks and regular bricks in high-heat areas.
- Metal grill grate: Sized according to your design.
- Level: To ensure all layers are even.
- Trowel: For applying mortar.
- Rubber mallet: To adjust brick placement.
- Measuring tape: For precise measurements.
- Shovel: For foundation work.
Detailed Steps to Build Your BBQ Pit:
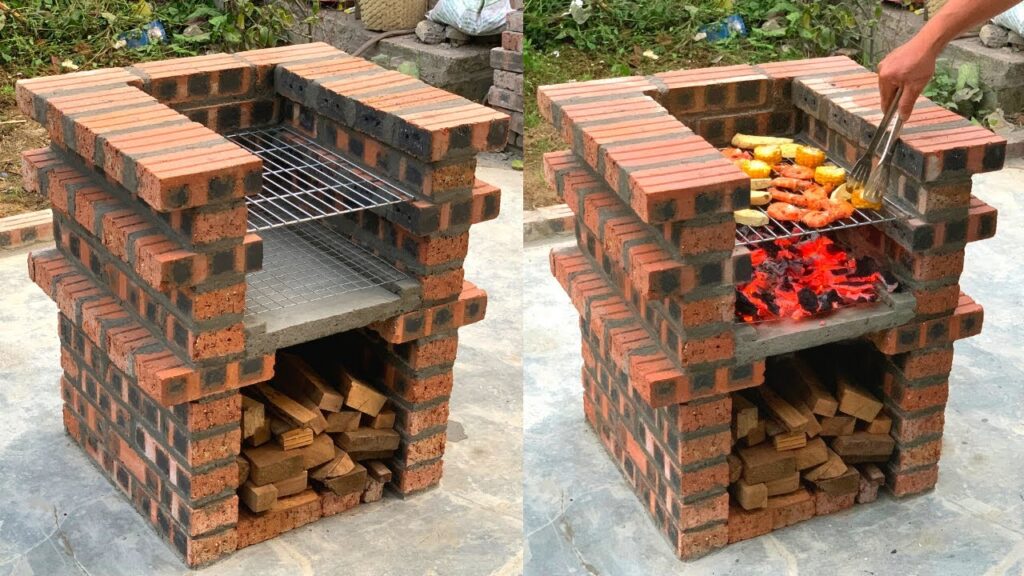
Step 1: Design and Planning
- Measure and Mark: Determine the size and location of your BBQ pit. A typical design might be about 4 feet long, 2 feet wide, and 3 feet high. Mark the area clearly on the ground.
- Design Considerations: Decide how many grill grates you want and plan for space to slide them in. Include areas for charcoal storage and possibly side counters.
Step 2: Prepare the Foundation
- Dig the Foundation: Remove the top layer of soil within your marked area to a depth of about 8 inches to create a stable base.
- Pour Concrete: Mix and pour concrete into the foundation pit, leveling it off at about 4 inches thick. Let it cure for at least 24 hours.
Step 3: Lay the First Layer of Bricks
- Dry Layout: Arrange your regular bricks without mortar to finalize the layout and adjust for the grill grate.
- Apply Mortar: Mix your high-temperature mortar. Apply an even layer on the concrete foundation, and begin laying your bricks, tapping each gently with a mallet to set them in place.
- Check Level: Regularly check with the level to ensure the bricks are even and straight.
Step 4: Build the Walls
- Continue Building: Apply mortar to the ends and bottom of each brick, stacking them to the desired height. Remember to leave openings for ventilation and grill grate insertion.
- Insert Firebricks: When you start building the area that will contain the coals, switch to firebricks. Apply high-temperature mortar between these bricks.
Step 5: Set Up Grill Grates
- Measure and Cut: As you reach the level where your grill grates will rest, measure and cut grooves into the brickwork to hold the grates securely.
- Test Fit: Place the grill grate to ensure it fits properly and adjust as necessary.
Step 6: Finishing Touches
- Capstone: Once you reach the final height, you may add a row of wider bricks or decorative stones as a capstone for a polished look.
- Cure the Mortar: Allow the mortar to cure for at least 48 hours before using the BBQ pit.
Step 7: Seasoning the Pit
- Initial Firing: Conduct a small, initial fire to season the bricks and mortar, helping to reduce moisture and prevent cracking.

Safety Tips:
- Wear Protective Gear: Always wear gloves and safety glasses while working with bricks and mortar.
- Stable Construction: Ensure each layer is stable before proceeding to the next to prevent collapse.
Building your own brick BBQ pit is a fulfilling DIY project that not only enhances your outdoor space but also upgrades your cooking experience. By following detailed steps, from laying a solid foundation to installing firebricks and setting up grill grates, you create a durable and functional cooking area.
This project requires careful planning and precise execution, including proper materials like high-temperature mortar and firebricks to ensure safety and longevity. The result is a custom BBQ pit perfect for gatherings, offering a touch of rustic charm and a great space for creating delicious meals.
Conclusion
In conclusion, building a brick BBQ pit from scratch is a rewarding project that not only enhances your culinary experiences but also adds significant value and charm to your outdoor living space. By carefully selecting the right materials, such as firebricks and high-temperature mortar, and following a detailed, step-by-step construction process, you can ensure that your BBQ pit is both durable and functional.
This hands-on project not only provides you with a custom cooking area tailored to your preferences but also brings the satisfaction of creating something useful and beautiful with your own hands. Whether for a family gathering or a casual weekend grill, your new brick BBQ pit will serve as the centerpiece of many enjoyable moments. So, fire up your grill, gather your friends and family, and get ready to enjoy the fruits of your labor!

