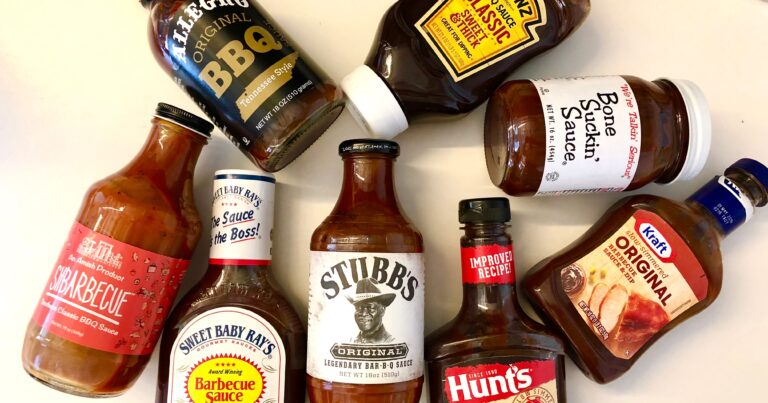
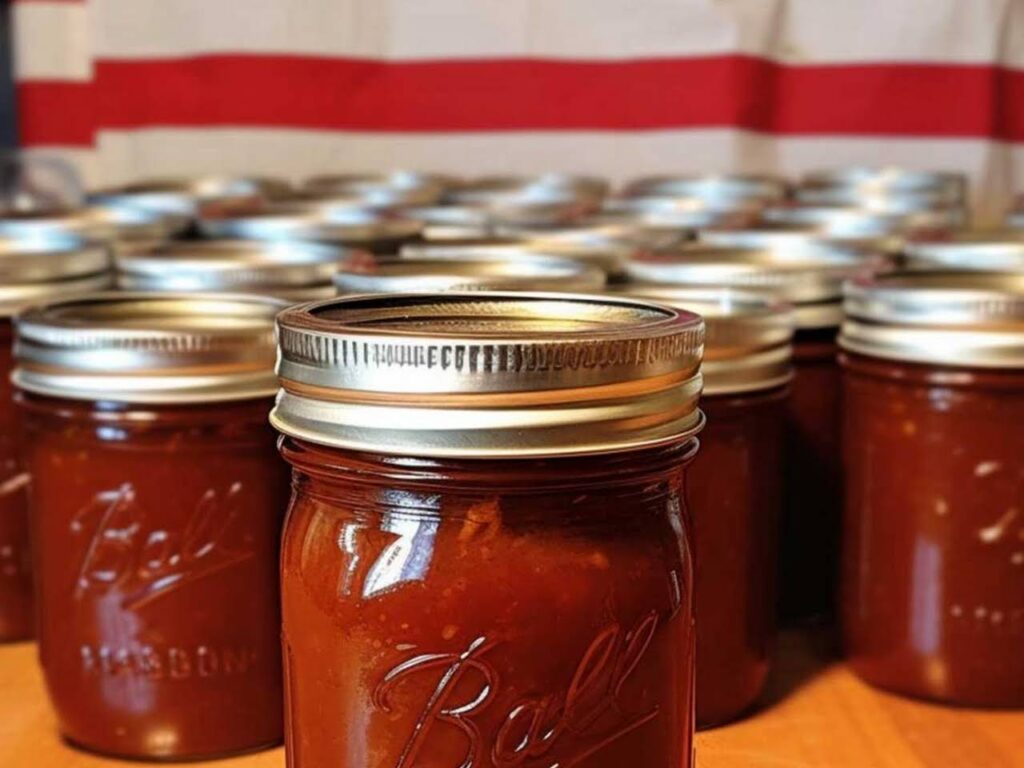
Canning Your Own BBQ Sauce
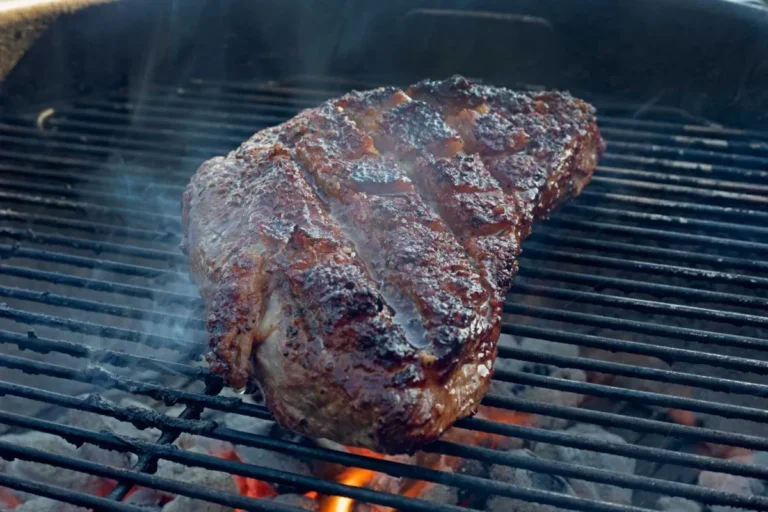
Ever fantasized about slathering your BBQ with a sauce so mouthwatering, it’s practically legendary? Well, it’s time to turn that fantasy into reality by Canning Your Own BBQ Sauce. Whether you’re a sweet, spicy, or smoky aficionado, mastering the art of preserving your favorite concoction will elevate your grill game to celebrity chef levels. Read on to discover how simple brewing and bottling your signature sauce can be. Get ready to impress at your next cookout—let’s bottle up that magic and keep those flavors rocking year-round!
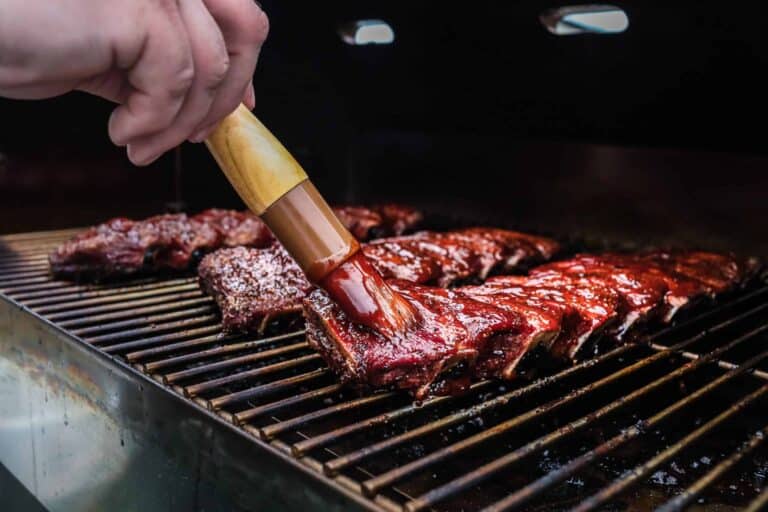
Absolutely, and it’s a brilliant idea if you’re looking to capture that peak summer BBQ flavor all year round! Canning your homemade BBQ sauce not only extends its shelf life but also locks in those robust, smoky flavors you’ve worked so hard to perfect. The process involves sterilizing jars, simmering your sauce to the right consistency, and then sealing it in those jars using a water bath method. This traditional canning technique ensures that your sauce stays fresh and safe to enjoy for months, even up to a year, if stored in a cool, dark place.
Canning Your Own BBQ Sauce: Step-by-Step Tutorial
Ready to turn your kitchen into a BBQ sauce bottling workshop? Here’s how to do it, step by step, ensuring every jar is perfectly preserved.
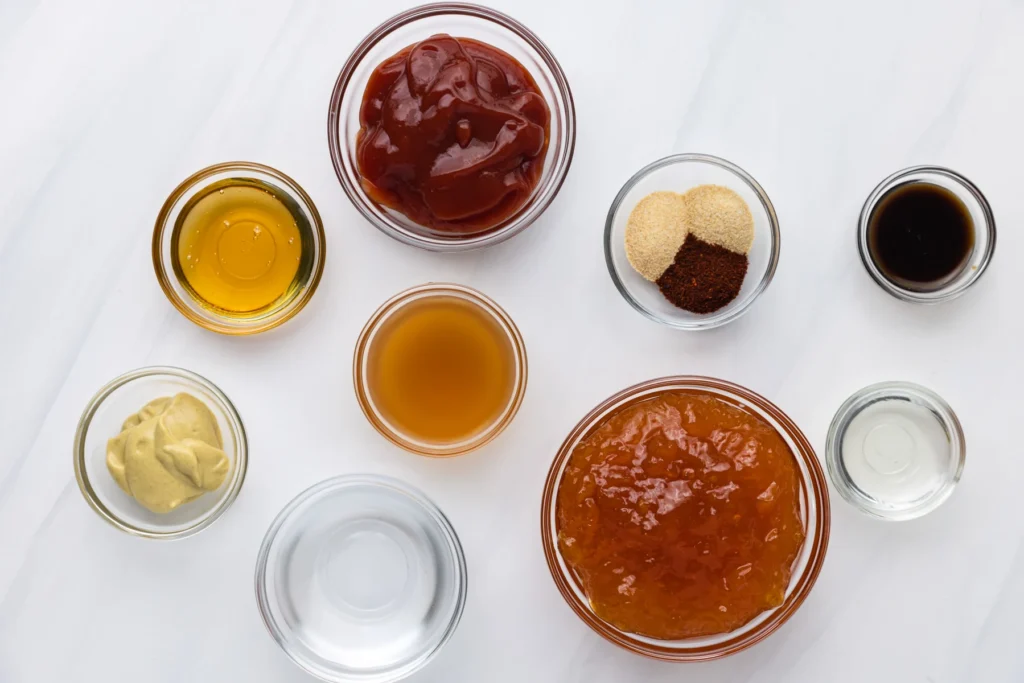
STEP 1: Gather Your Ingredients and Equipment
Start by assembling everything you’ll need: your favorite homemade BBQ sauce recipe, glass canning jars, lids, and bands. Don’t forget a large pot for water bathing the jars, a funnel, and a ladle for pouring, plus a clean cloth for wiping down jar rims.
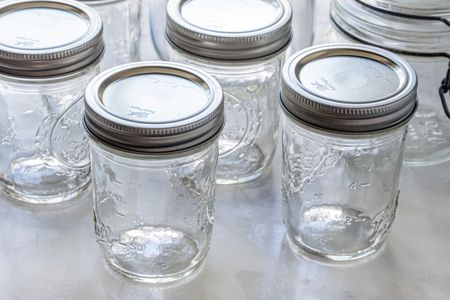
STEP 2: Sterilize Your Jars and Lids
Before anything touches your sauce, make sure your jars and lids are germ-free. Boil them in a large pot of water for at least 10 minutes, then keep them hot. This prevents jars from breaking when filled with hot sauce.
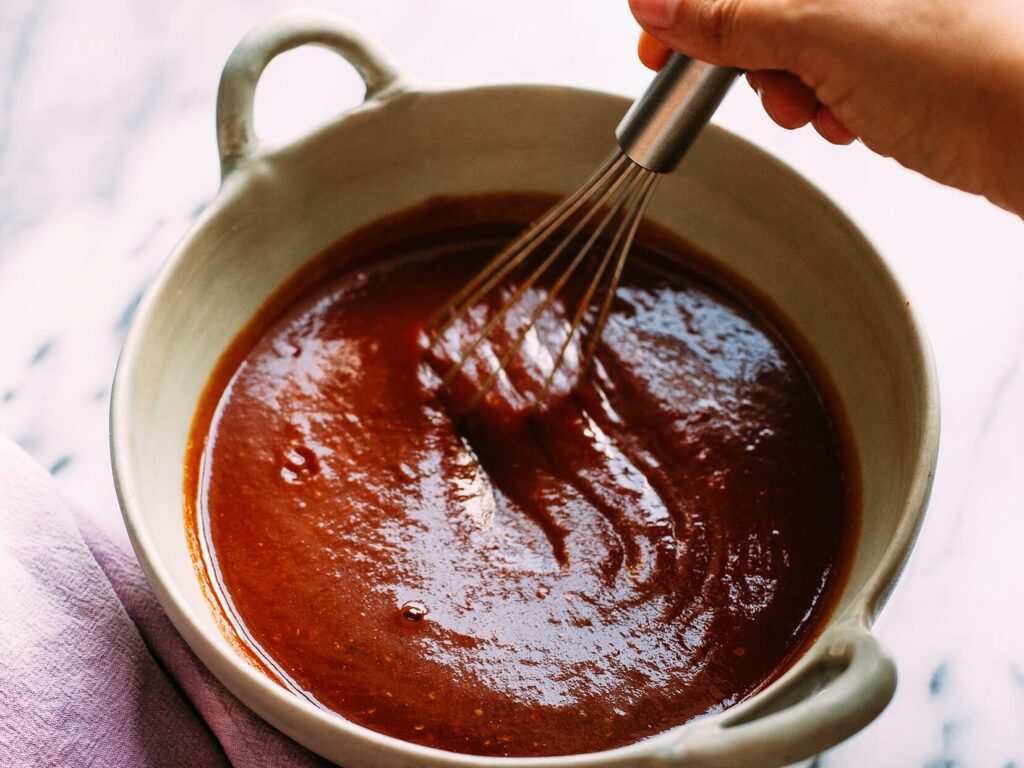
STEP 3: Heat Your BBQ Sauce
While your jars are boiling, simmer your BBQ sauce in a separate pot. Keeping the sauce hot is crucial as it helps to ensure a good seal and prevents the growth of bacteria.
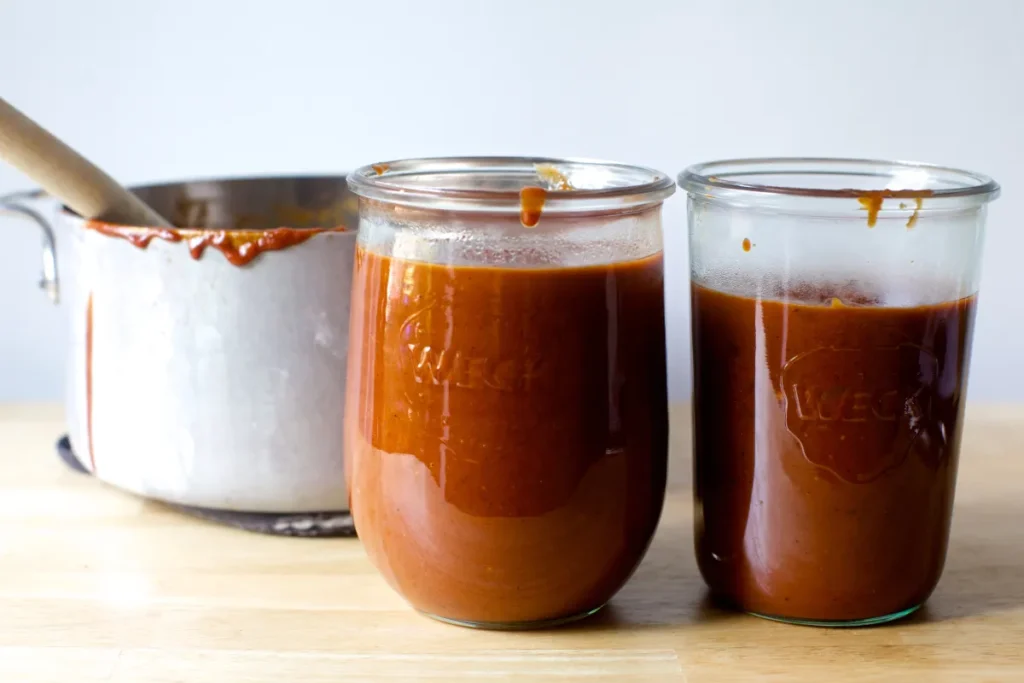
STEP 4: Fill the Jars
Use the funnel to carefully pour the hot BBQ sauce into the hot jars, leaving about a half-inch of space at the top. This headspace is vital for creating a vacuum seal as the sauce cools.
STEP 5: Wipe the Rims and Seal the Jars
After filling, wipe the rims of the jars with a clean cloth to remove any sauce residue that might prevent a good seal. Then, place the hot lid on each jar and screw on the band until it is fingertip tight.
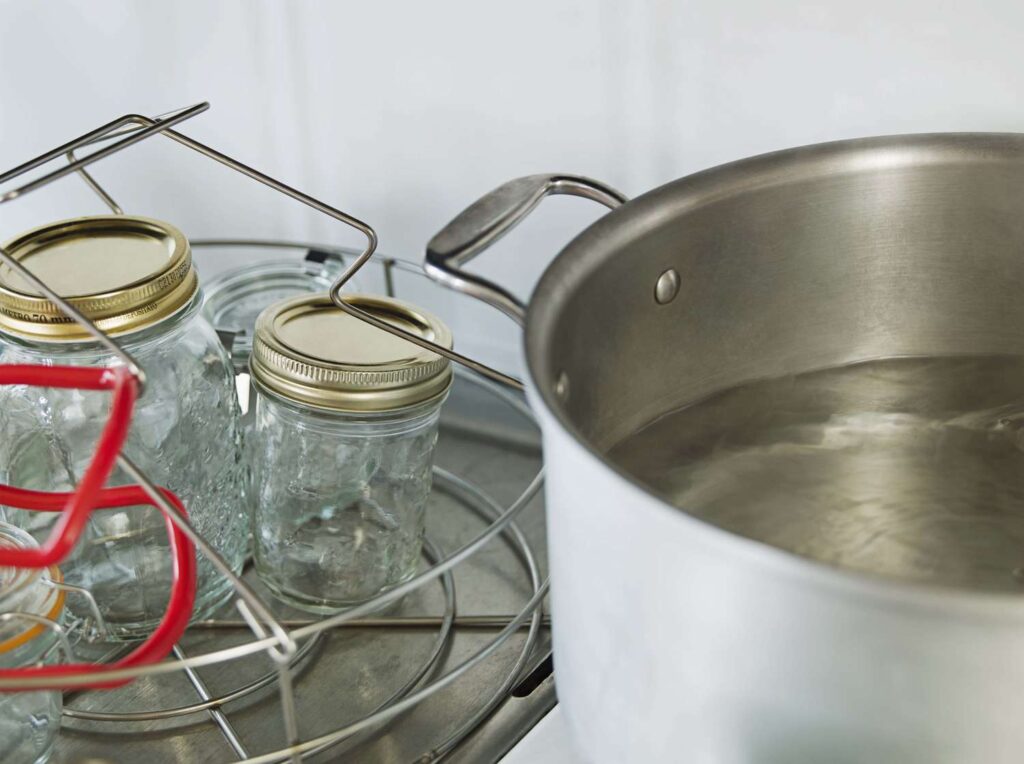
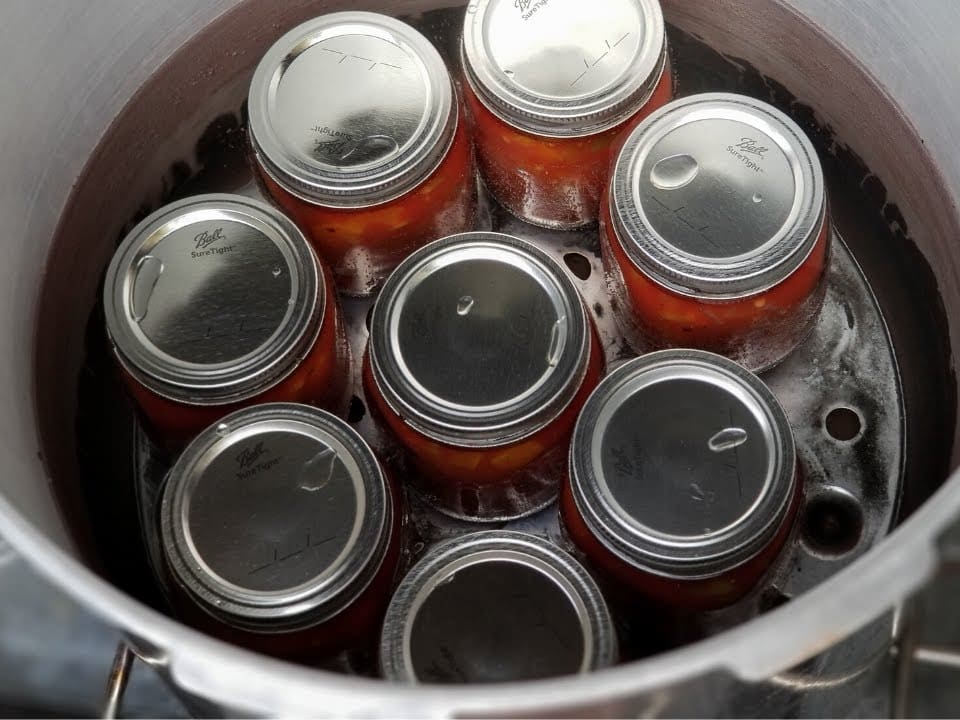
STEP 6: Process in a Water Bath
Place the filled jars in your canning rack and lower them into the pot. The water should cover the jars by at least an inch. Bring to a boil and process for 20 minutes (adjust time for altitude).
STEP 7: Cool and Check Seals
Remove the jars and let them cool on a towel or cooling rack for 24 hours without moving them. You should hear the “ping” of the lids sealing as they cool. After cooling, check the seals by pressing the center of each lid. If it pops back, it’s not sealed and should be refrigerated and used soon.
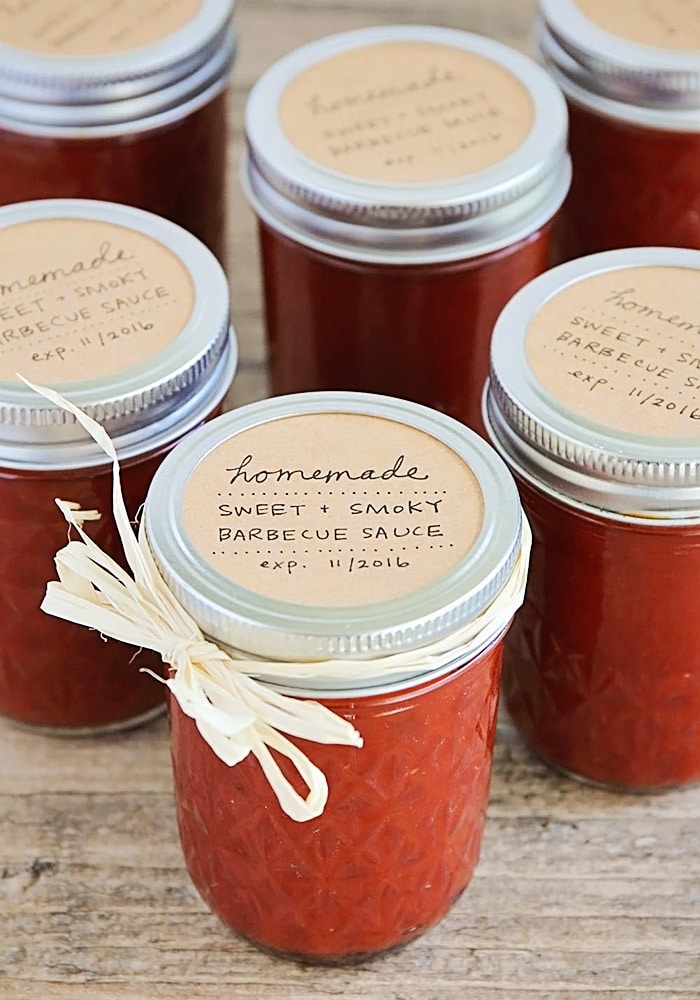
STEP 8: Label and Store
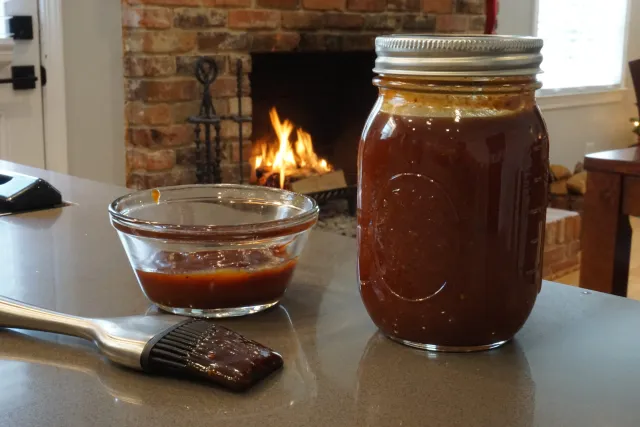
Label each jar with the date and store in a cool, dark place. Properly sealed jars of BBQ sauce can last up to a year. Enjoy your homemade sauce with the satisfaction of having bottled it yourself!
Canning your own BBQ sauce is a rewarding endeavor that not only enhances your meals but also connects you with the time-honored tradition of preserving food. By following detailed steps from preparing your sauce to proper sterilization and storage, you can ensure your sauce retains its flavor and safety for up to a year.
This process not only gives you control over the ingredients, ensuring a healthier, preservative-free option compared to store-bought varieties, but also allows you to infuse every meal with a personal touch of home-cooked excellence. It’s a perfect blend of culinary craft and practical skill!
How Long Will Canned BBQ Sauce Last?
When you’ve put in the effort to make and can your own BBQ sauce, you’ll want to know just how long you can enjoy the fruits of your labor. Good news: Properly canned and stored BBQ sauce can remain at peak quality for up to a year. This longevity is thanks to the sterilization and sealing process, which keeps out bacteria and seals in flavor.
- Ensure Proper Sealing The key to long-lasting BBQ sauce is a strong seal. If the lid of the jar makes a popping sound when pressed after cooling, it hasn’t sealed correctly and should be used soon or kept refrigerated.
- Store in a Cool, Dark Place Light and heat can degrade the quality of your sauce faster. Store your jars in a cool, dark cupboard away from direct sunlight and heat sources to maintain their quality and extend shelf life.
- Check for Signs of Spoilage Before using, always check your jars for signs of spoilage such as off smells, discoloration, or mold. If something seems off, it’s better to be safe and discard the sauce.

Following these, your homemade BBQ sauce can be a tasty complement to meals long after BBQ season is over, making every bite a reminder of summer’s best flavors. Enjoy your creation with peace of mind and palate!
How Do You Increase the Shelf Life of Homemade BBQ Sauce?
If you’re aiming to keep that homemade BBQ sauce tasting fresh and delicious for as long as possible, a few key steps can help maximize its shelf life. Here’s how to ensure your sauce remains a crowd-pleaser even months after you’ve made it.
- Use High-Acid Ingredients Incorporating high-acid ingredients like vinegar or lemon juice not only adds a tangy kick to your sauce but also lowers the pH, which inhibits bacterial growth and extends shelf life.
- Sterilize Everything Make sure all your canning jars, lids, and any utensils that will touch the sauce are sterilized. This prevents contamination and the introduction of bacteria that can spoil the sauce.
- Cook Your Sauce Thoroughly Before canning, simmer your BBQ sauce for at least 20 to 30 minutes to kill any existing bacteria. This step also helps to blend the flavors nicely.
- Seal Tightly and Correctly Using the water bath canning method ensures that the jars are sealed under high heat, which creates a vacuum effect that keeps out air and contaminants.
- STEP 5: Store Properly Keep your canned BBQ sauce in a cool, dark place like a pantry or a cabinet away from direct sunlight and heat, which can degrade the quality faster.
- Add Natural Preservatives Ingredients like salt and sugar are not just flavor enhancers—they also act as natural preservatives by creating an environment where bacteria struggle to survive.
Conclusion
In conclusion, canning your own BBQ sauce is a fantastic way to capture the essence of your culinary skills and enjoy your favorite flavors throughout the year. The process, though meticulous, is straightforward and incredibly rewarding. By carefully selecting ingredients, properly sterilizing equipment, and following the steps for canning and storage, you create a product that not only tastes better than store-bought versions but also maintains its quality over time.
Whether you’re a novice or a seasoned chef, mastering this skill will elevate your cooking and give you the ability to share your homemade delights with friends and family. Each jar you seal is not just preserving sauce, but also the joy and satisfaction of homemade goodness. Dive into the world of canning and turn your kitchen into a hub of flavor and tradition!